


Content ITV PRO
This is Itvedant Content department
BiteBox Source Control Setup: Local Git Configuration
Business Scenario
Welcome Back, Developer!
Great job on completing Sprint Day 1!
You successfullyset up the BiteBoxproject and built its foundation.
Now let’s think for a moment...
What if your code gets accidentally deleted?
What if you want to track every change you make?
What if you need to work with a team on the same project?
Sounds important, right?
This is exactly where Git and GitHub come into play!
They help you:
Track changes in your code
Maintain different versions of your project
Collaborate efficiently with others
Pre-Lab Preparation
Topic : Introduction to Git
1) History of Git? Why Git?
2) Version Control Concepts
3) Commands (git init, git clone, git commit, git push, git pull, git branch, git merge)
git pull origin branchNameGit Pull
Task 1: Introduction to Git & GitHub
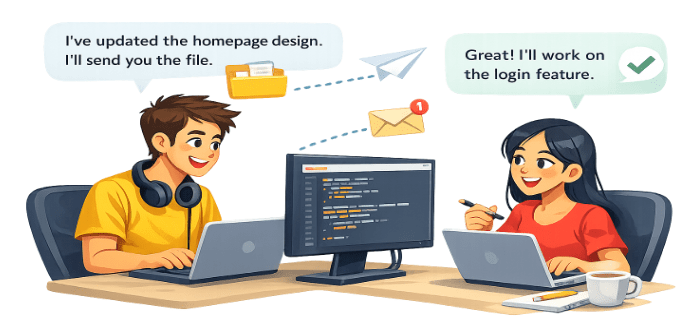
Two developers are working on the same project...
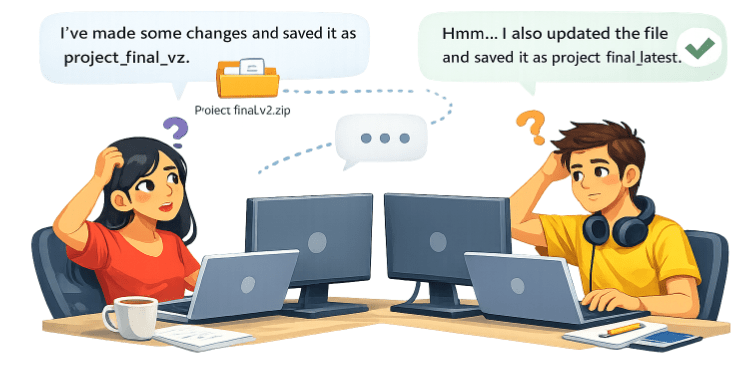
After some time...
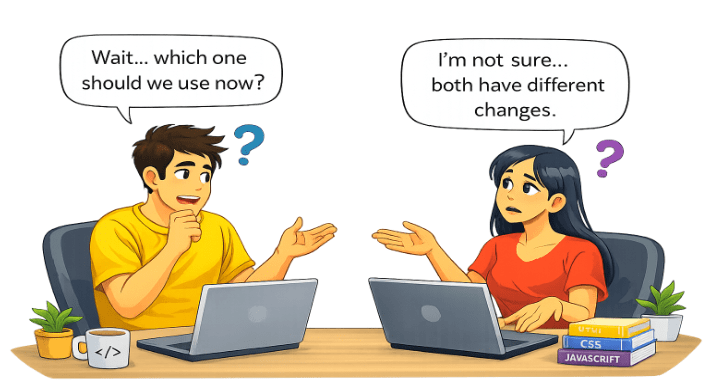
Both pause, unsure which file to use...
After a few minutes of confusion...
They open both files and start comparing line by line 😓
Situation Gets Worse
Some changes are missing
Some features are overwritten
Some code is duplicated
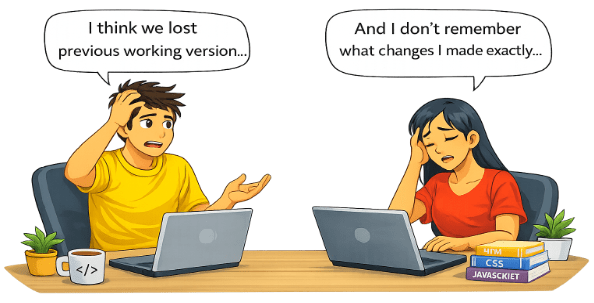
At this point, the developers are :
🤯 Confused – unsure which version is correct
😣 Frustrated – unable to track their own changes
⏳ Wasting Time – comparing files instead of building features
The situation starts affecting the entire development process:
Productivity drops and progress slows down
Bugs increase due to overwritten or missing code
Rework is required to fix lost changes
At this point, the developers realize something important...
“There must be a better way to manage code, track changes, and work together.”
The Solution
GitHub : GitHub is a cloud-based platform that allows developers to store, manage, and share their Git repositories online.
To solve these problems, developers started using:
What Changes Now?
✔ Track every change automatically
✔ Work on same project without conflicts
✔ Access code anytime, anywhere
Developers can now...
❌ Sending files via email or pendrive
❌ Creating multiple confusing versions
❌ Losing important changes
Instead of..
Task 1: Installing Git
Before we start using Git, we need to install
it on our system.
Follow the steps given below to install Git.
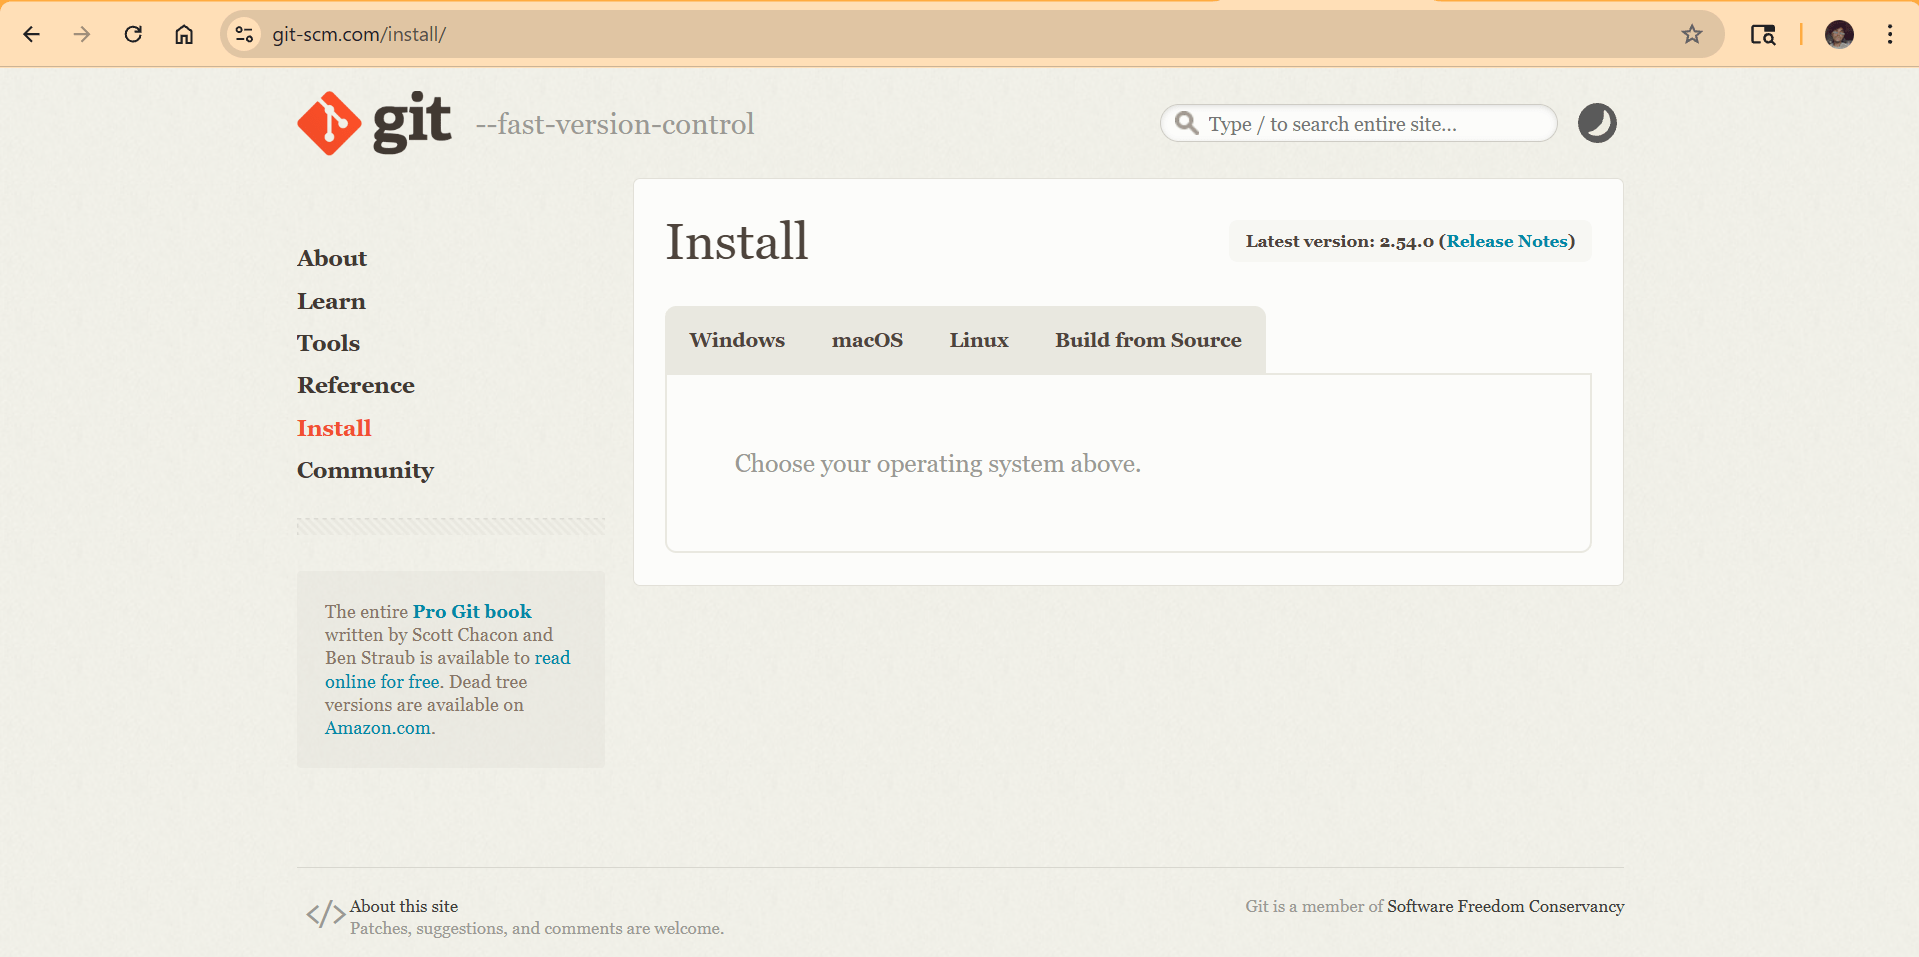
Go to the official Git website and download Git
1
Link - https://git-scm.com/install/
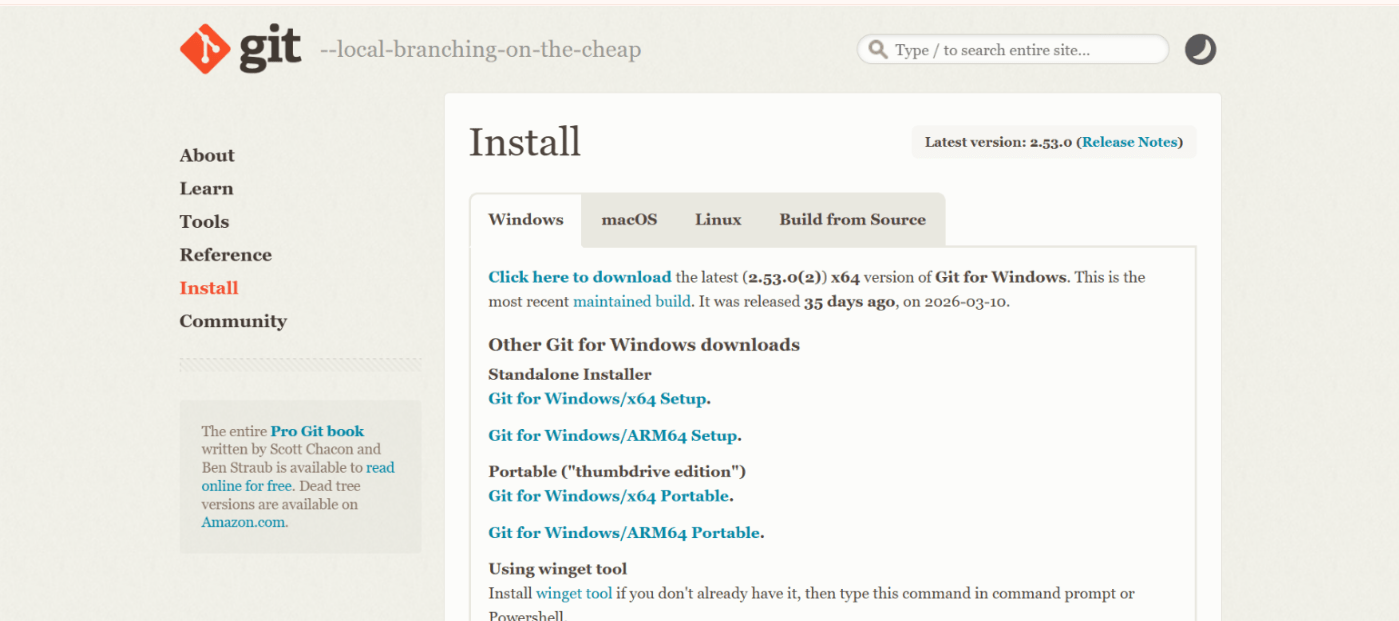
Choose Your Operating System and download the installer based on your system.
2
2
2
Text
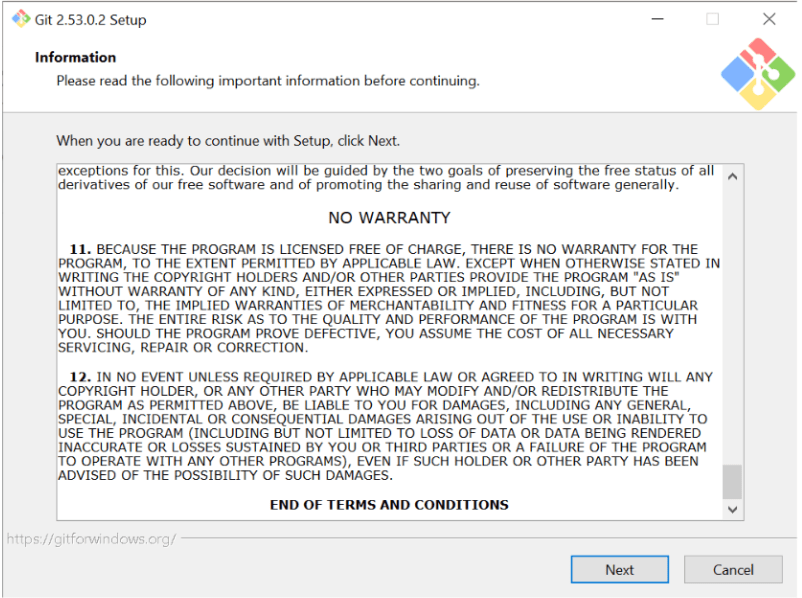
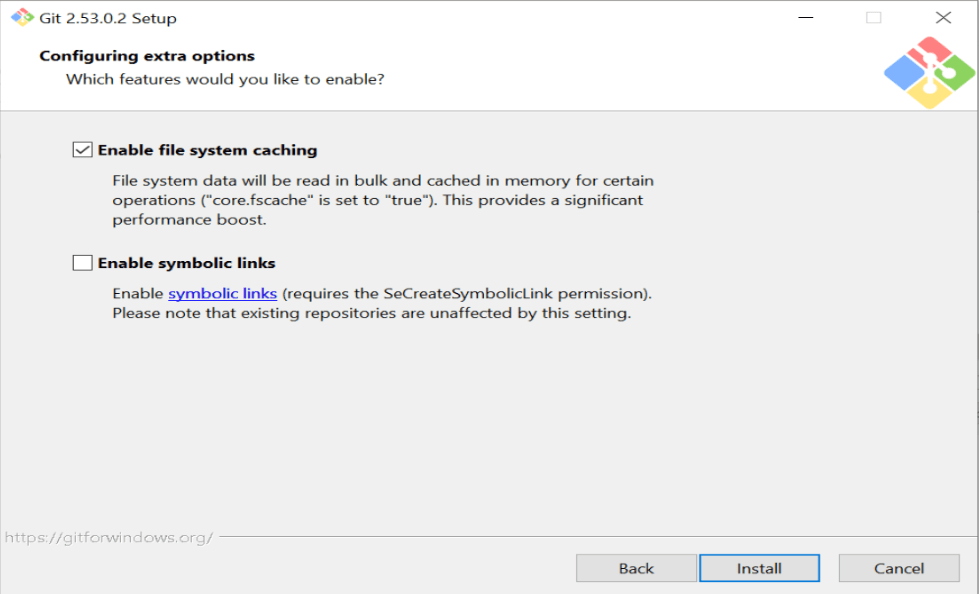
3
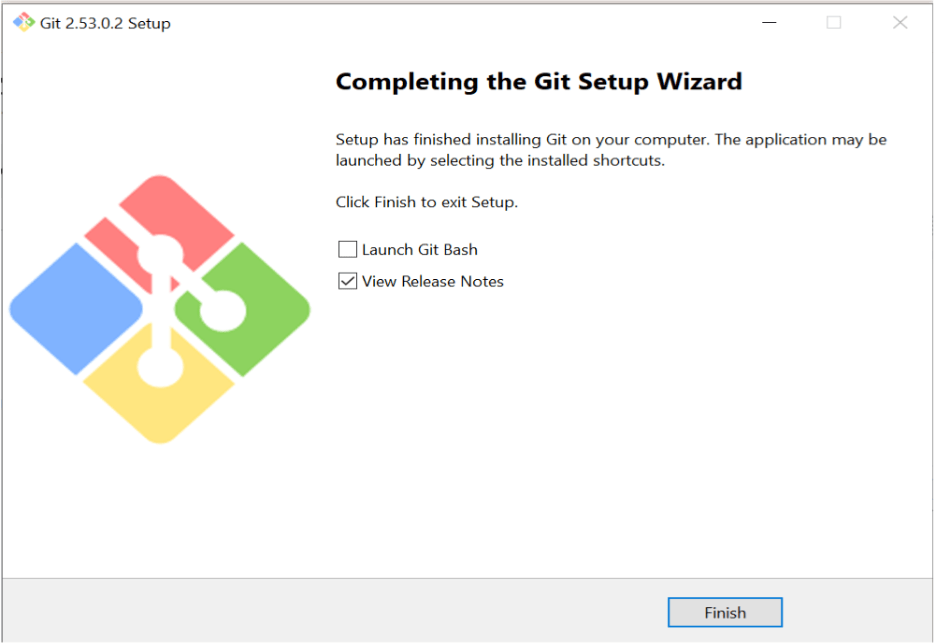
Install Git
4
Verify Installation
Open Command Prompt / Terminal and type:
git --version
If Git is installed correctly, it will show the version number.
Task 2: Initialize Git Repository
Now let’s start working with Git.
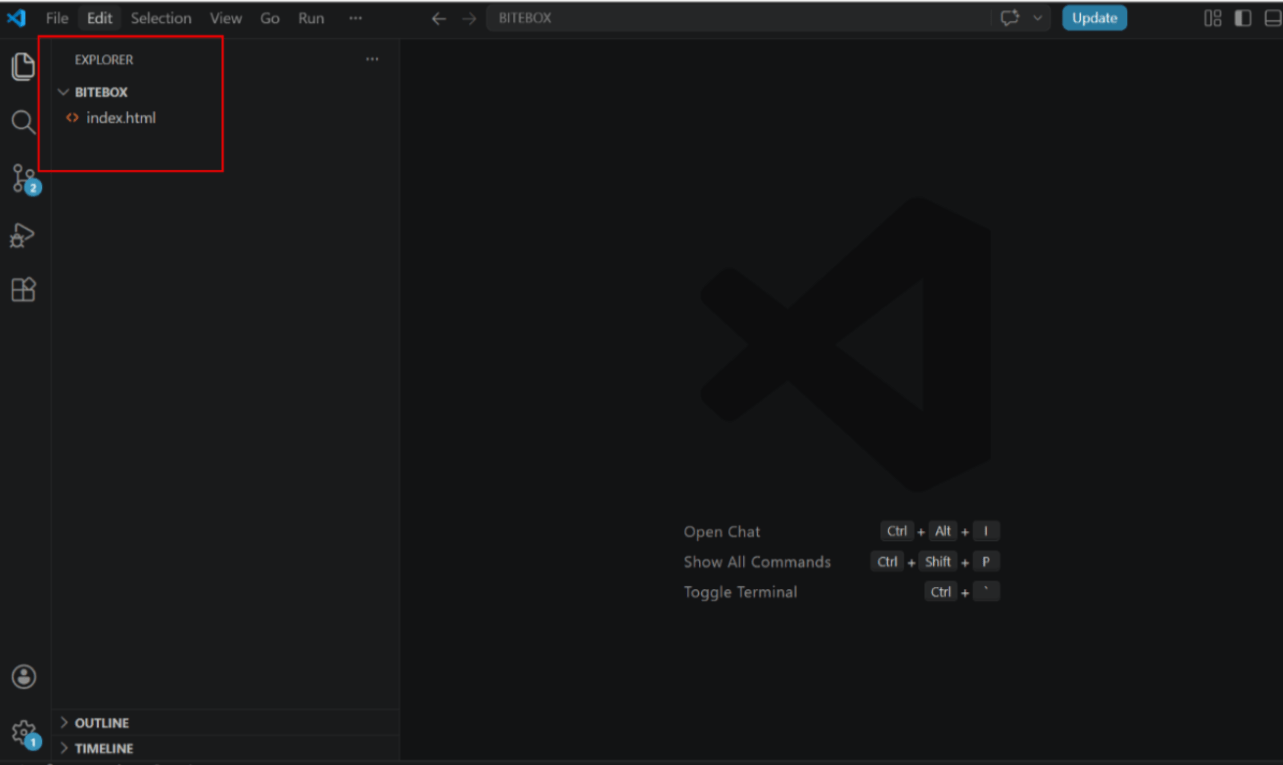
Open your BiteBox project folder in VS Code
1
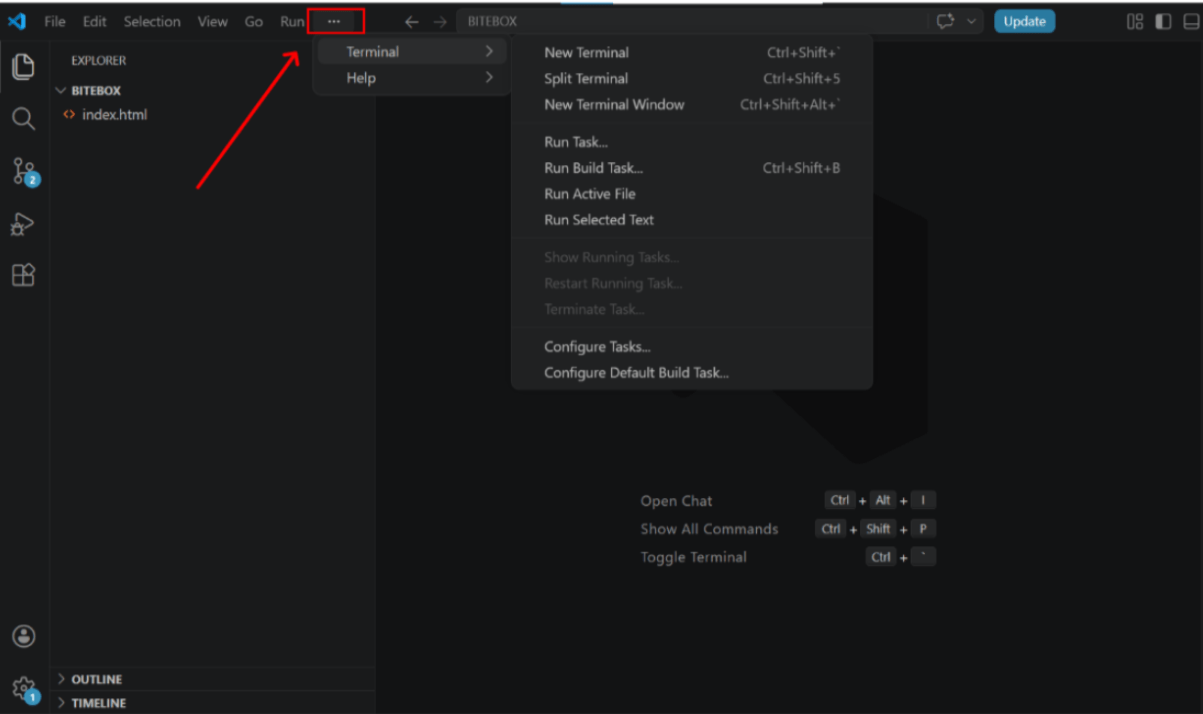
Open Terminal in VS Code
2
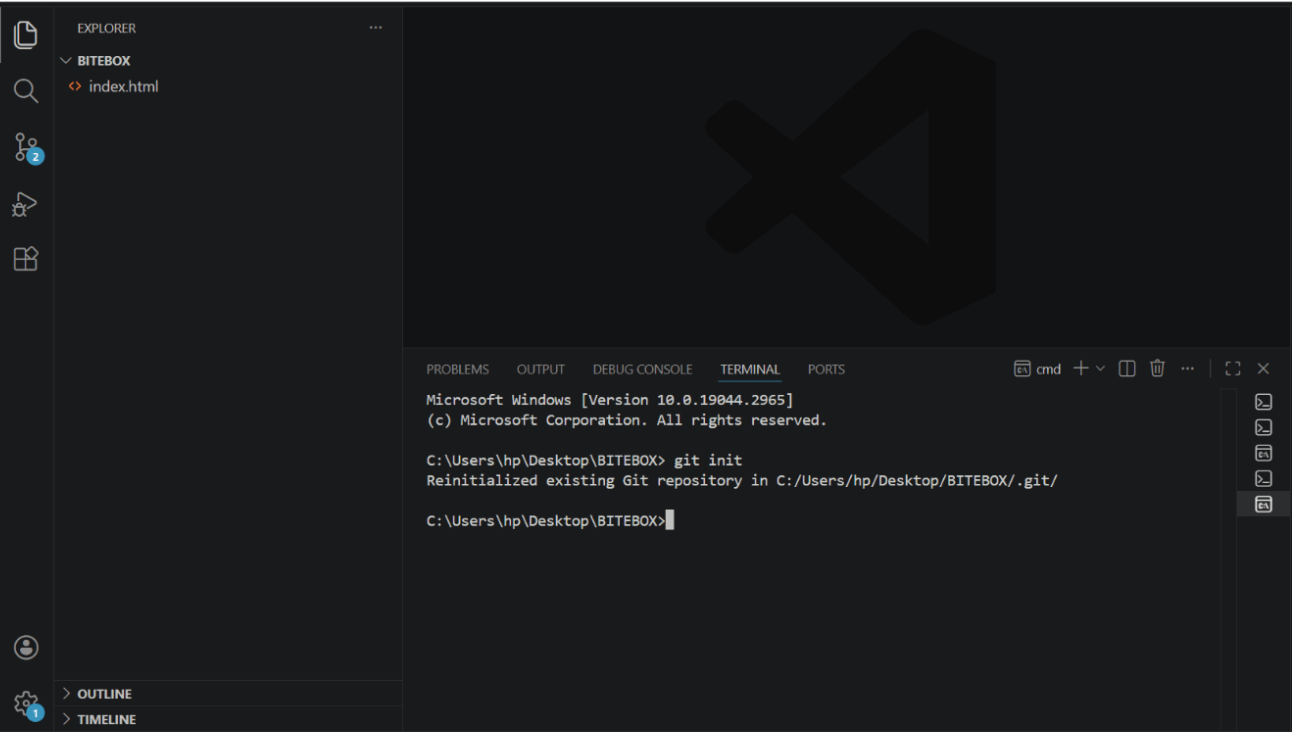
Type the following command : git init
3
This command initializes a Git repository.
Task 3: Configure Git
Steps for Git Configuration (User Details) :
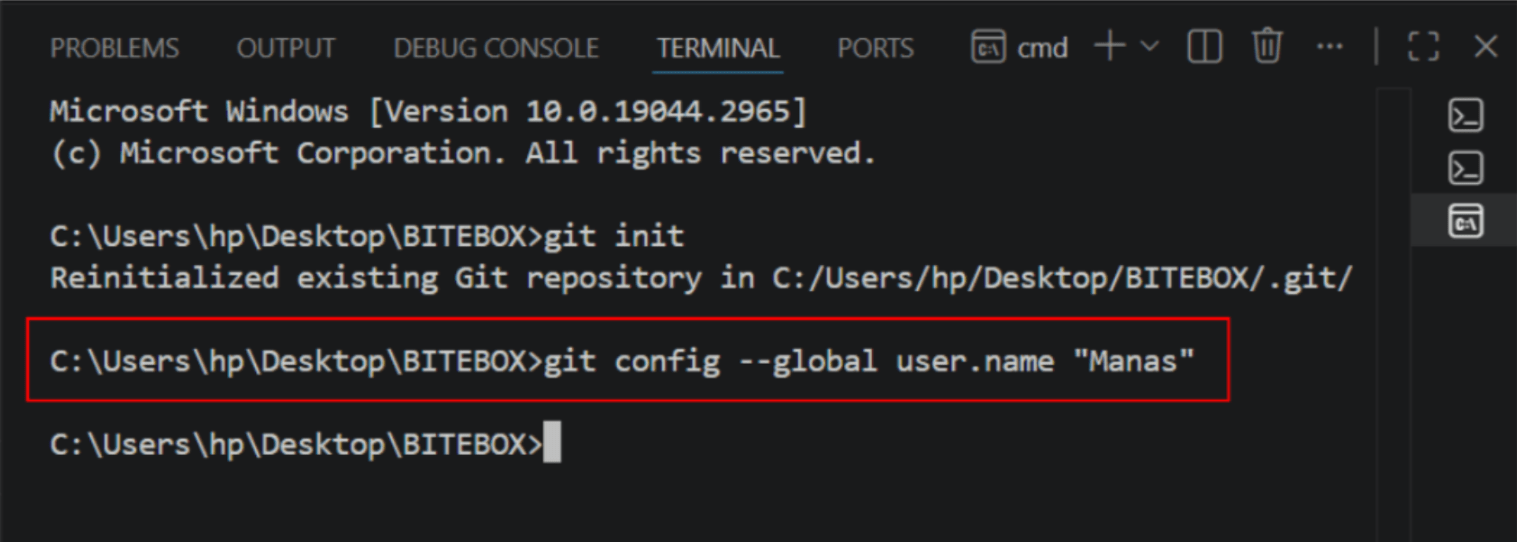
Set Git Username
1
Open the VS Code terminal, type the following command, and press Enter.
git config --global user.name "Your Name"
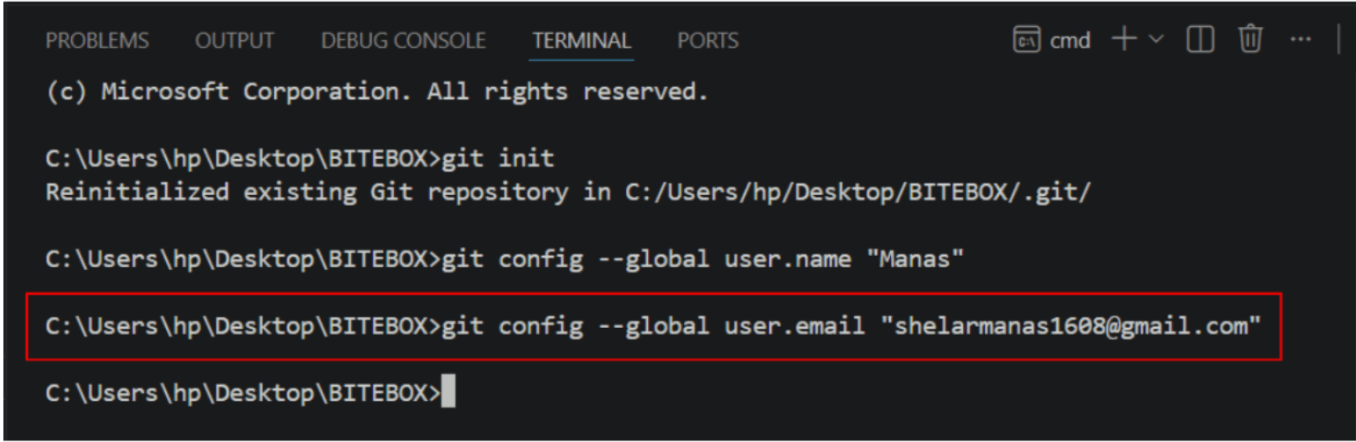
Set Git Email
2
git config --global user.email "your@email.com"
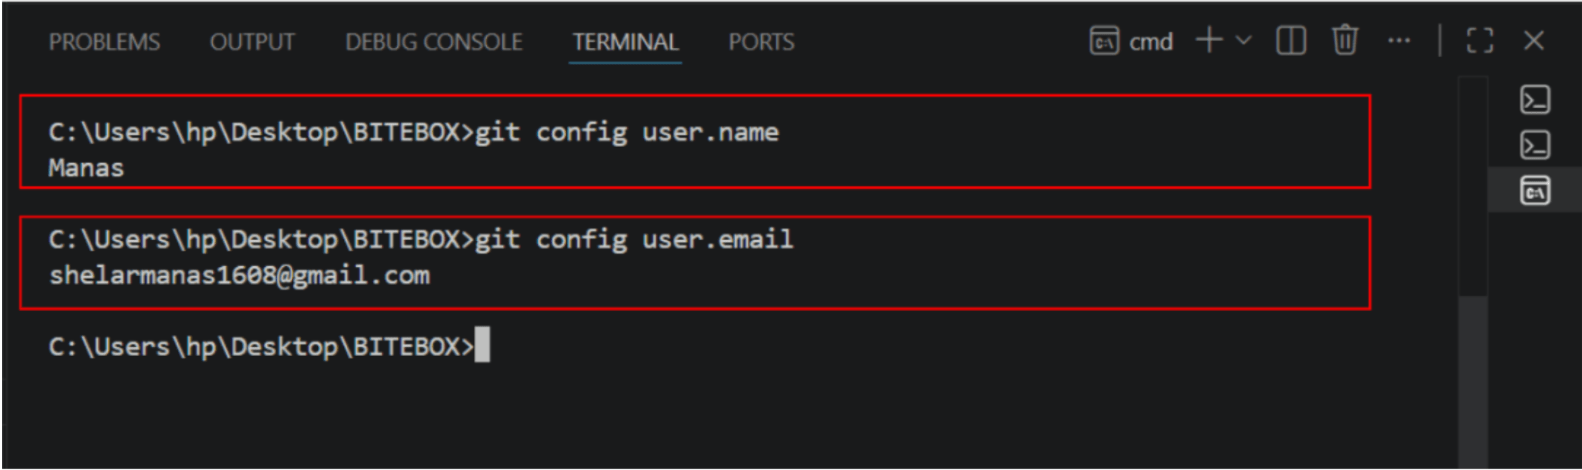
Verify that the username and email are set correctly by running the following commands.
2
git config user.name
git config user.email
Task 1: Add and Commit Files
Now that our Git identity is set up, let’s proceed to add
and commit files.
1
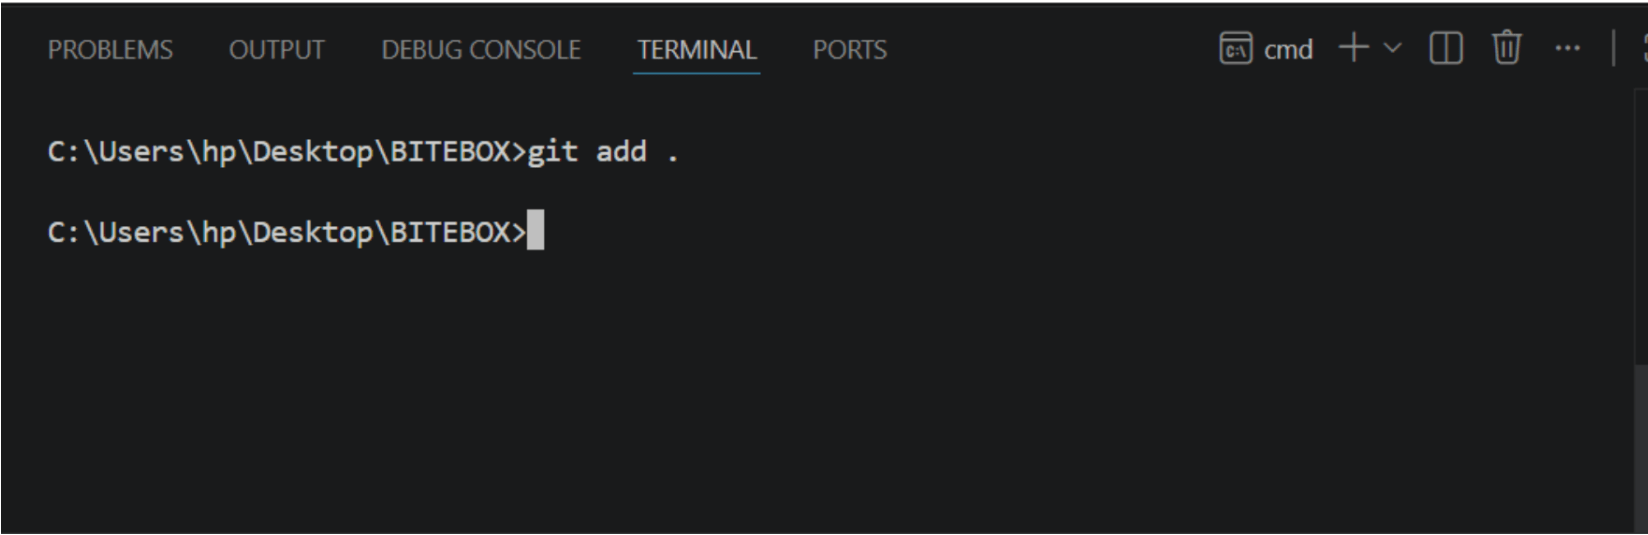
Add Files
In the VS Code terminal, run the command : git add .
This command adds all files to staging area
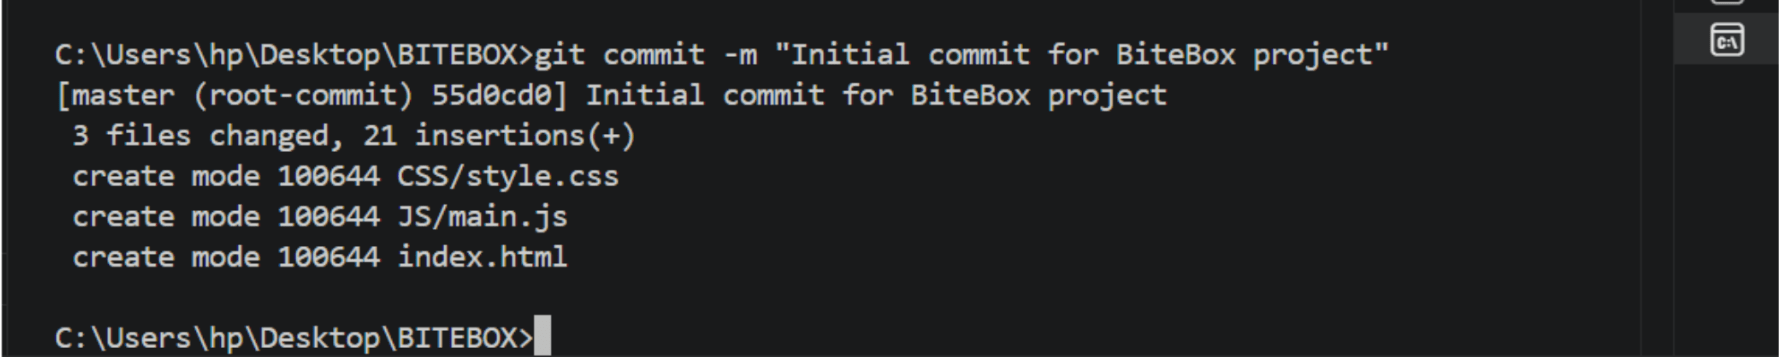
Commit files
2
When you commit, Git creates a snapshot of your files at that moment.
git commit -m "Initial commit for BiteBox project"
A commit is like saving your progress in a game
Just like in a game, when you reach a checkpoint and save your progress, you can return to that exact point anytime—even if something goes wrong later.
Task 1: Connect to Github
Well, until now we have worked locally on
our system; now let’s connect our project to GitHubto store it online.
Follow the steps given below to connect your project to GitHub.
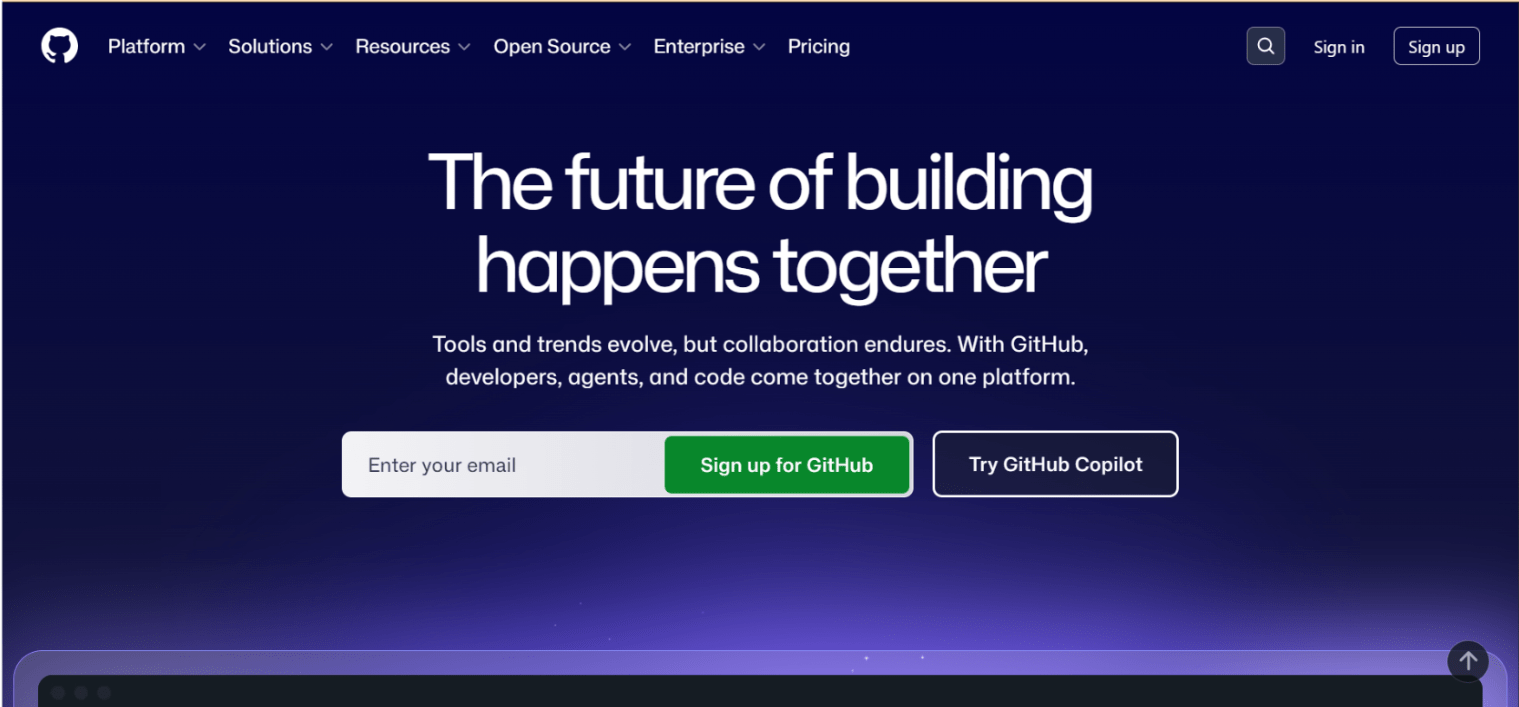
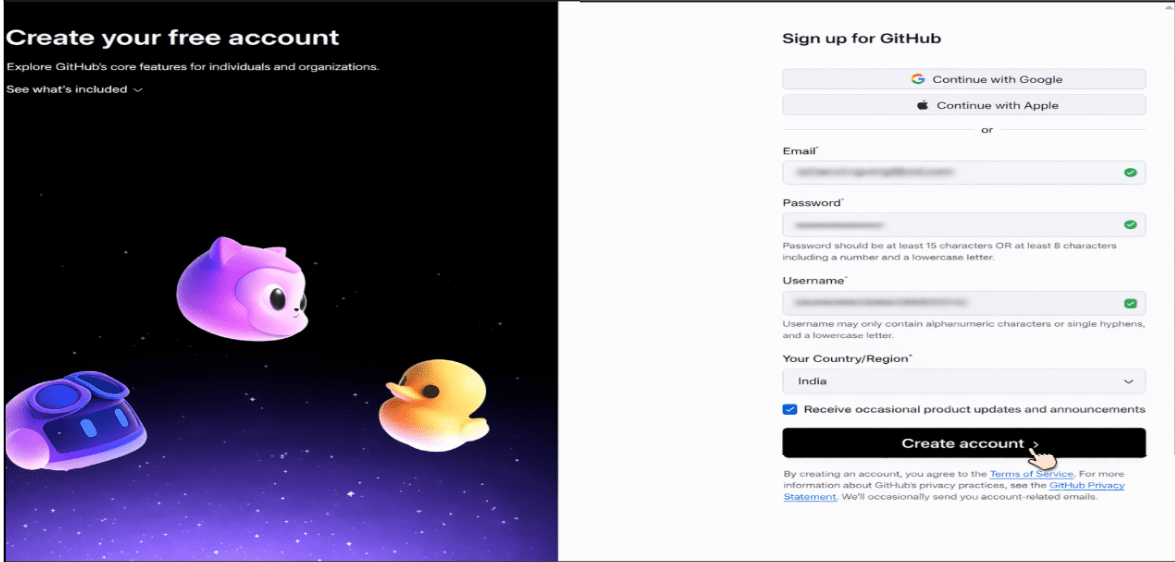
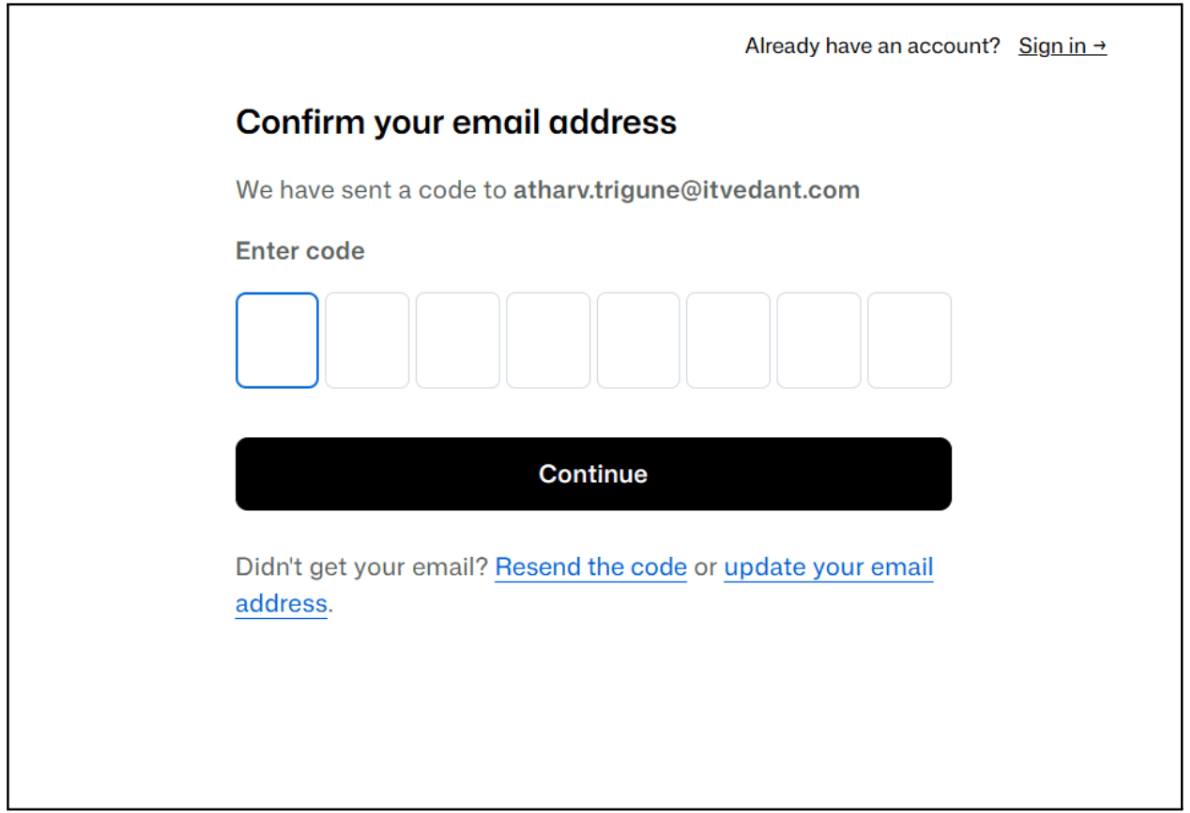
Go to the official GitHub website and create a new account or sign in if you already have one.
1
Link - https://github.com
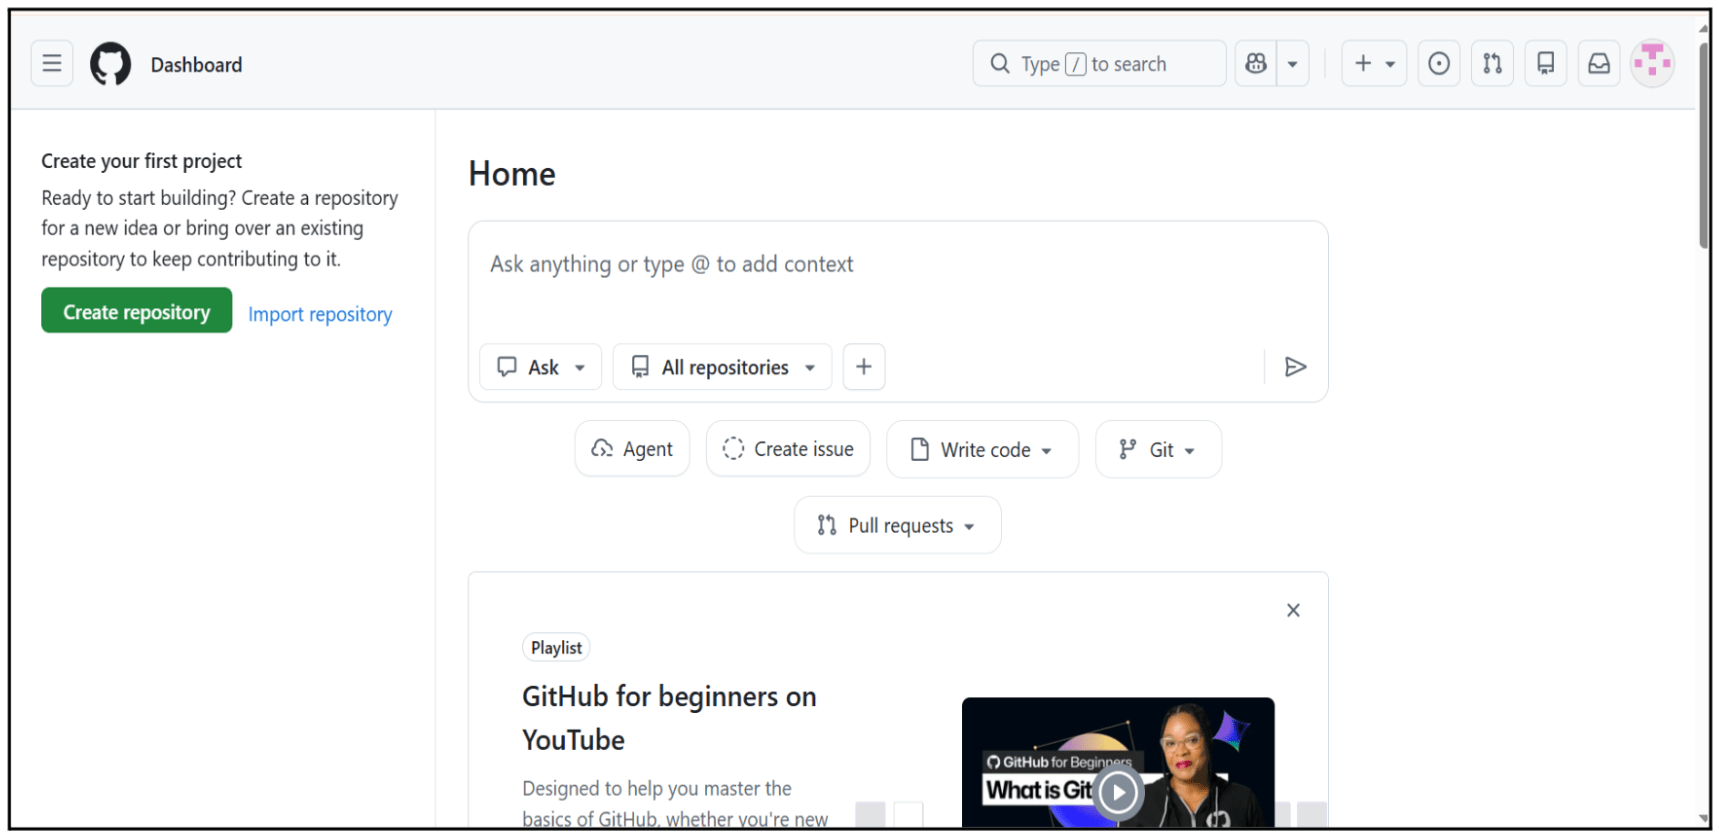
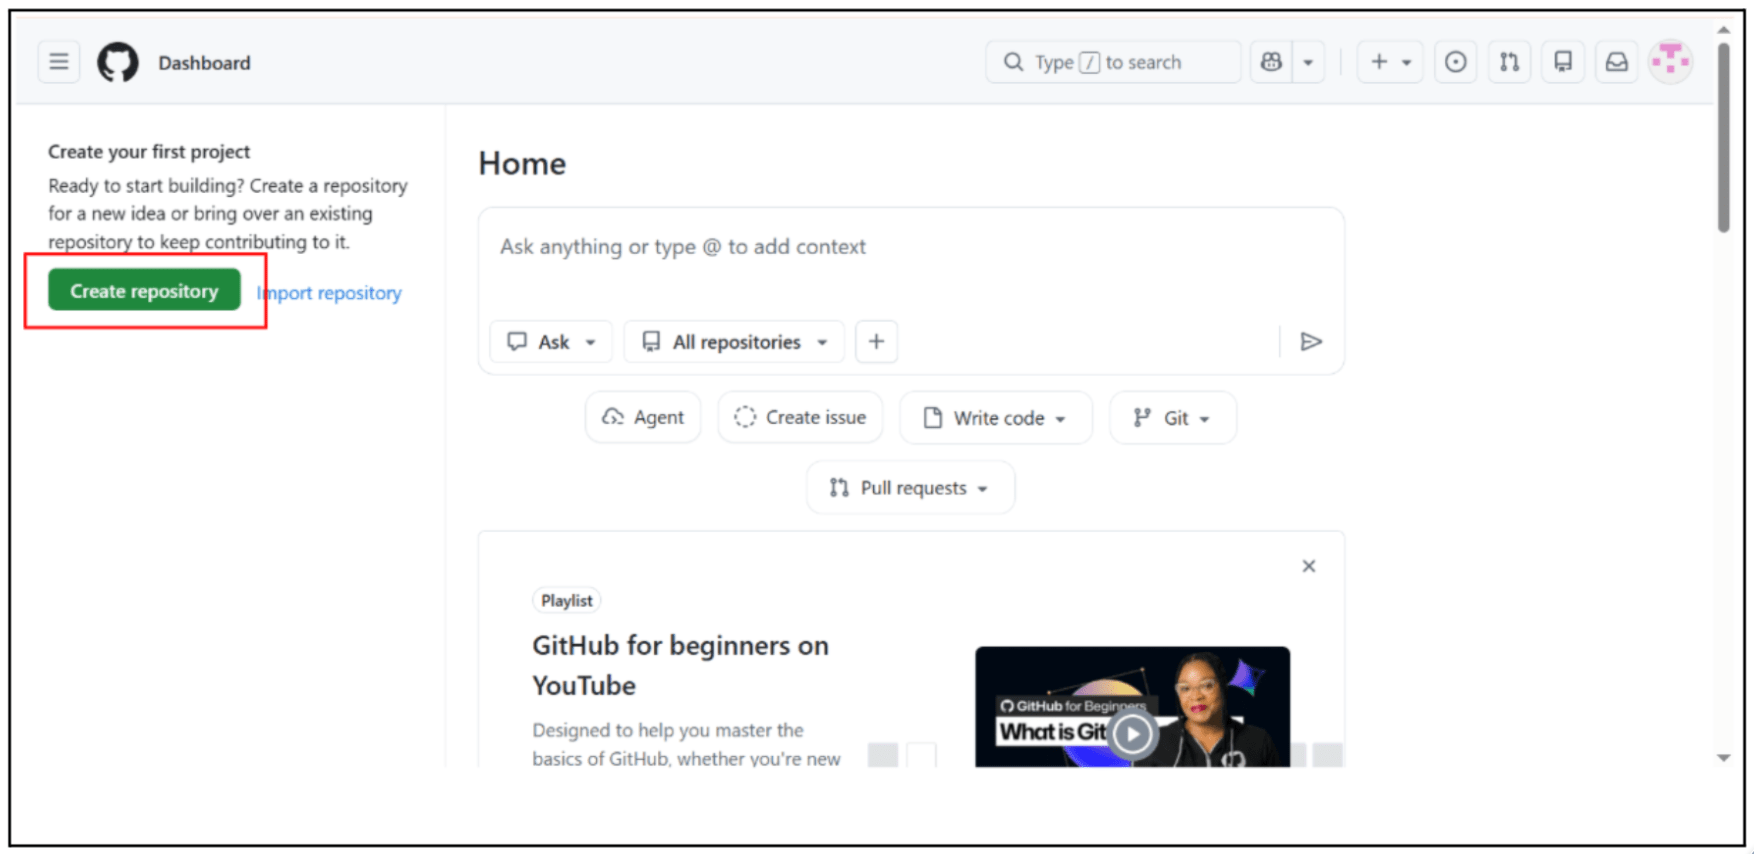
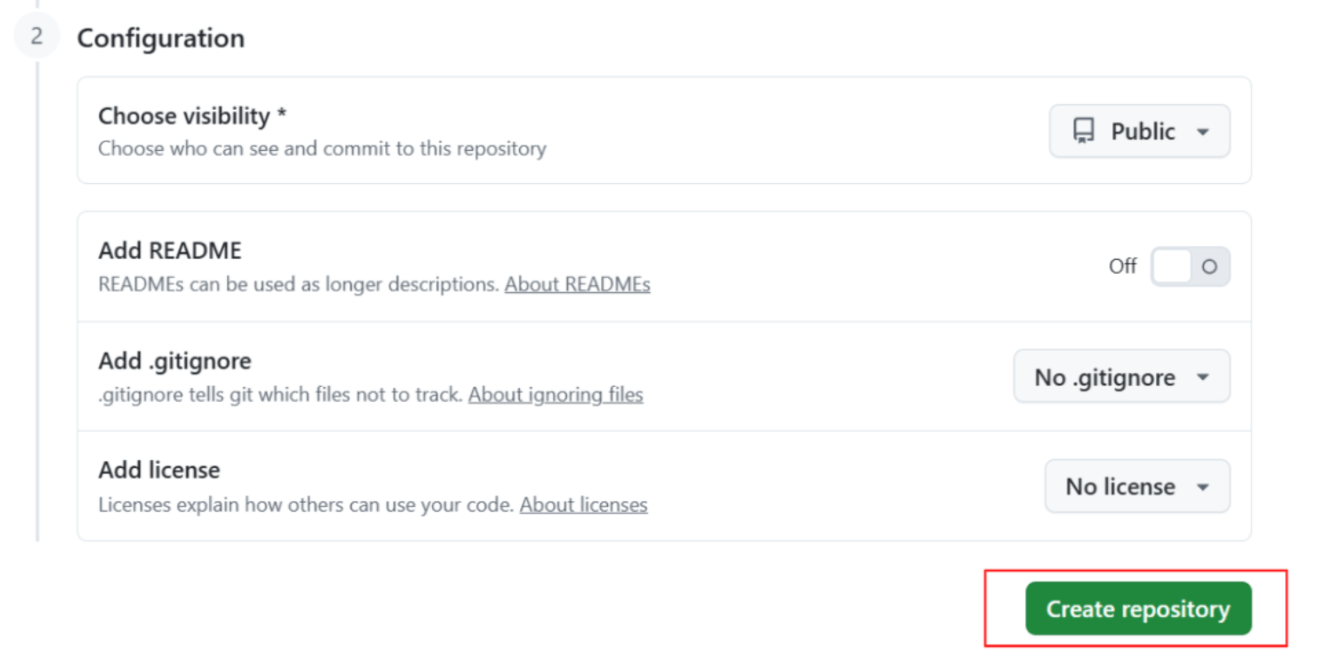
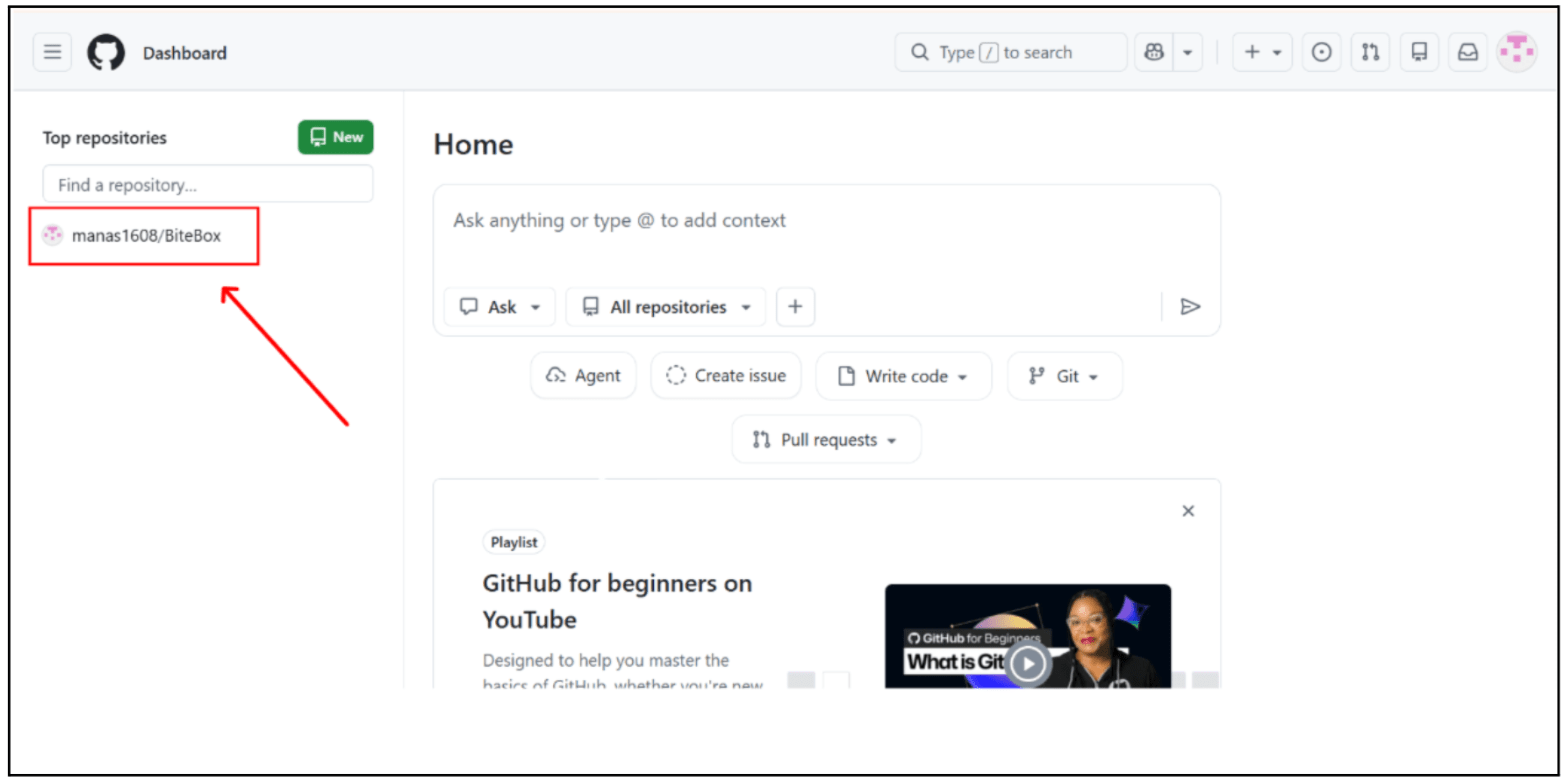
Create a New Repository
2
Click on “Create repository”
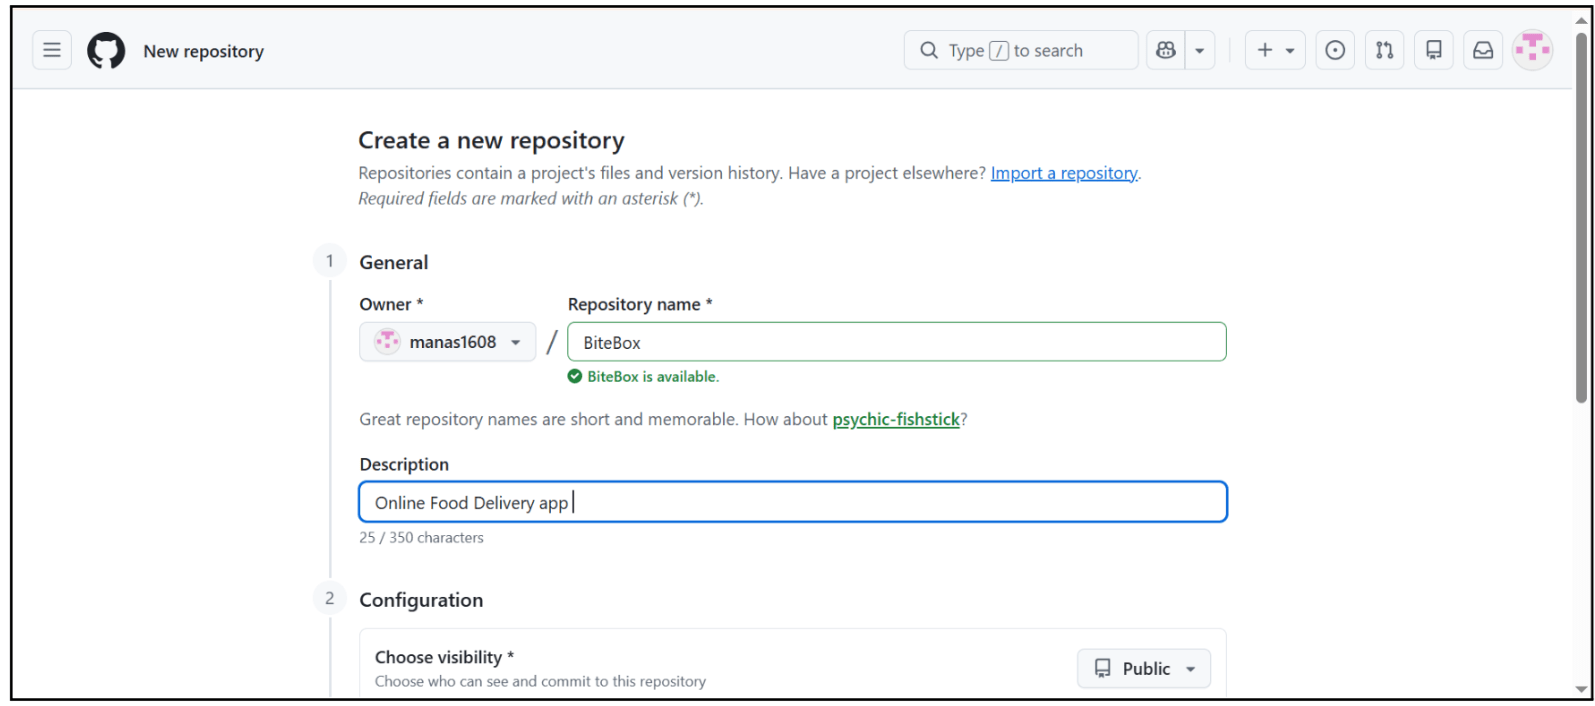
Enter the repository name, description (optional), and other details.
3
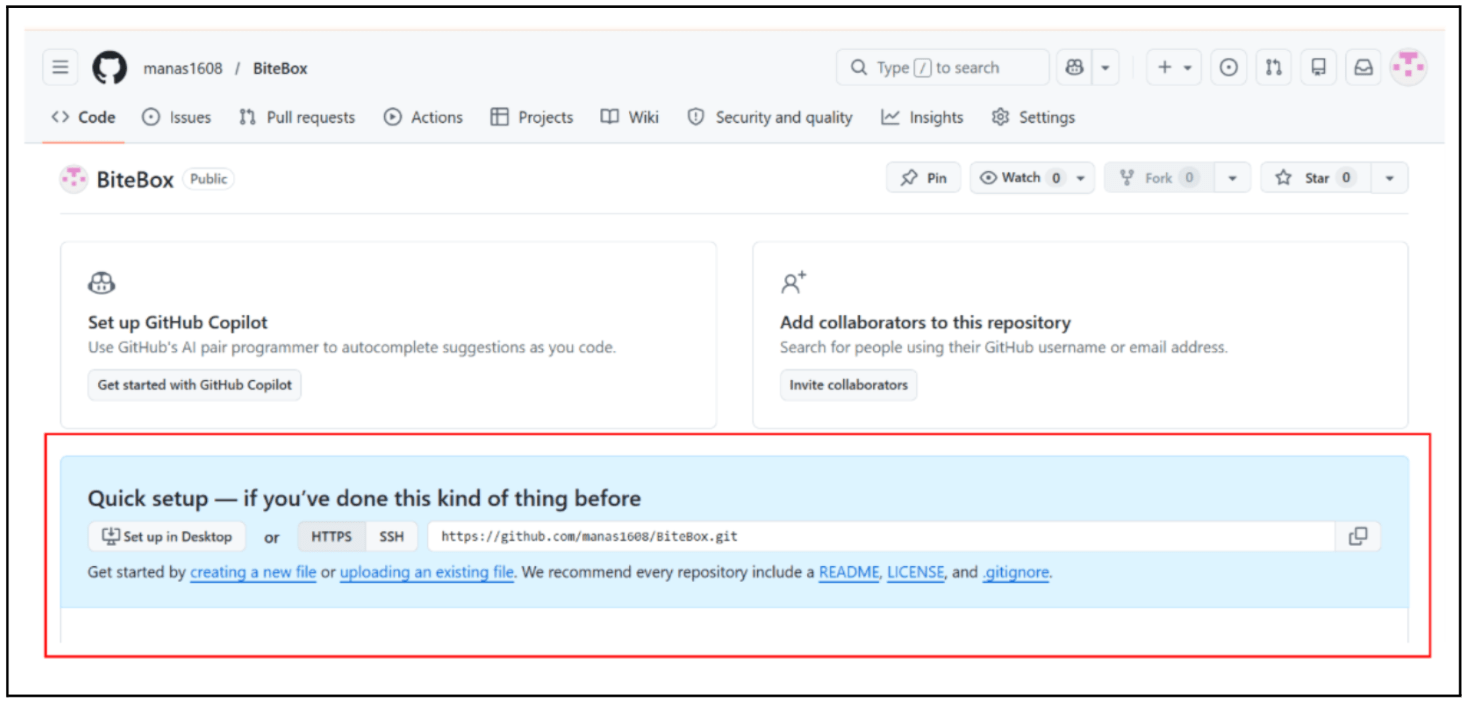
Copy the repository url
4
Make sure HTTPS is selected, then click on the copy icon next to the link.
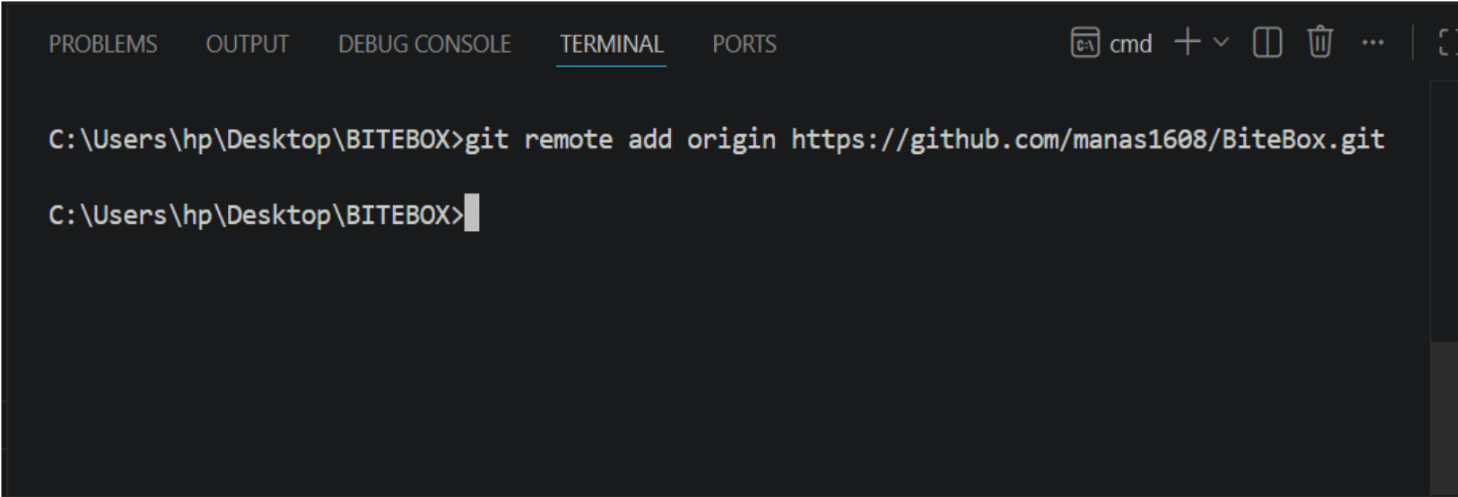
Connect your local project to GitHub
5
Open the VS Code terminal and run :
git remote add origin <repository-link>
Task 1: Installing Git
Now that the project is connected, let’s push our code to GitHub and store it online.
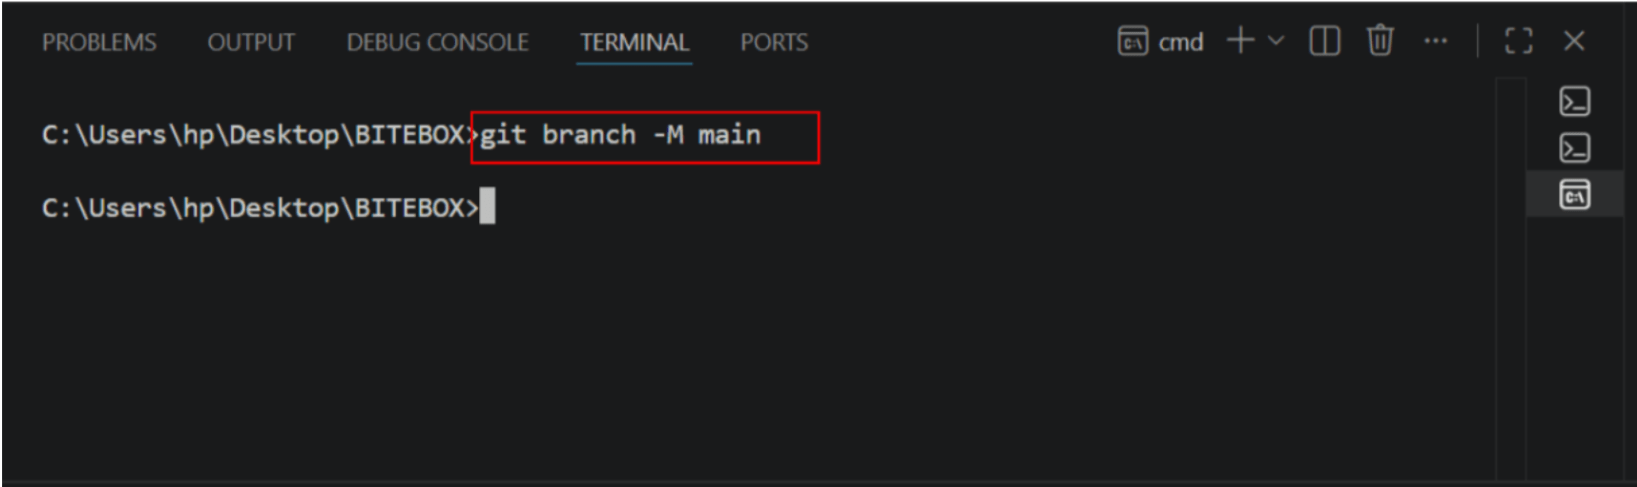
Rename Branch to Main
1
Renaming the branch to main ensures consistency between your local repository and GitHub.
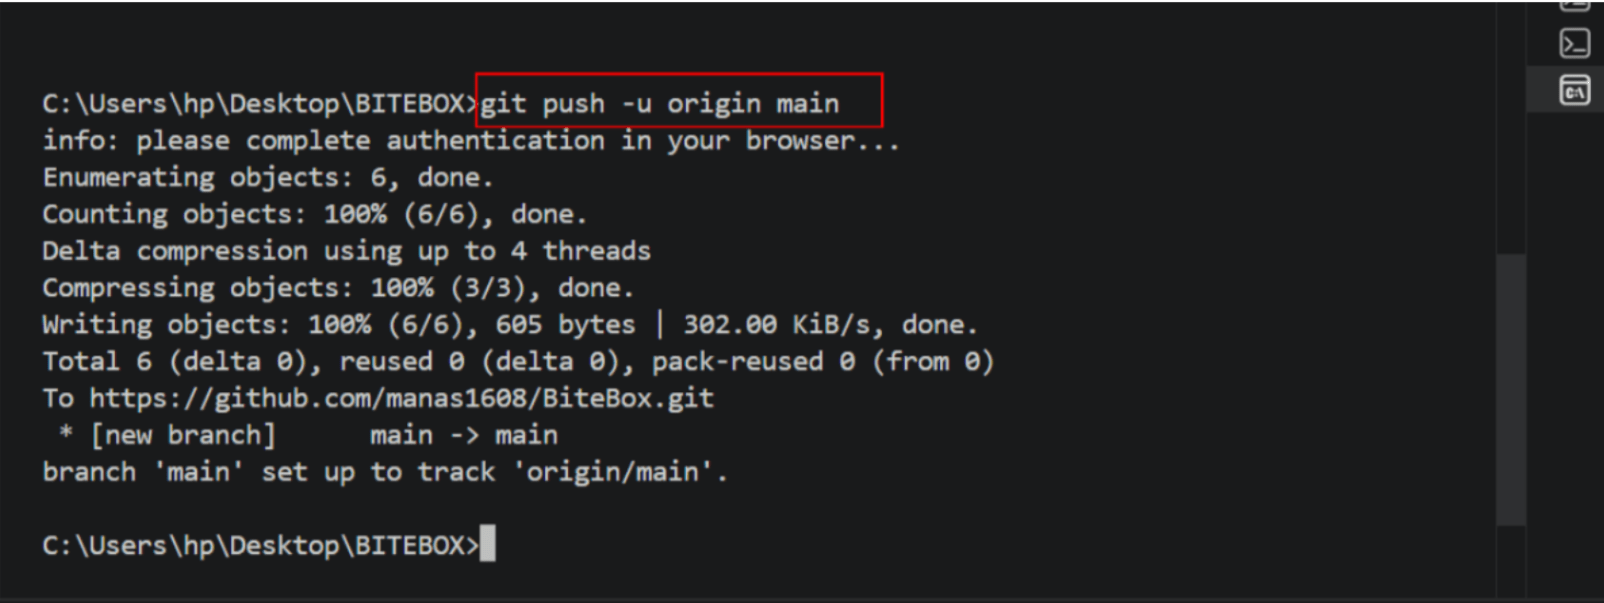
Push Code to GitHub
2
Pushing code to GitHub means uploading your local project files and commits to a remote repository on GitHub.
Great job!
Your project is now live and accessible on GitHub.
In this lab, you have: Understood Git basics and version control concepts, Installed and configured Git on local system, Initialized repository and managed project changes , Connected local project to GitHub repository, Pushed code and made project live online
Checkpoint
Next-Lab Preparation
Git Push
git push origin branchNameTopic : Working with a Text and Listin HTML
1) Power of HTML text tags
2) Customizing your style with CSS
3) Listing it right using HTML
4) HTML Link up , attributes of tag, block vs inline elements
By Content ITV


