


Content ITV PRO
This is Itvedant Content department
Learn how to Install and use Burp Suite
Business Scenario
Text
Pre-Lab Preparation
Topic : Web Application Testing Techniques
1) Manual vulnerability testing techniques.
2) Introduction to Burp Suite.
Task 1: Burpsuite Installation
1
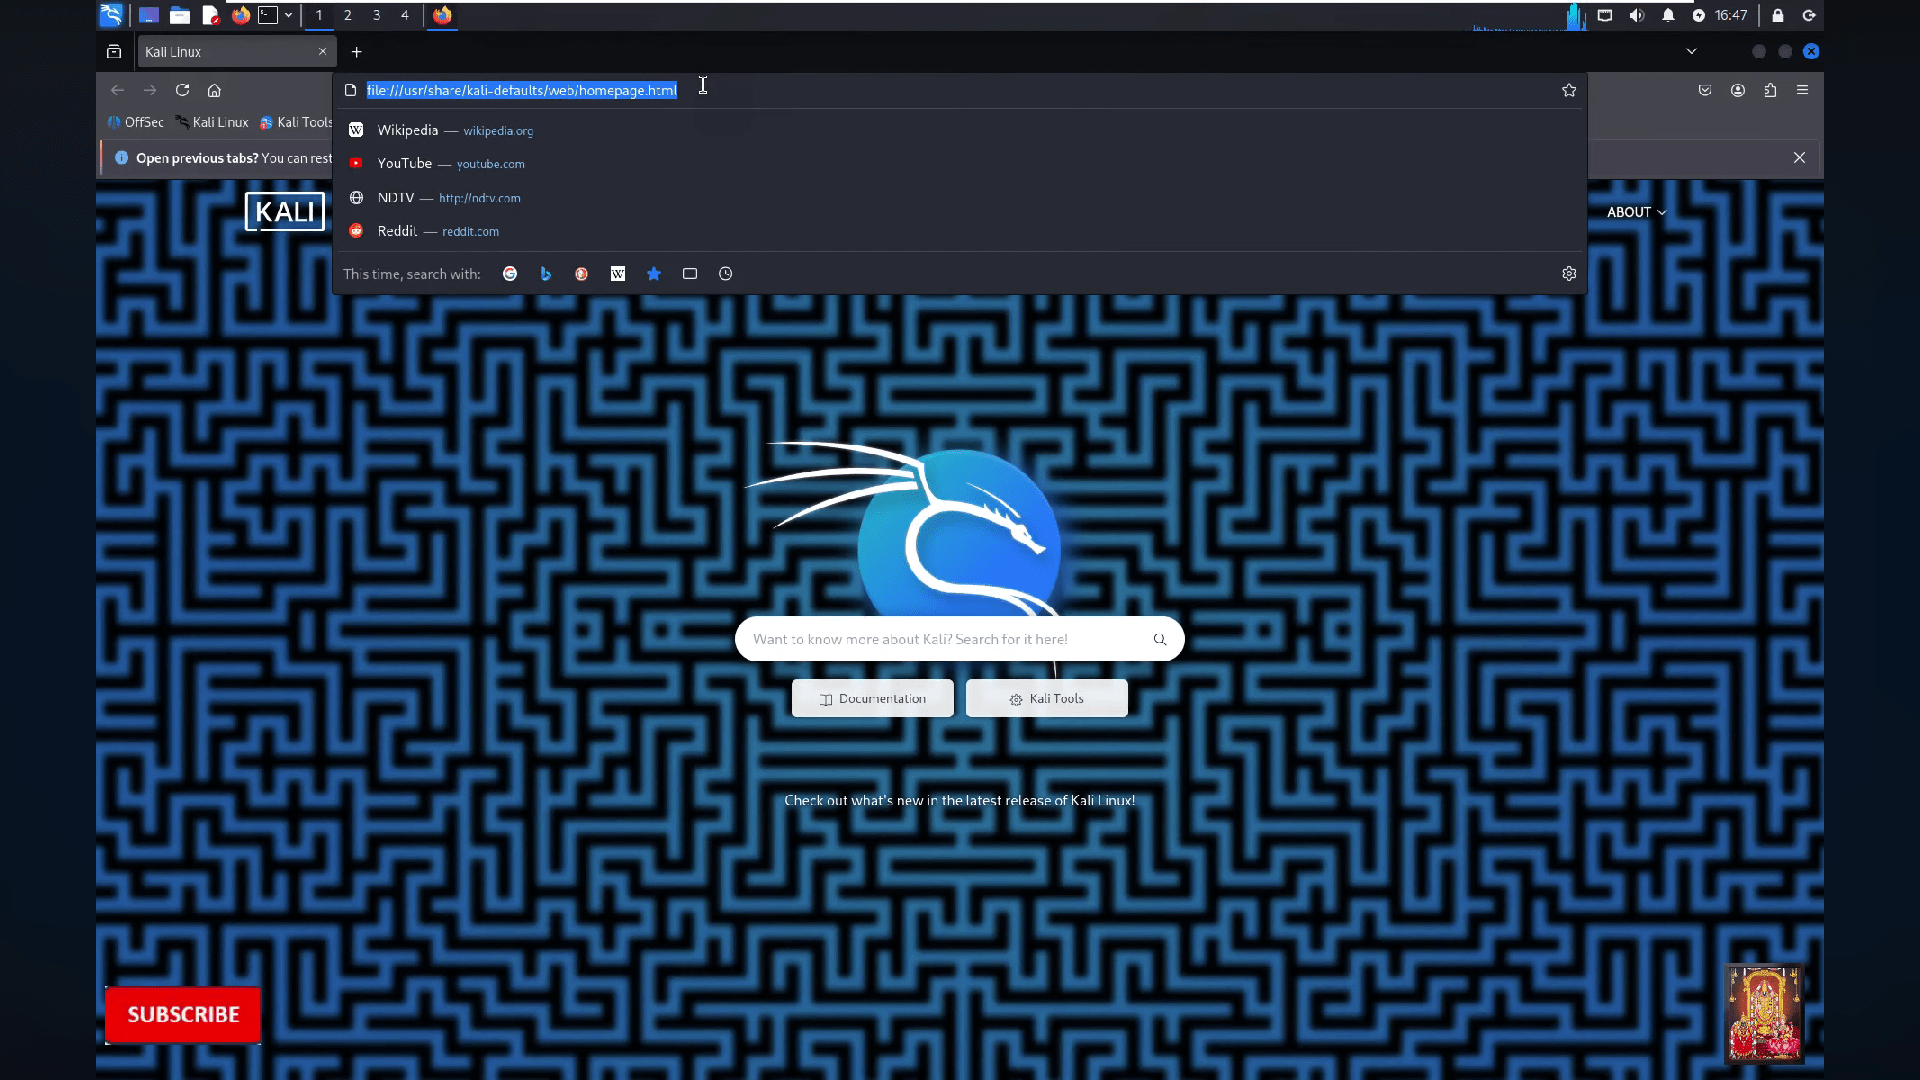
Open your kali linux browser
2
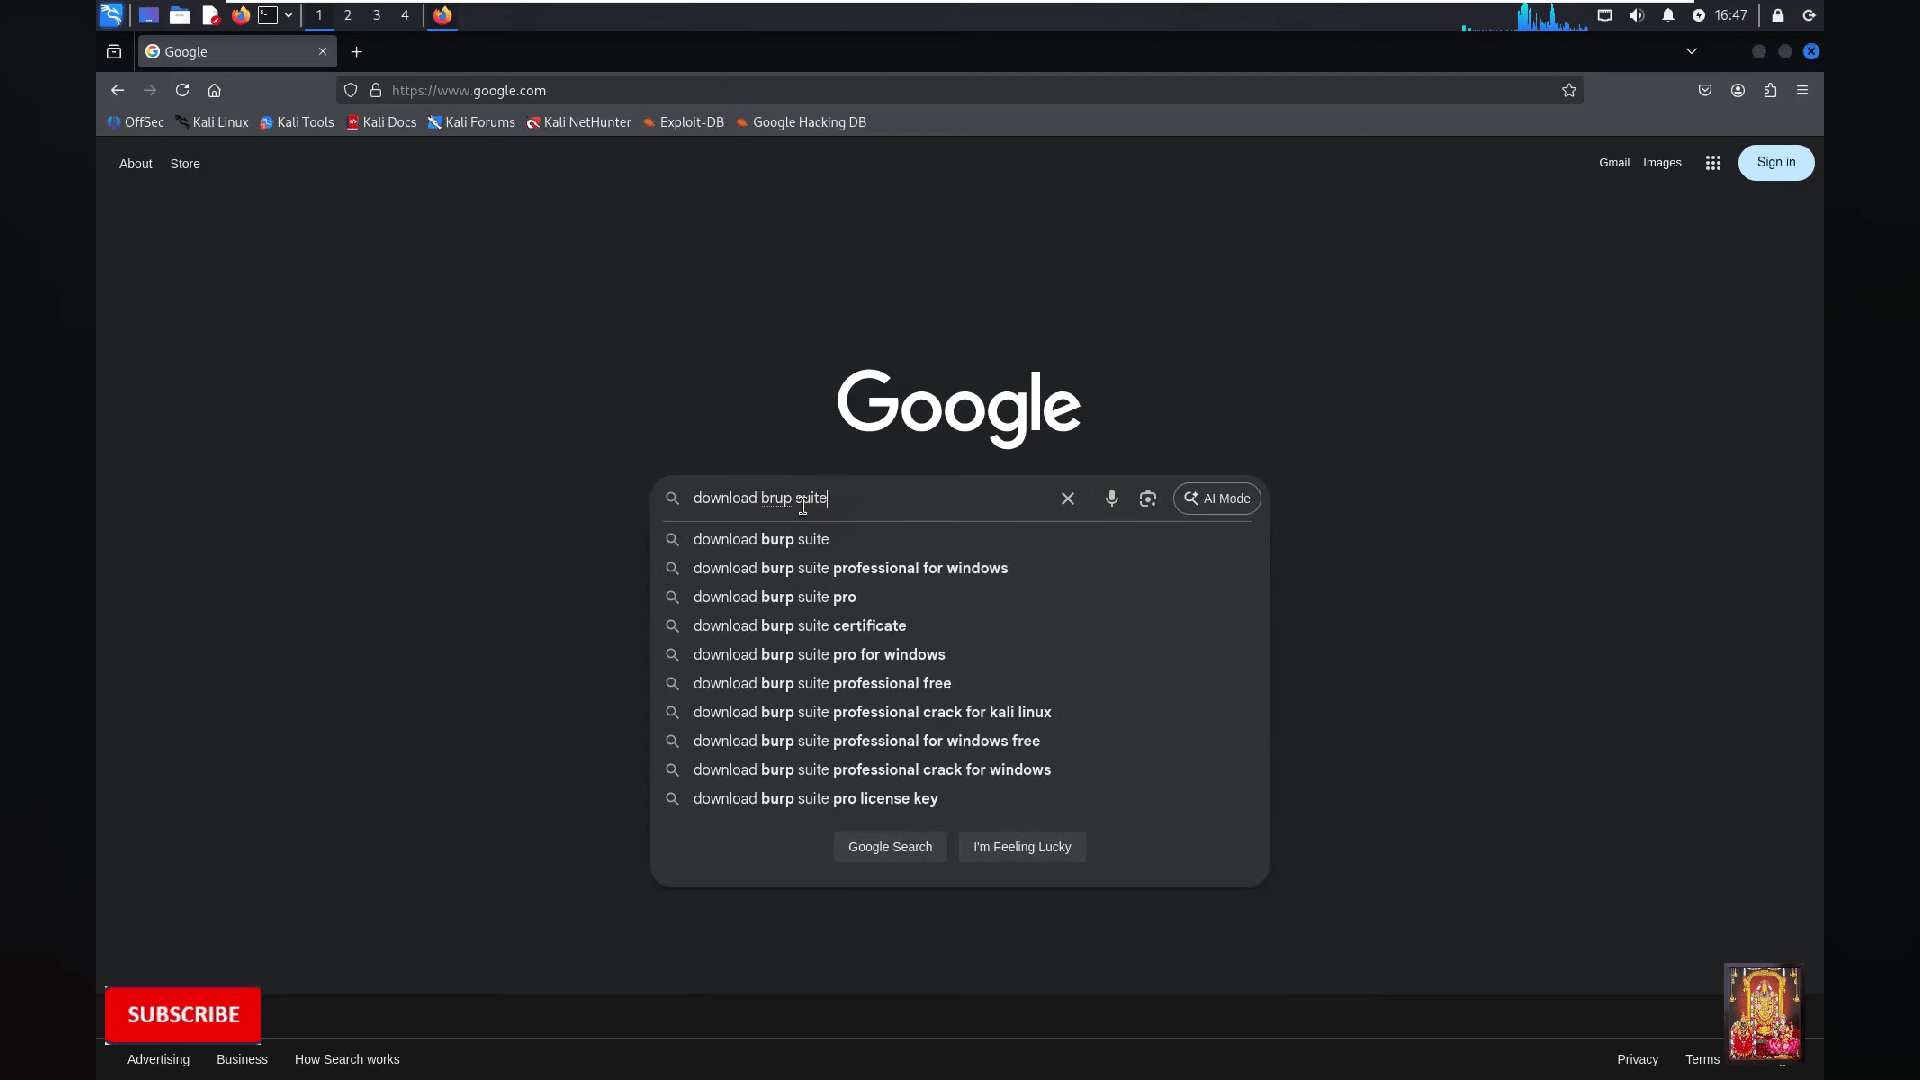
Search download burpsuite
3
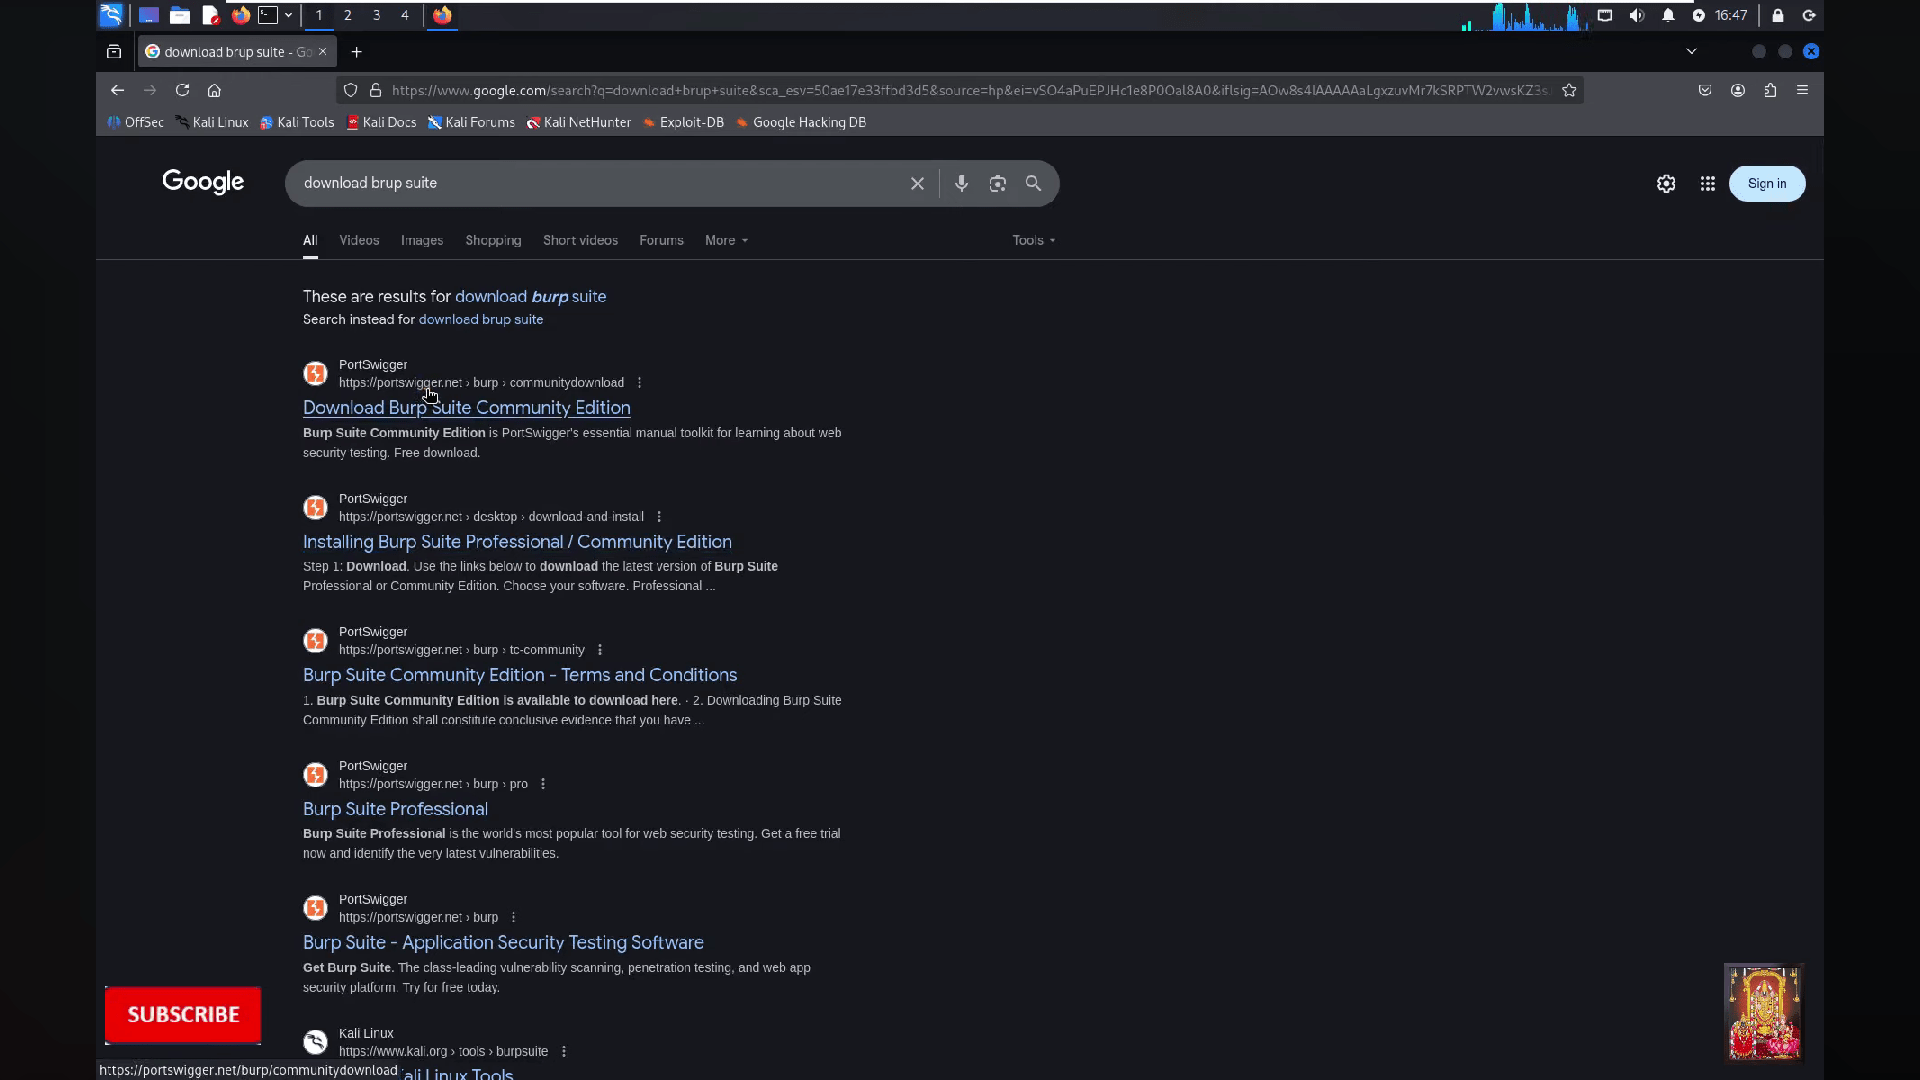
Click on the first website
4
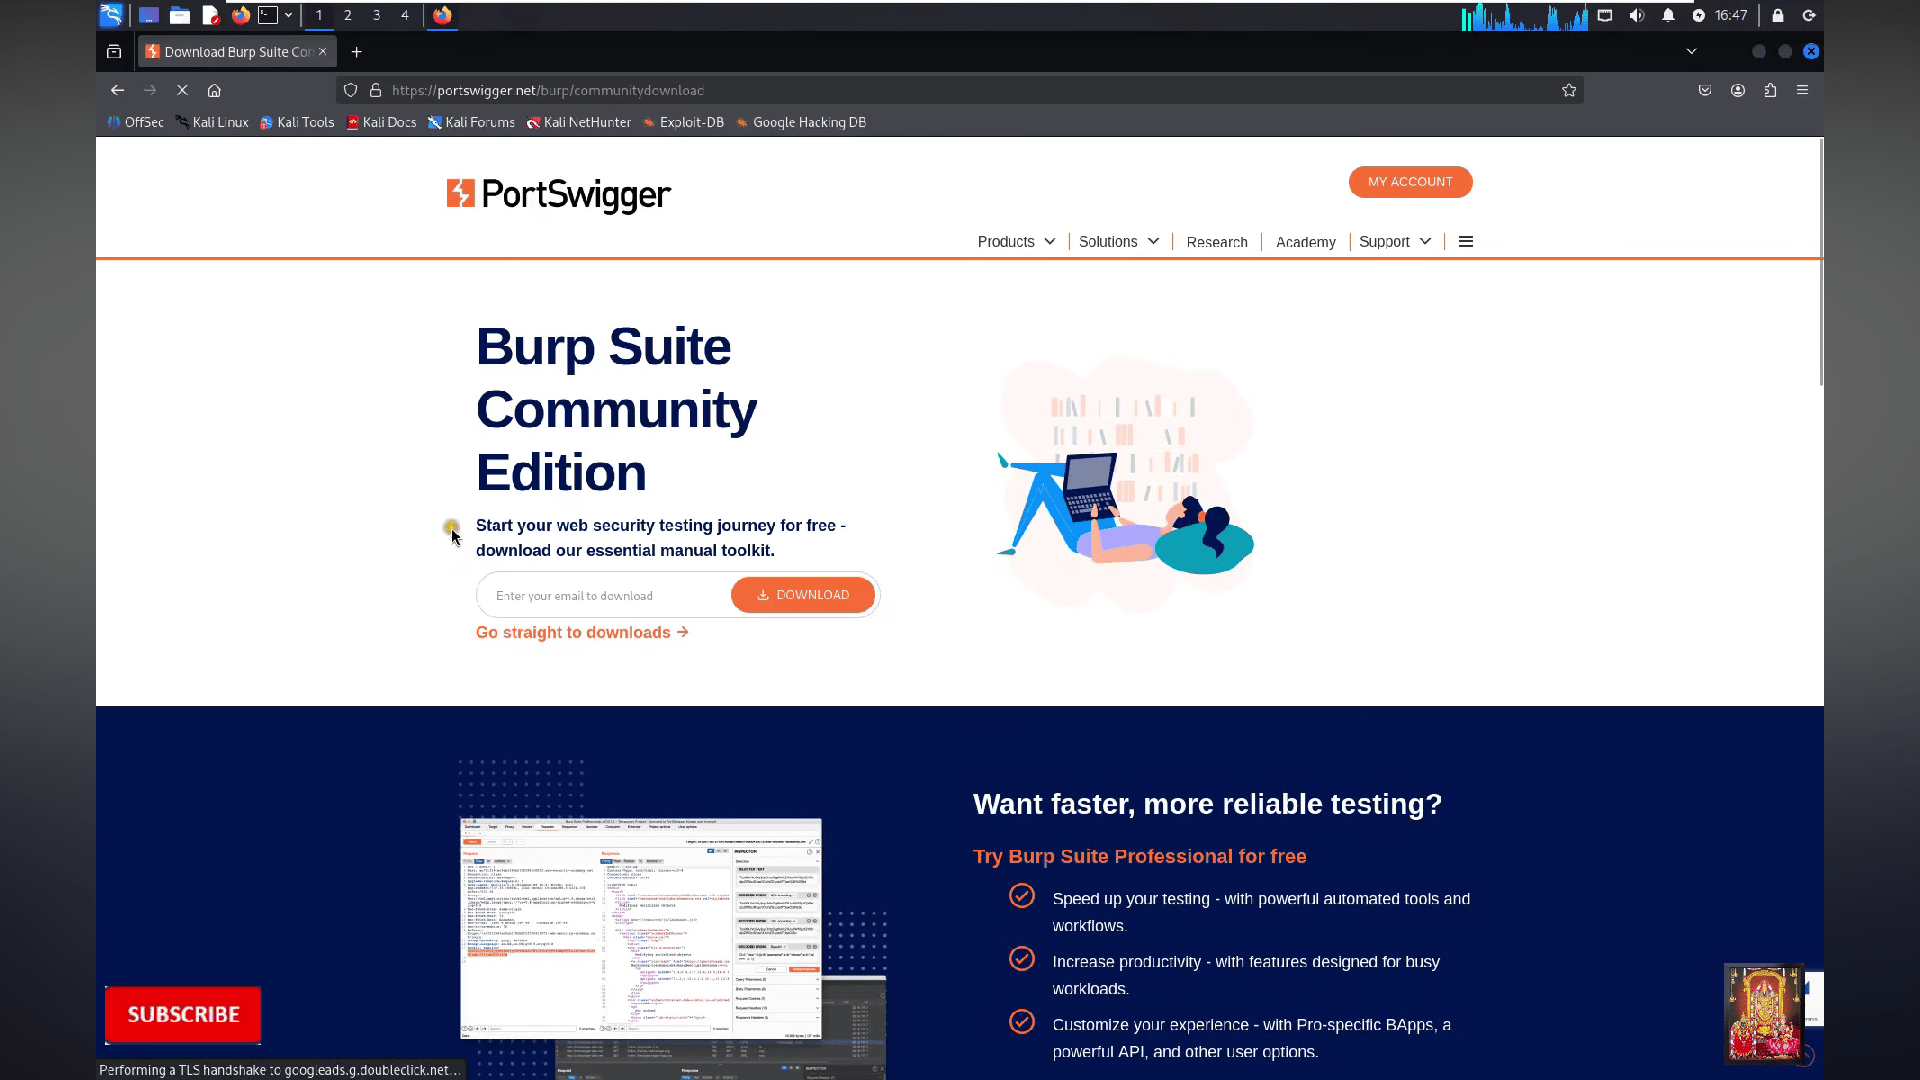
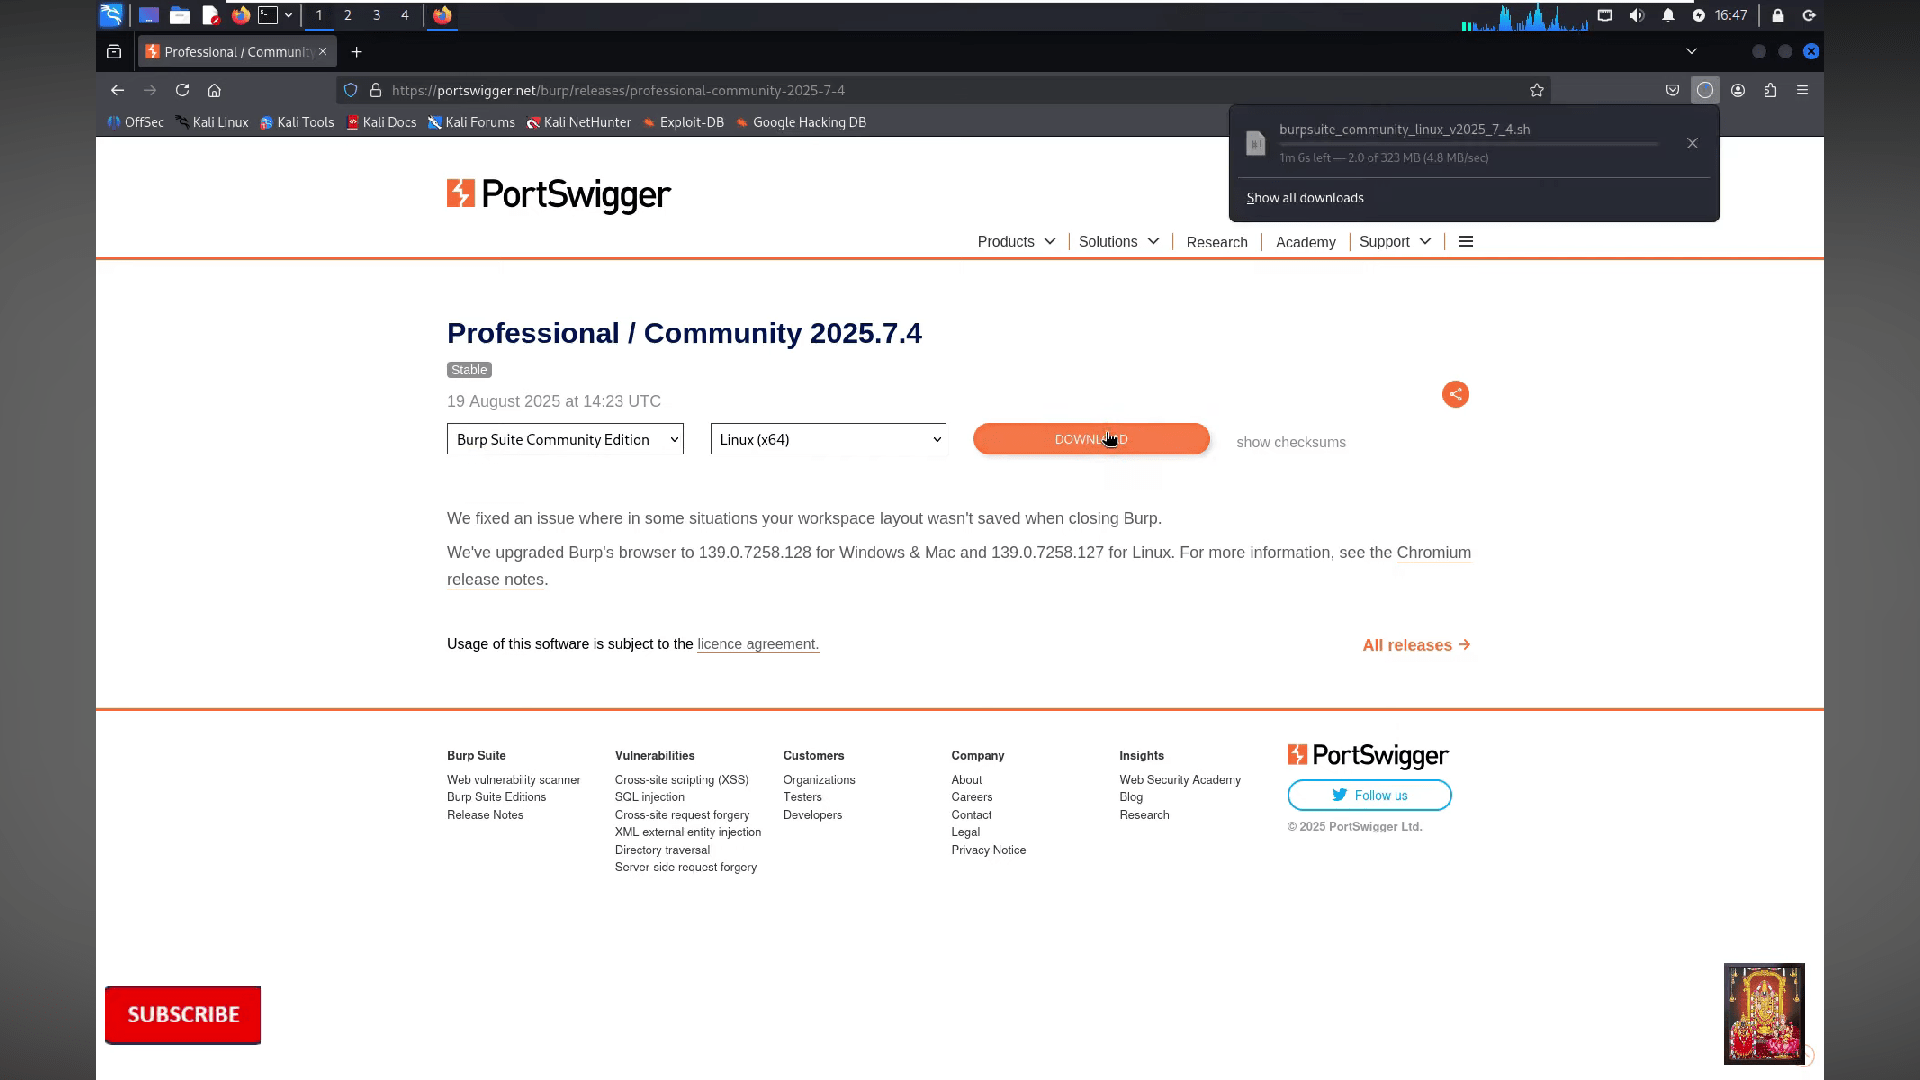
Now click on "Go straight to download"
5
Wait for the file to get download
6
Now the file will be successfully download
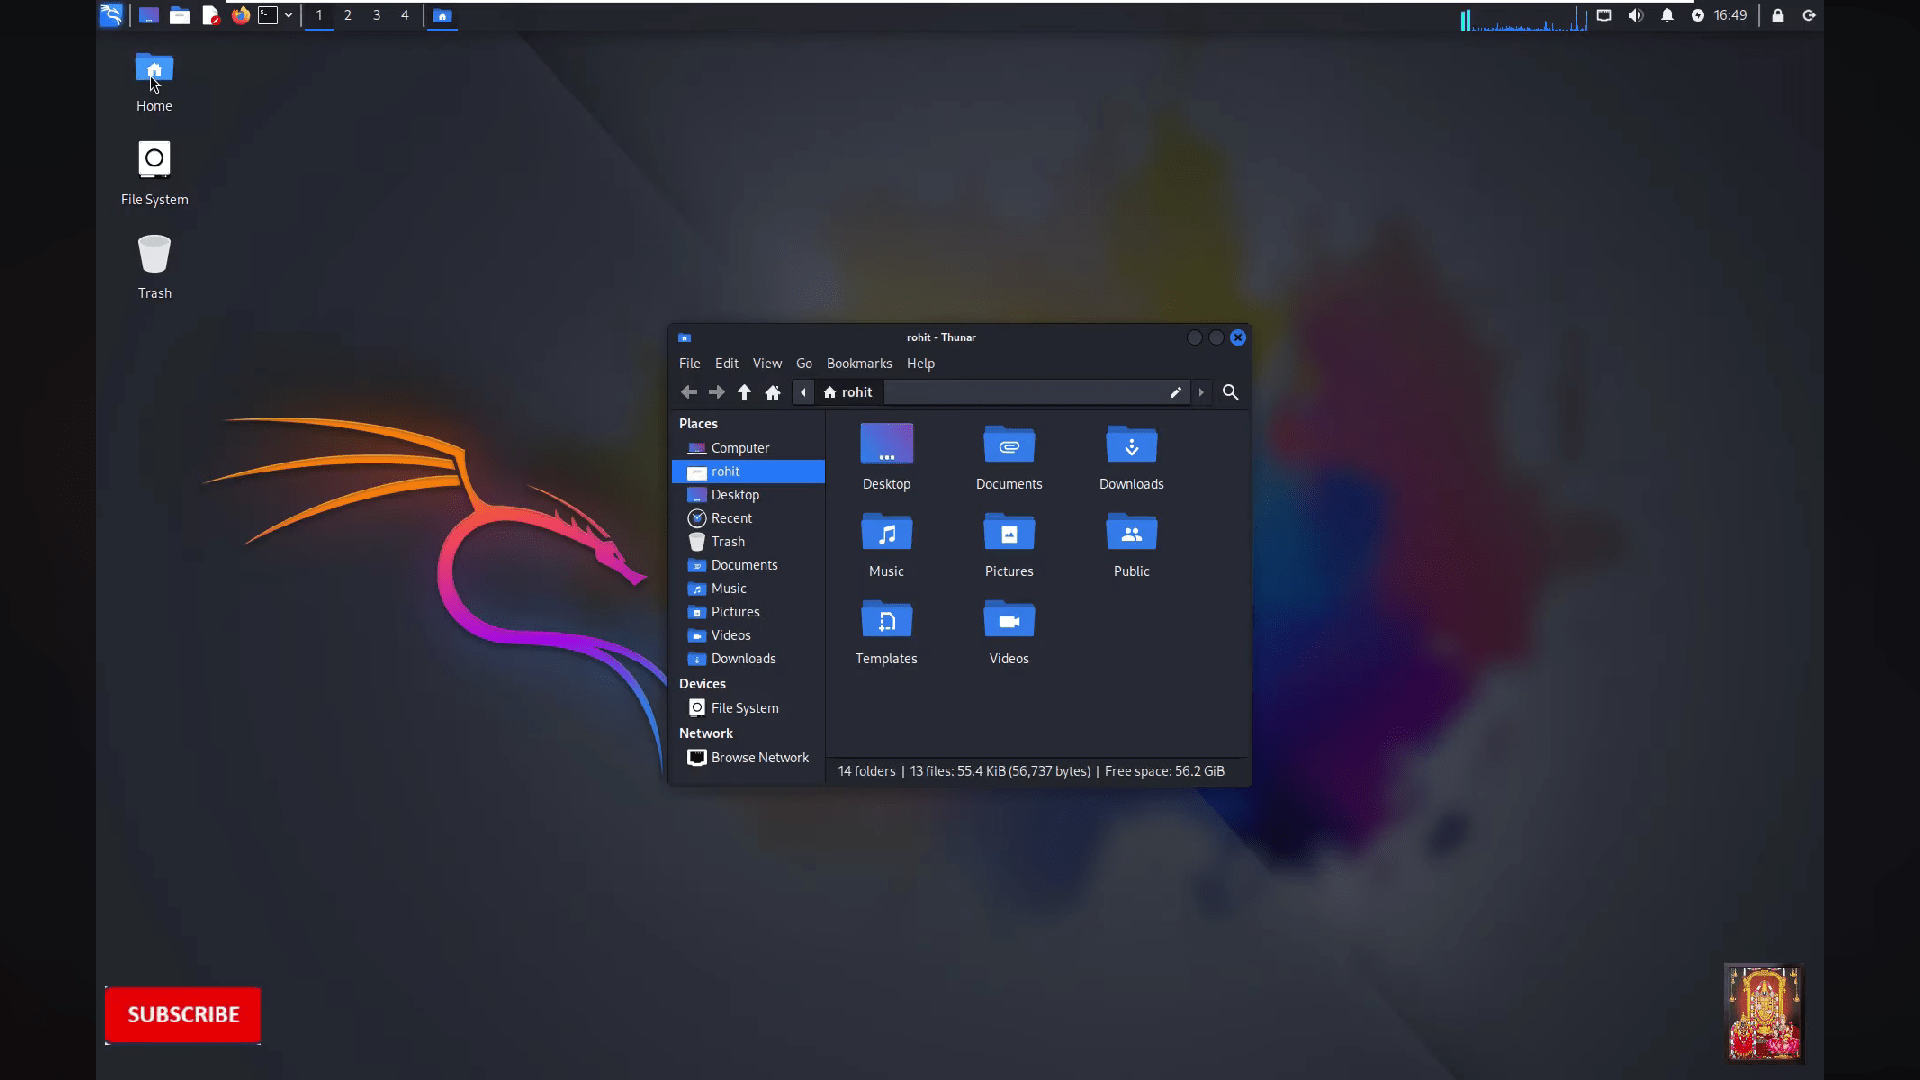
7
After go to the home on the deskstop
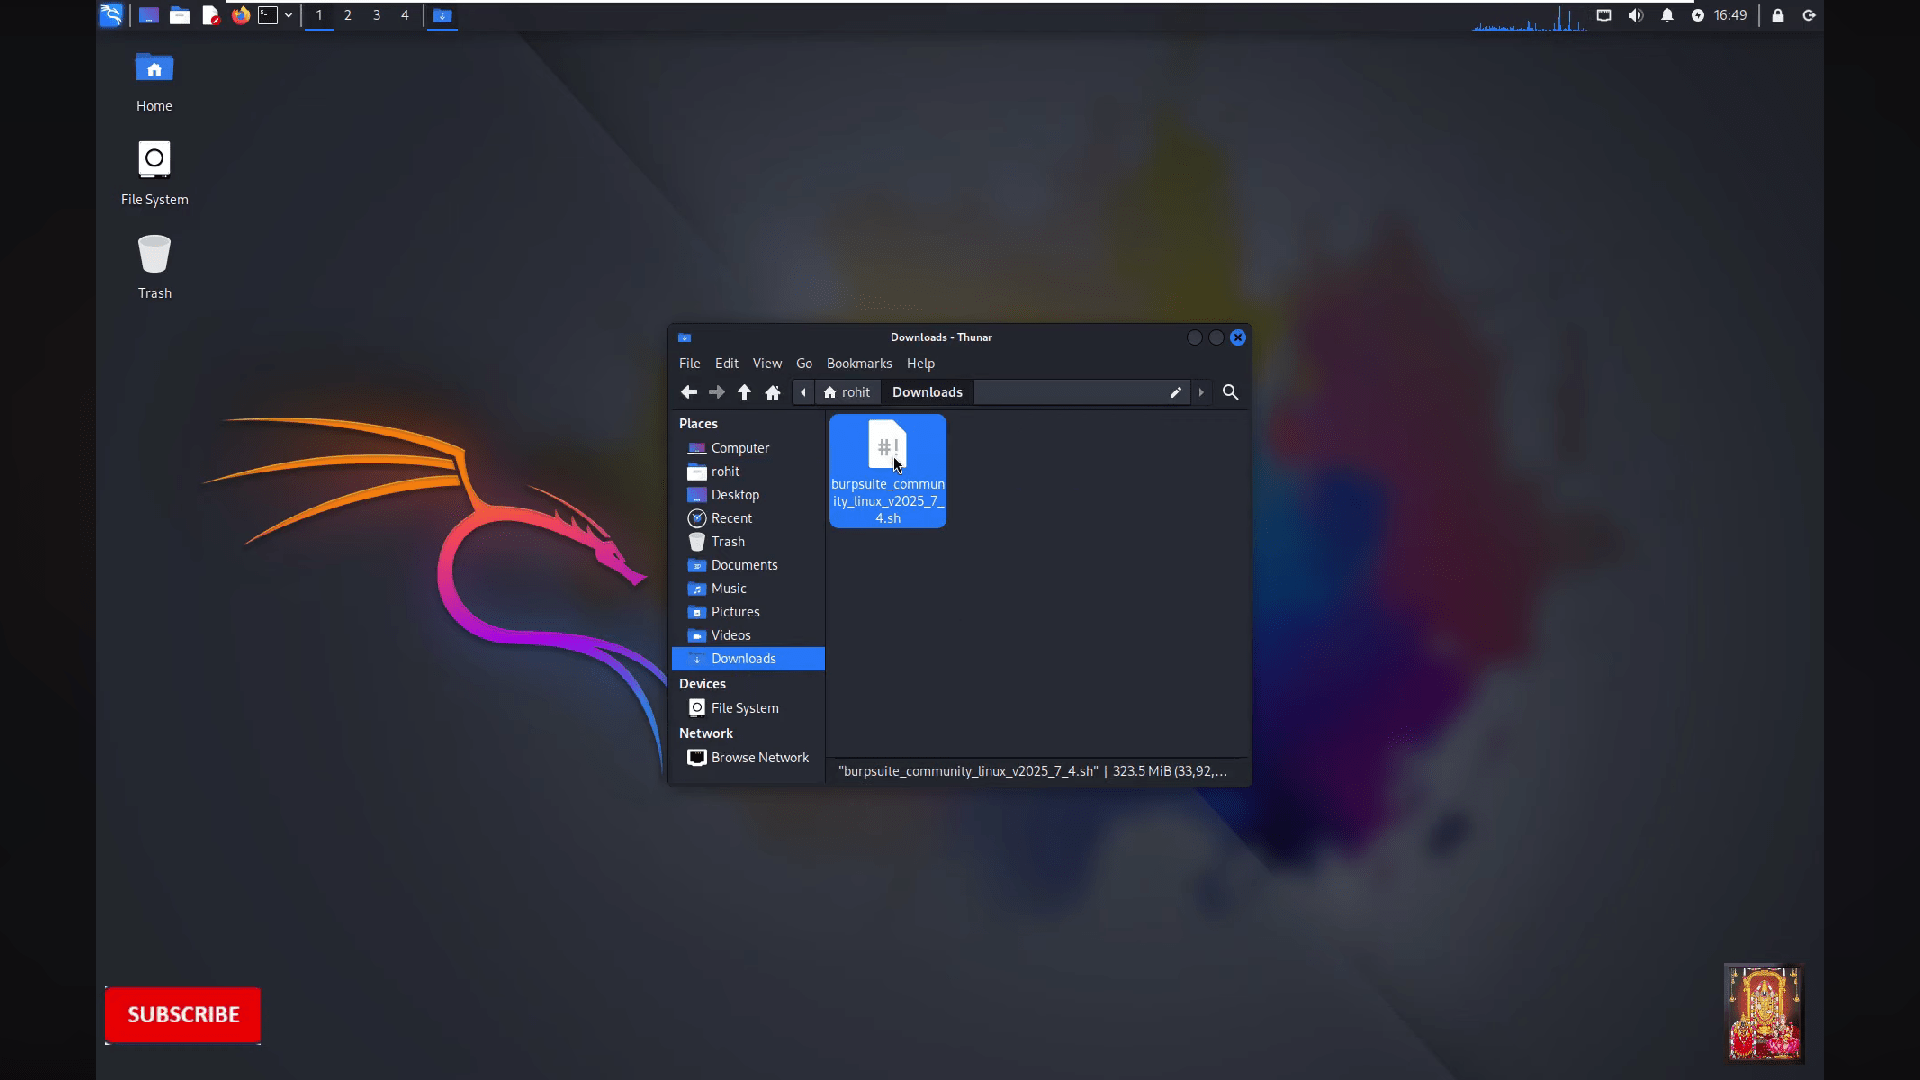
8
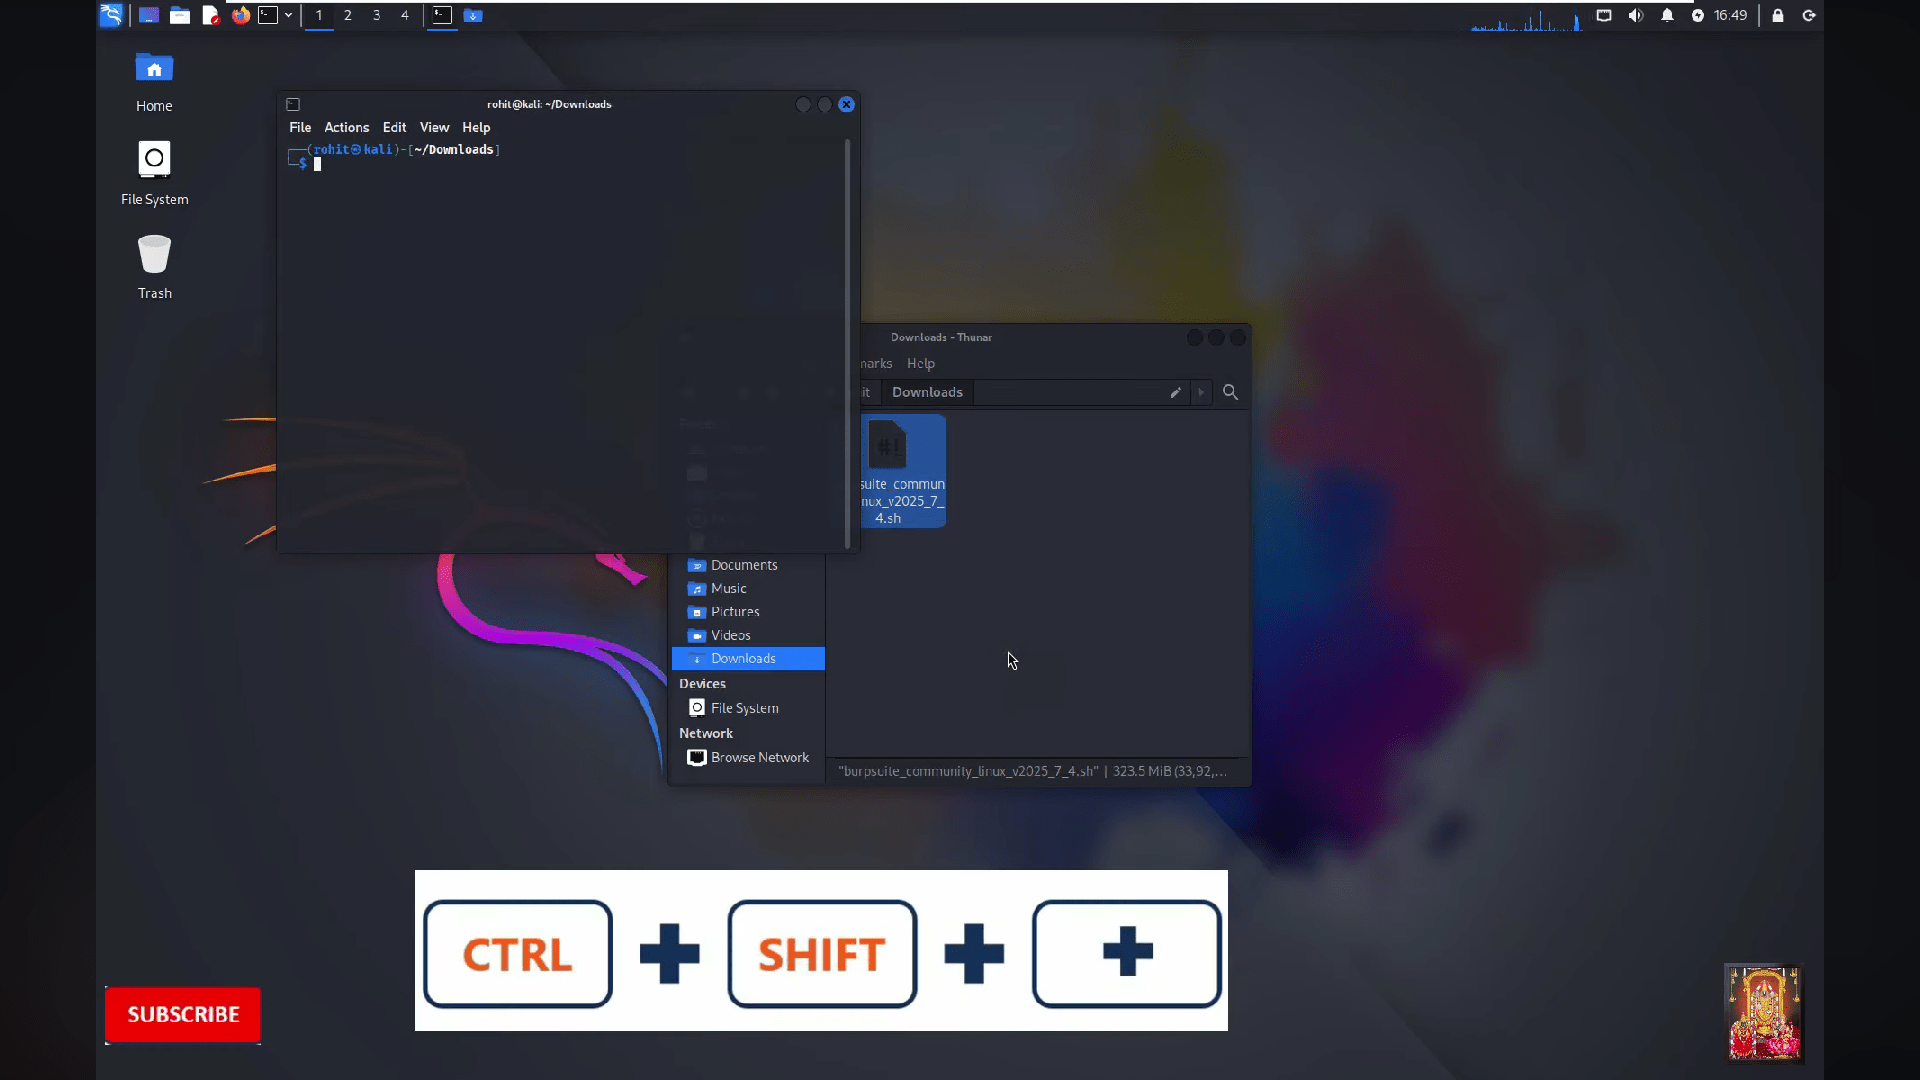
Go to the Downloads
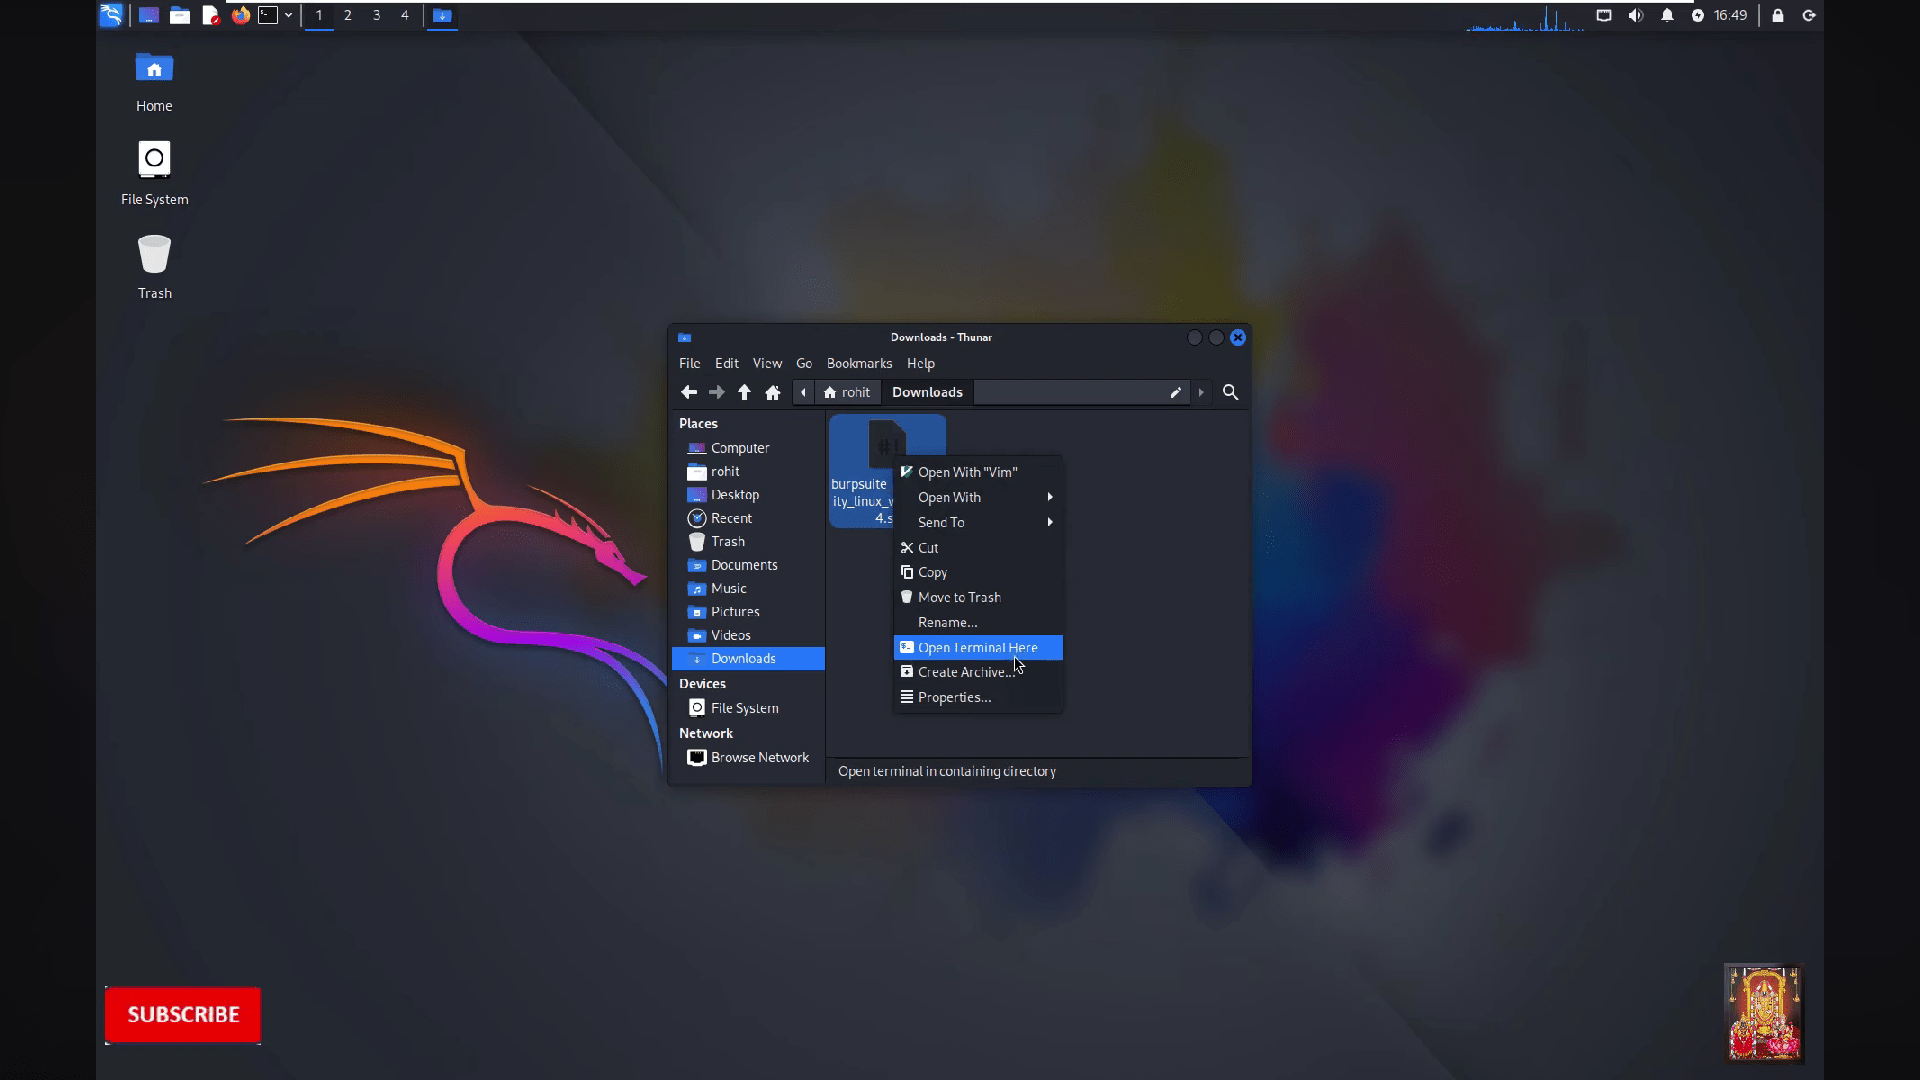
9
Open the burpsuite file by clicking on "open terminal here"
10
Then terminal will be opened
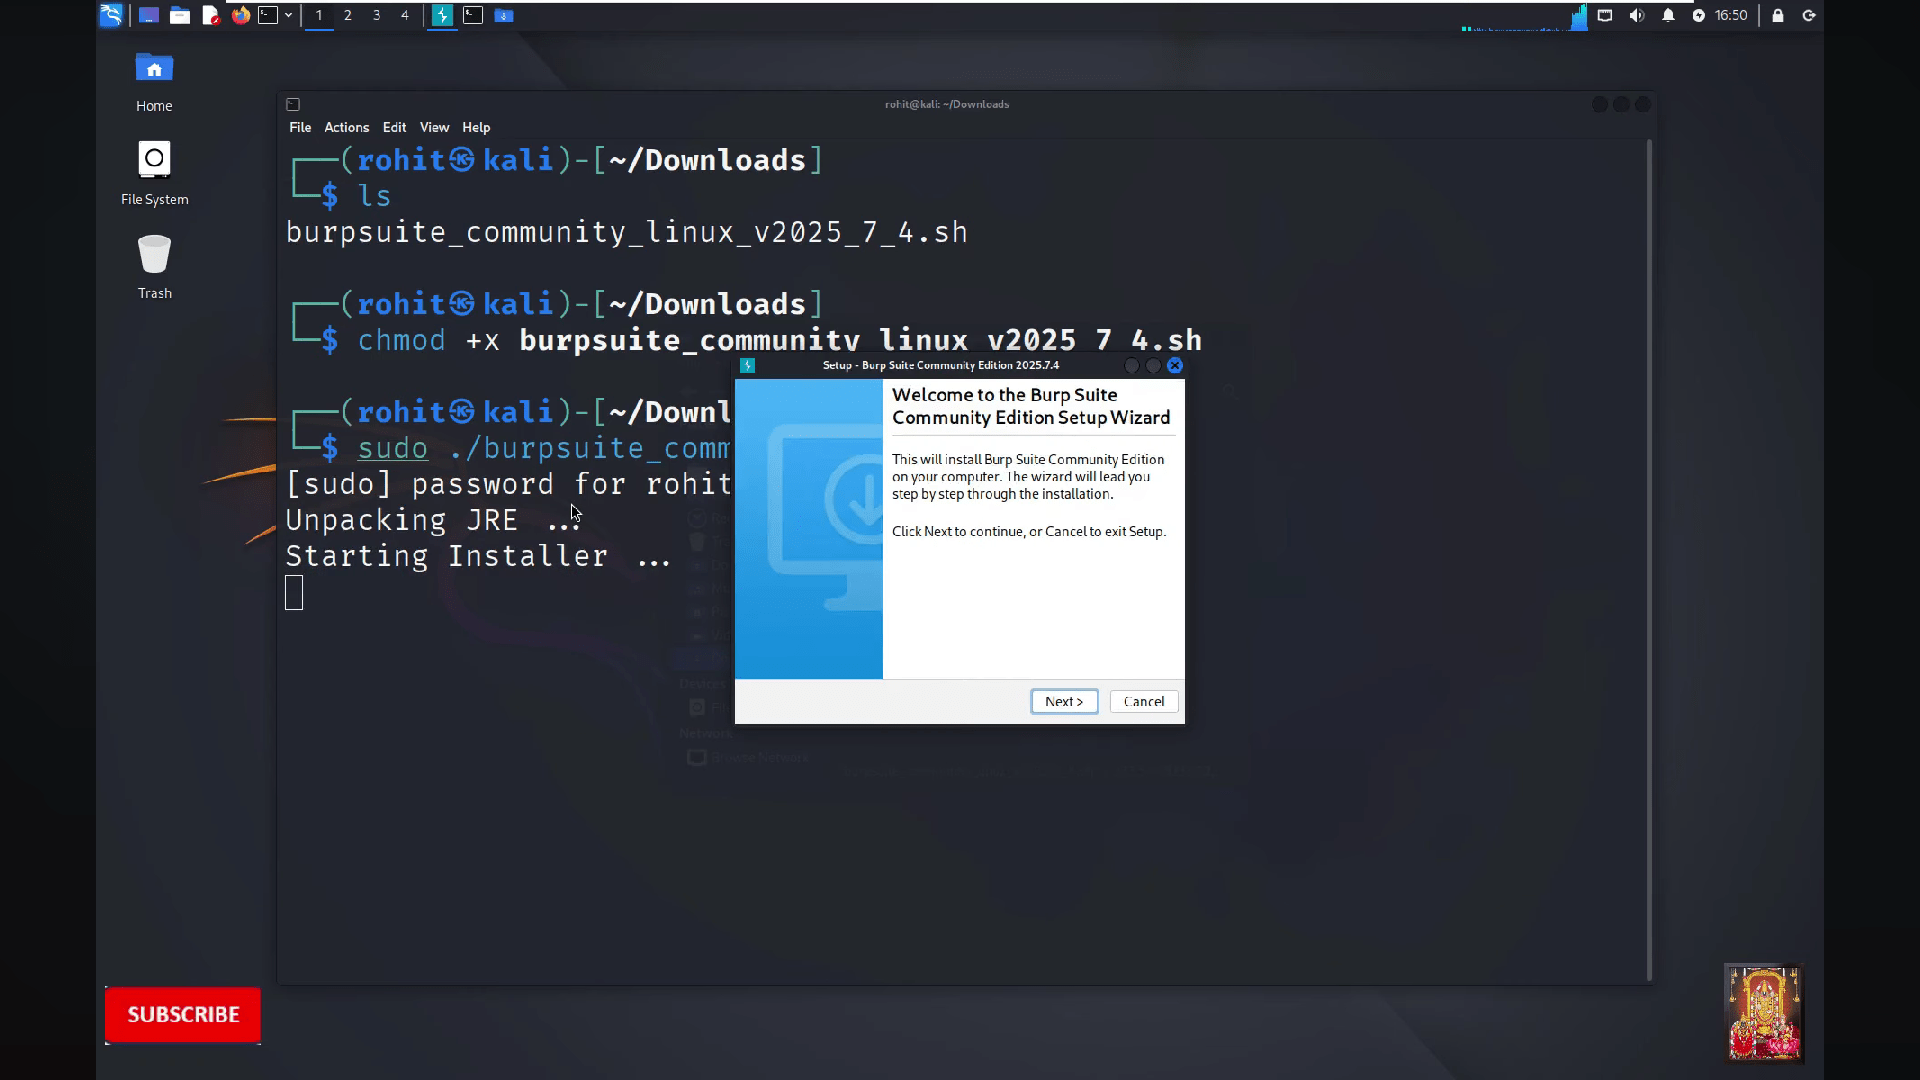
11
Now on terminal run the following commands and click on "Next"
ls
chmod +x burpsuite_community_linux_v2025_7_4.sh
sudo ./burpsuite_community_linux_v2025_7_4.sh
12
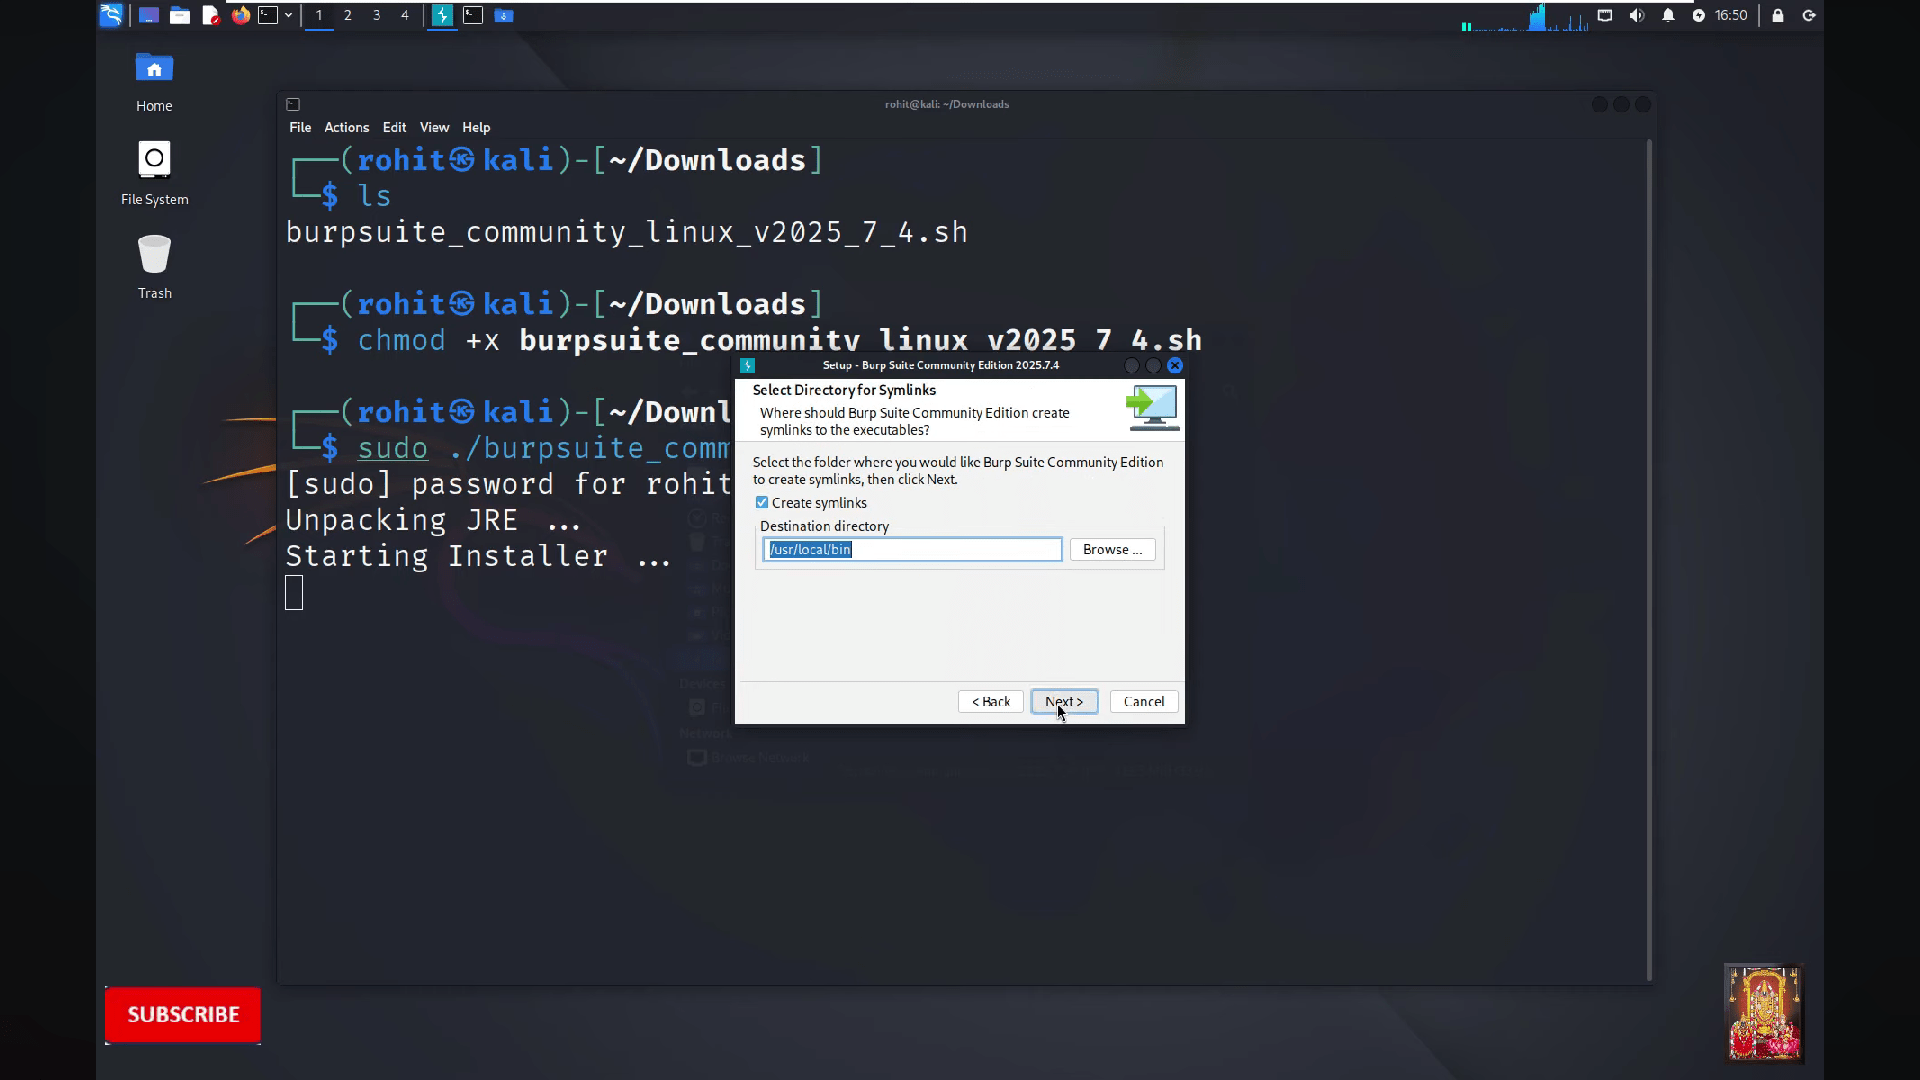
Click on "Next"
13
Then click on "Next"
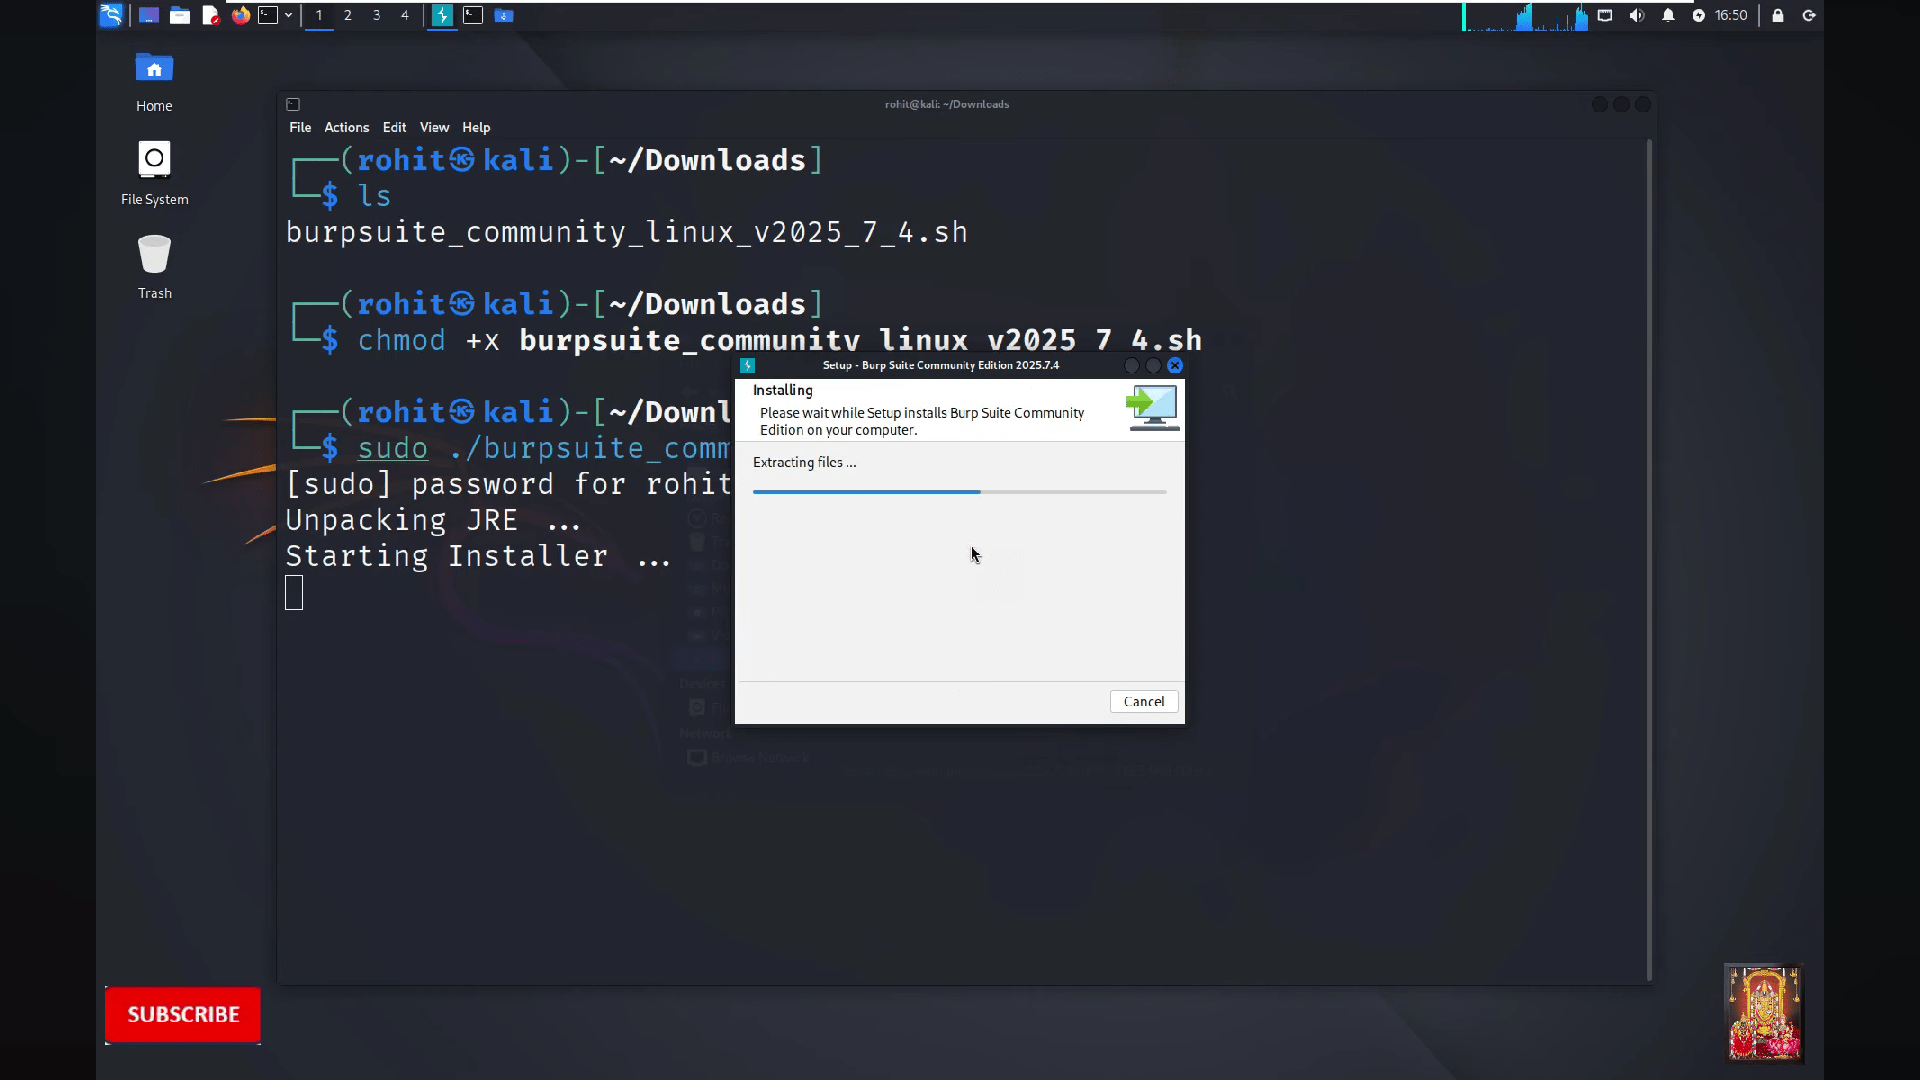
14
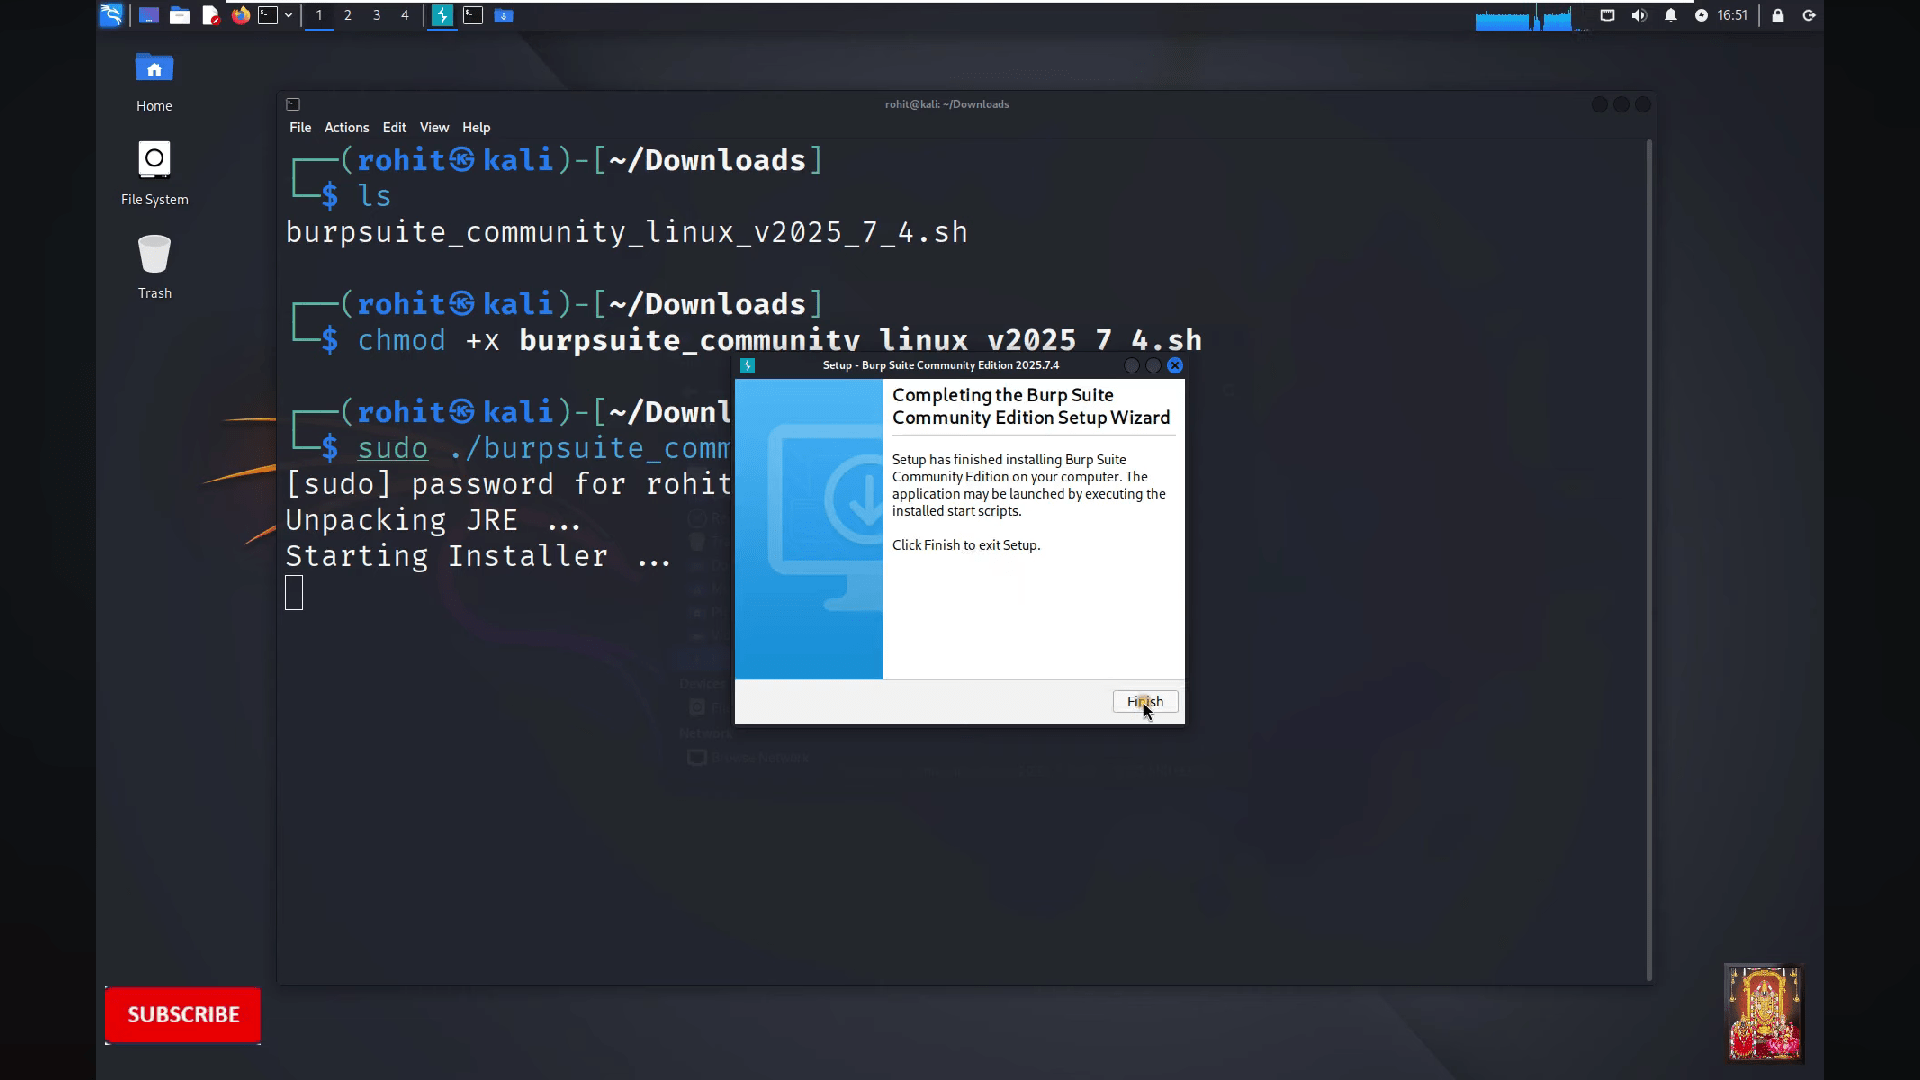
Wait to complete the process
15
Click on "Finish"
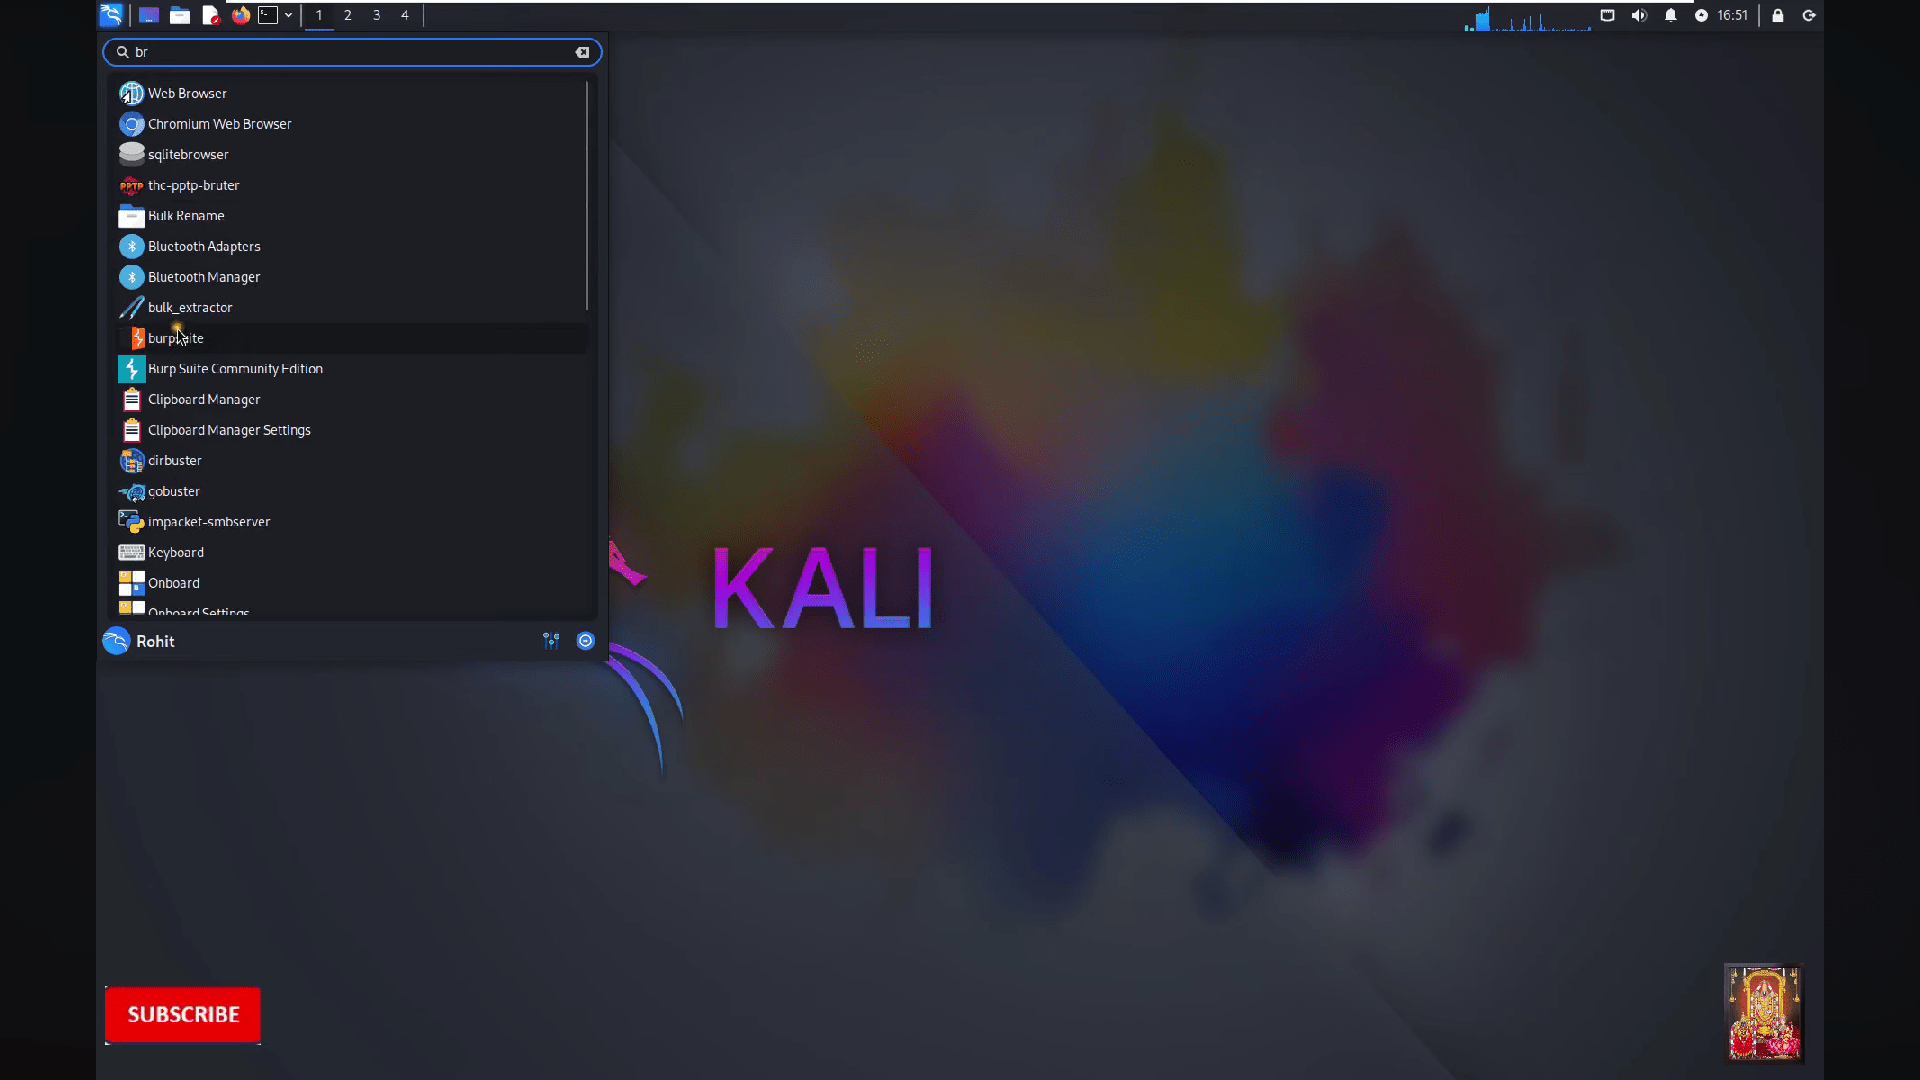
16
Search "Burpsuite" on your linux
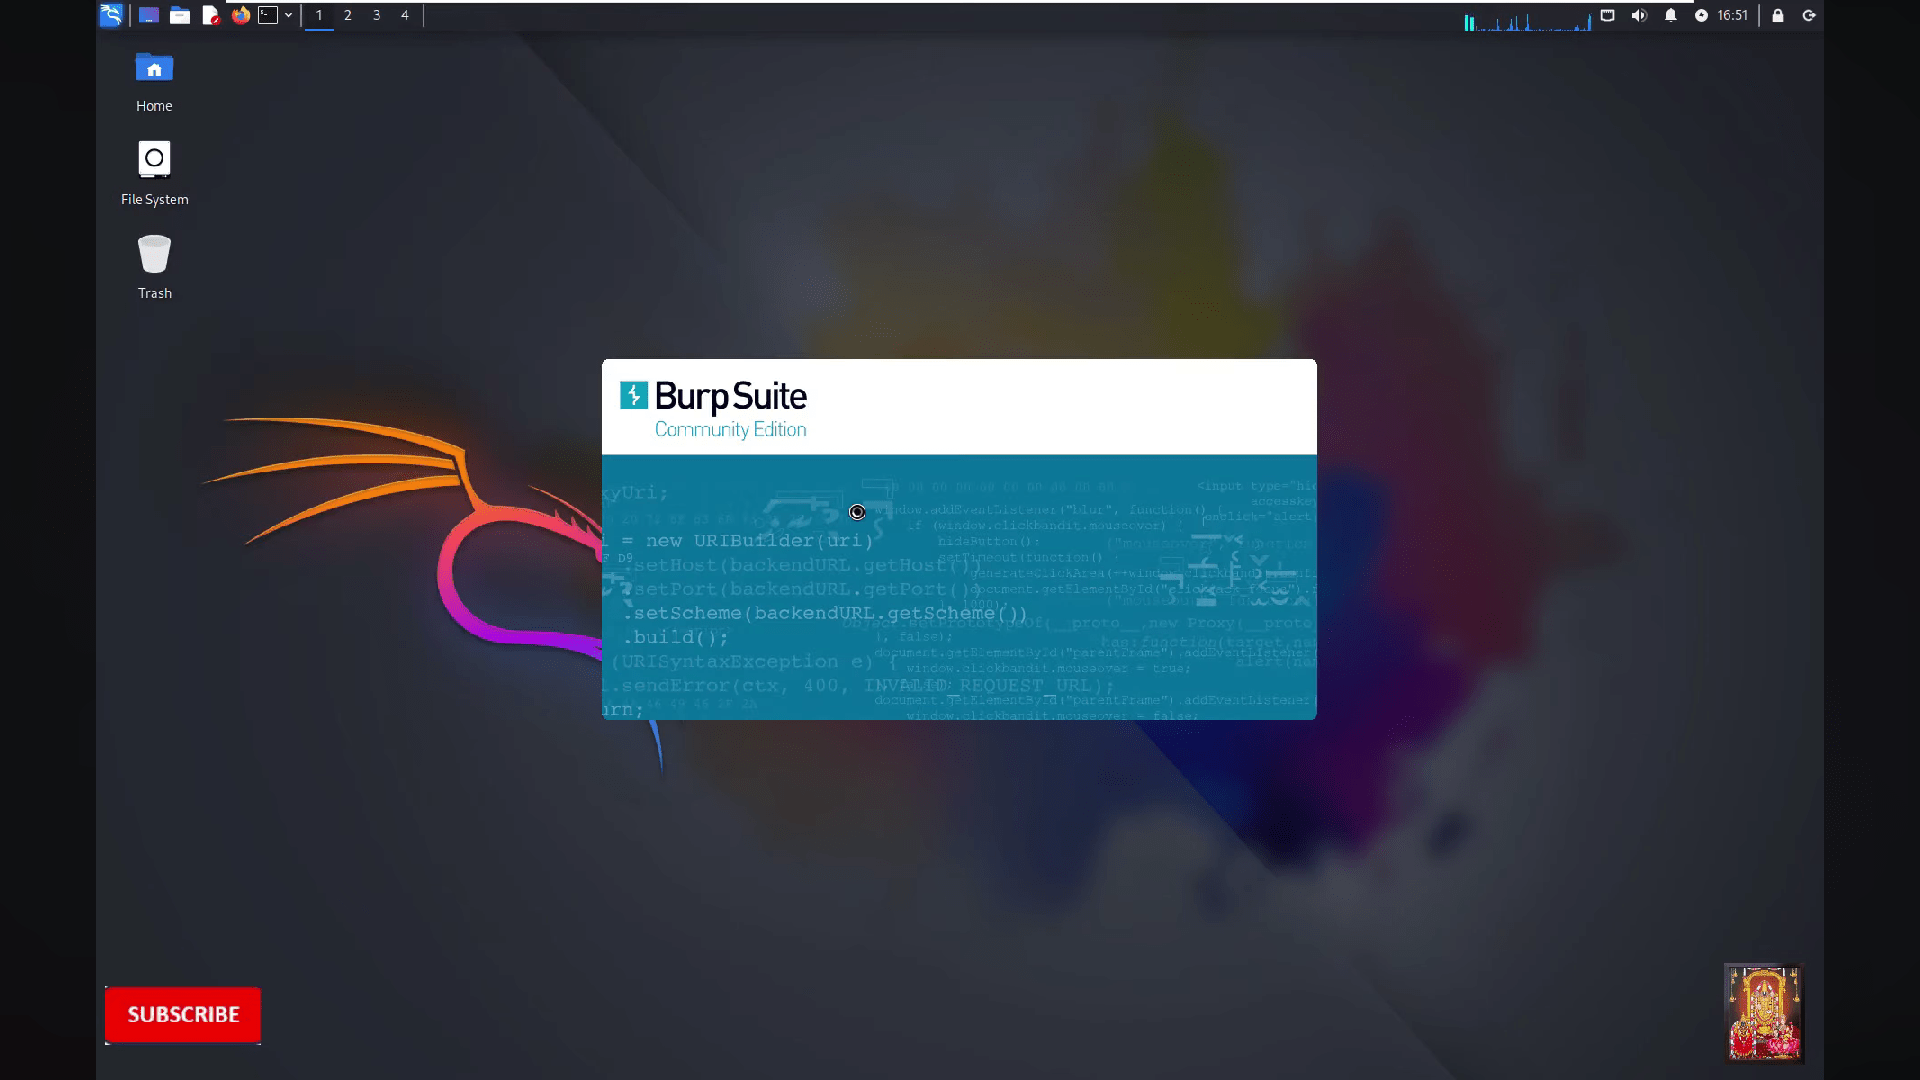
17
Open the burpsuite
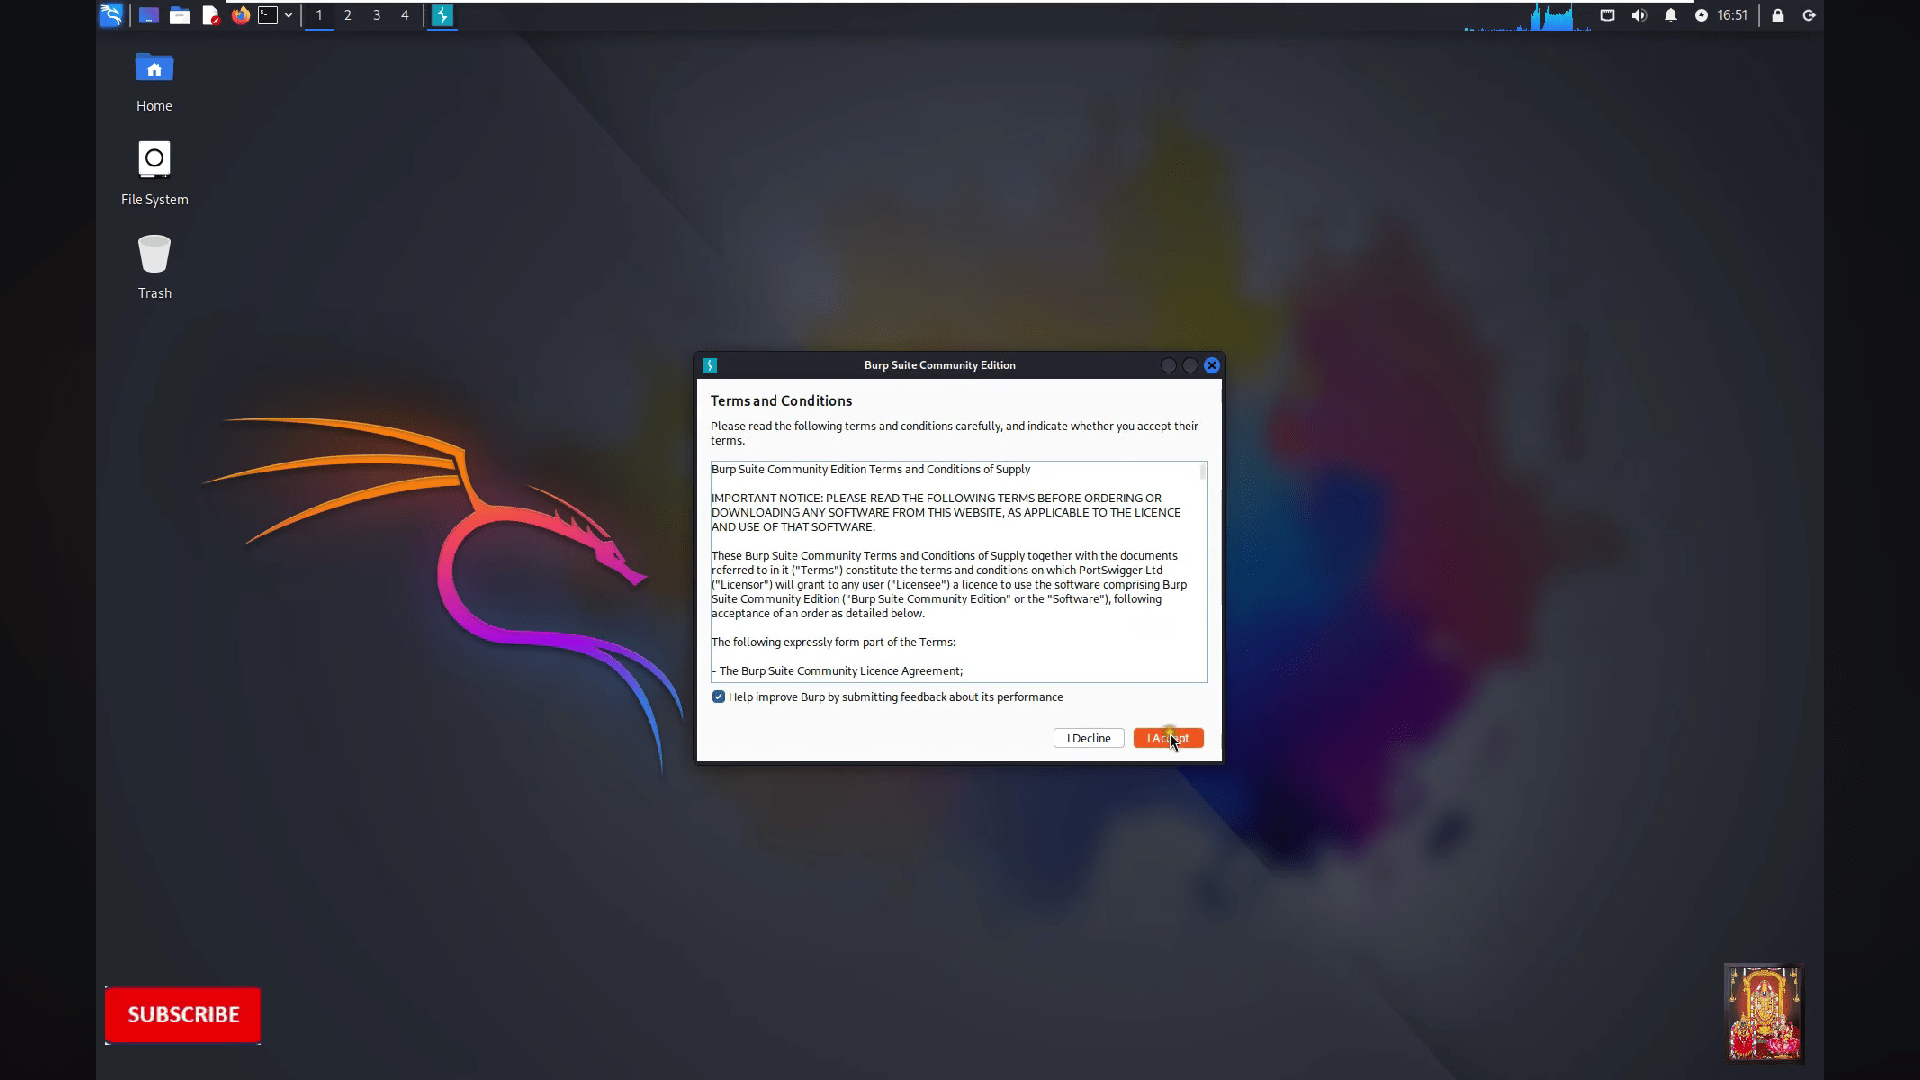
18
Accept the terms and conditions
19
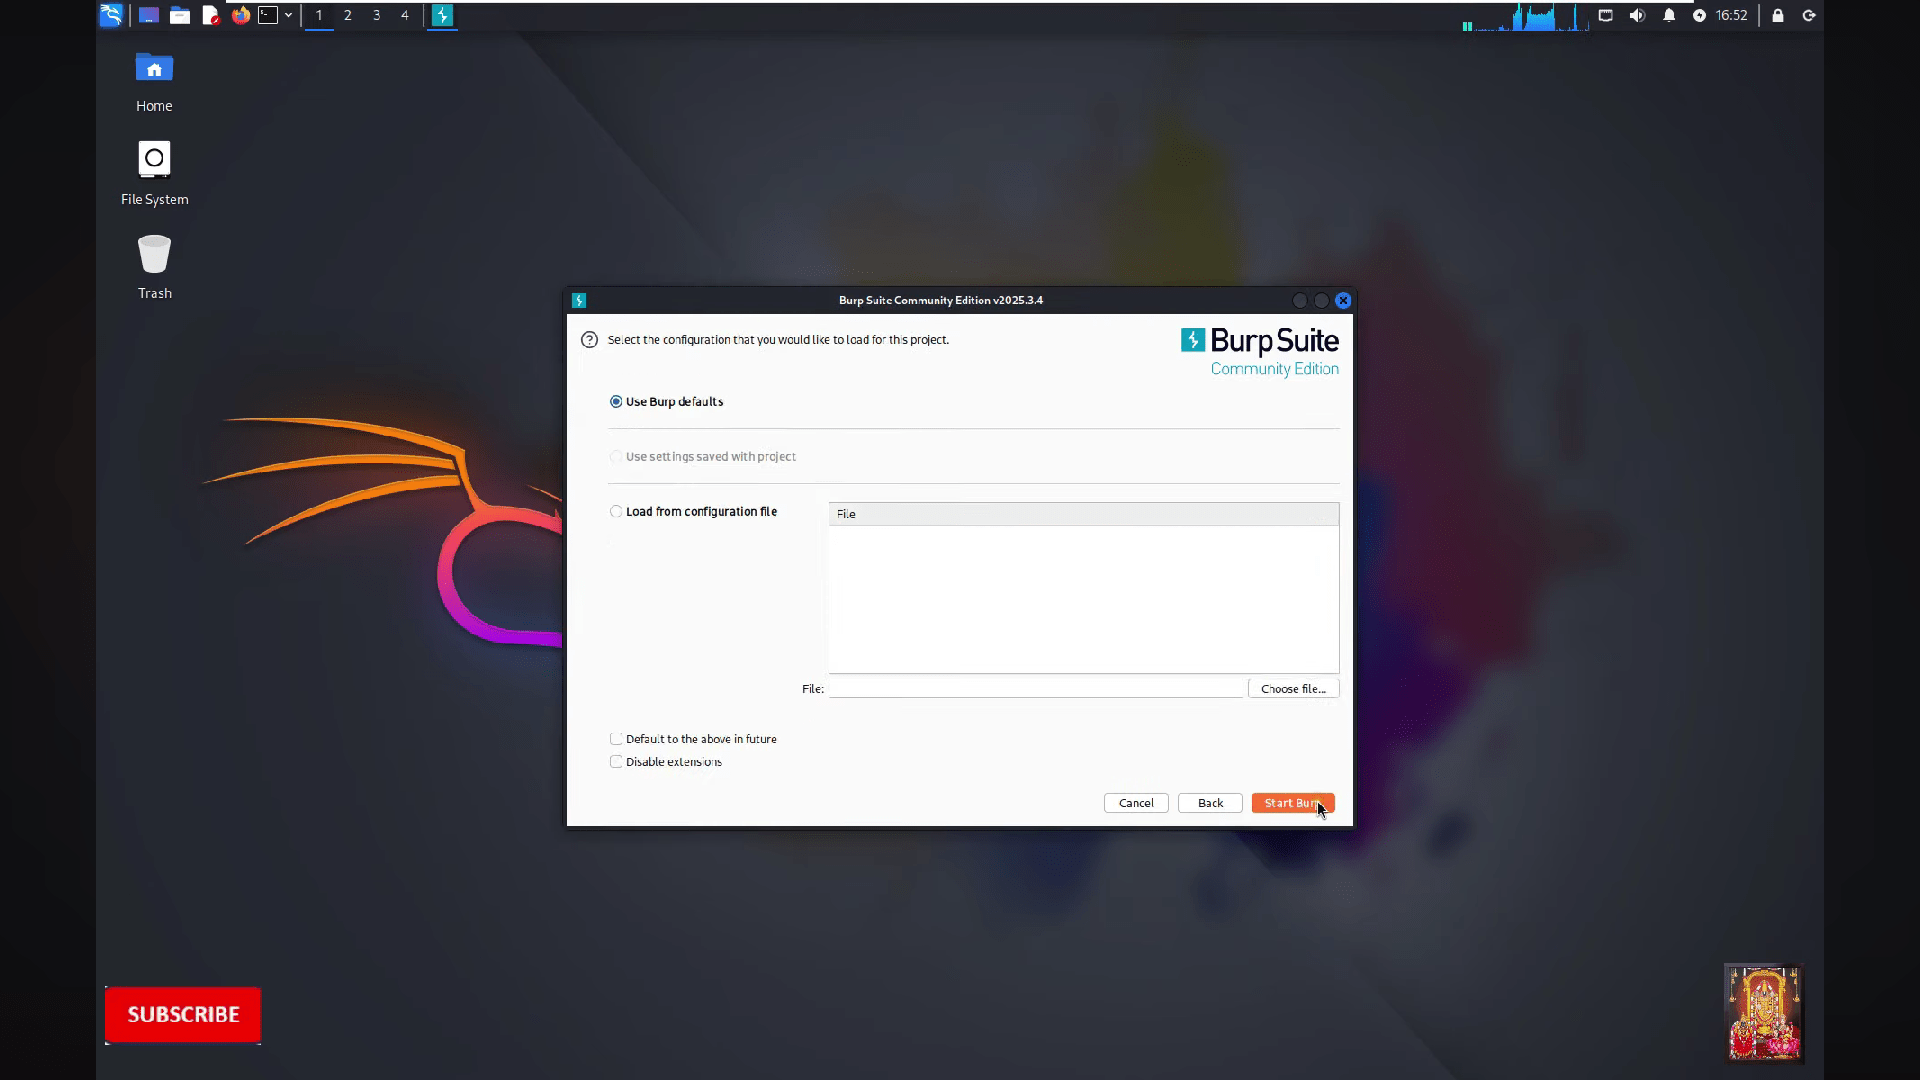
Click on "Start burp"
20
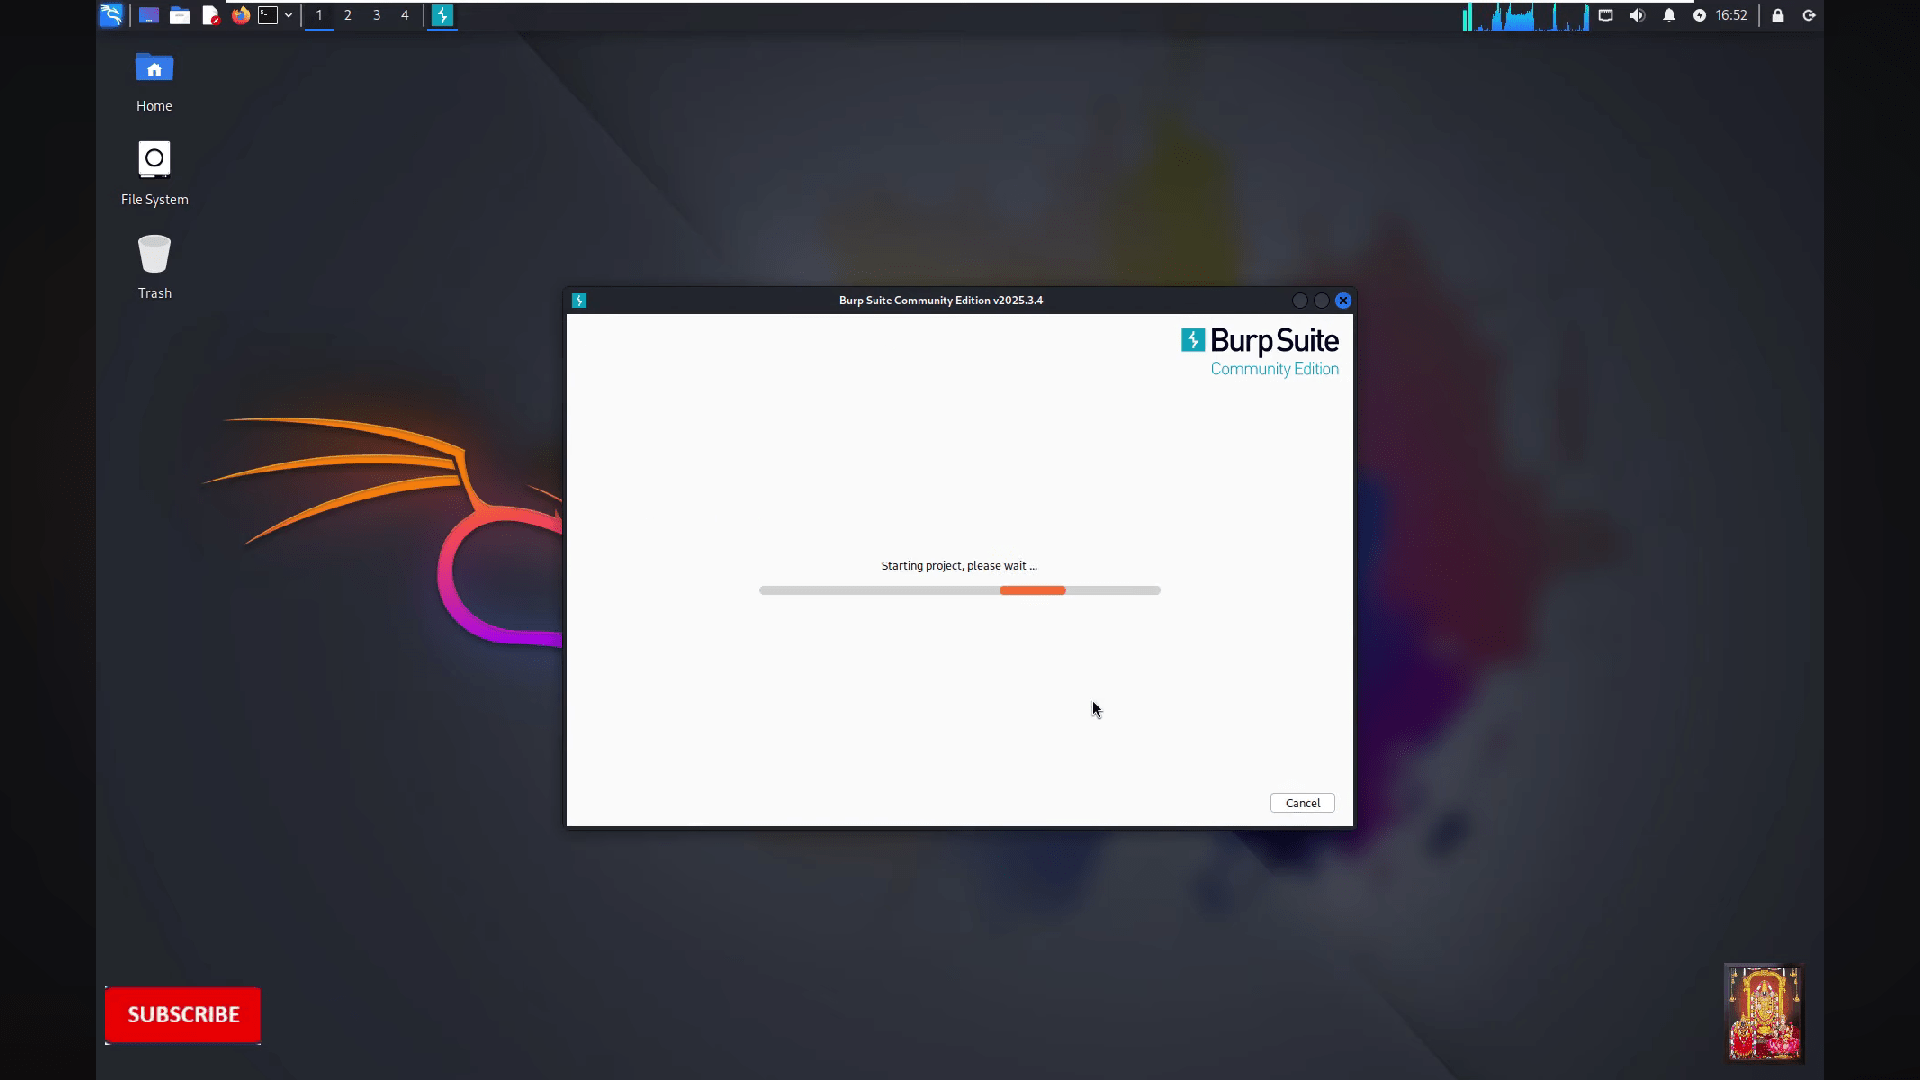
Wait for the burpsuite to start
21
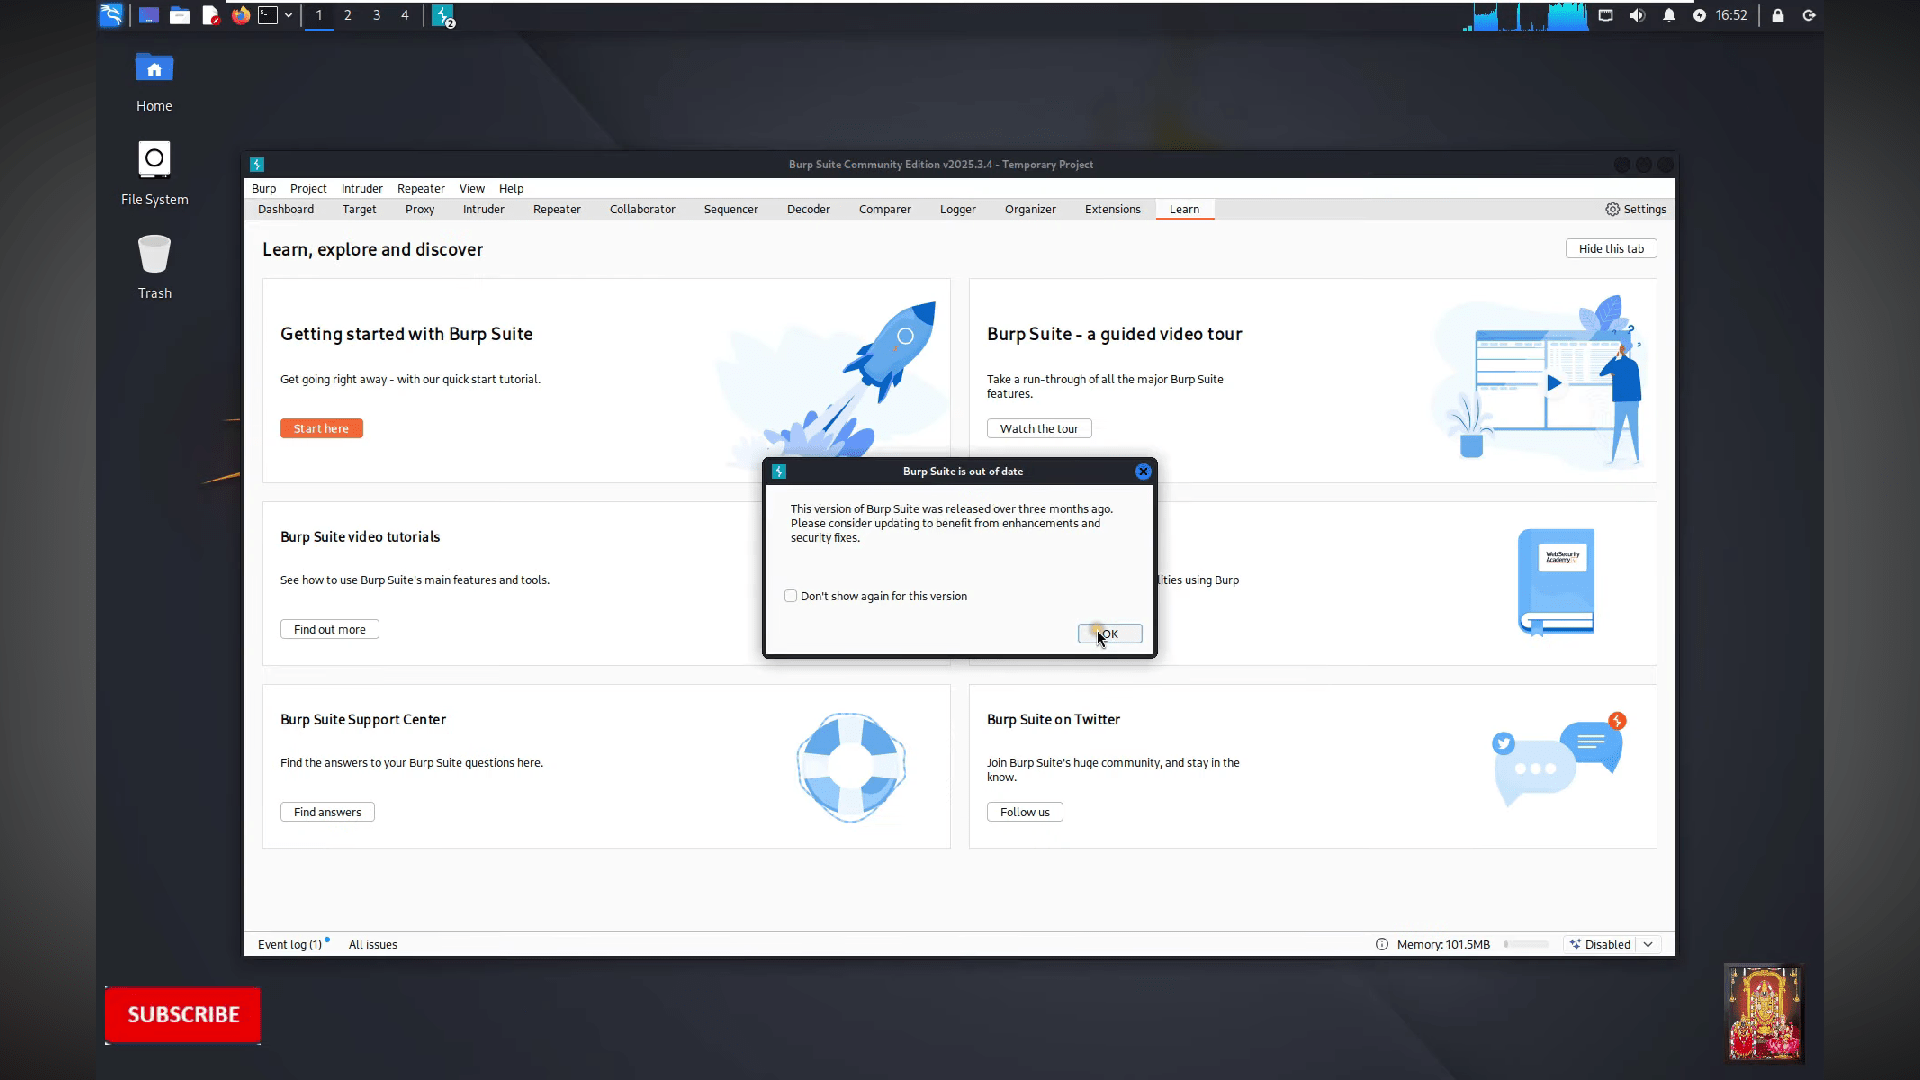
Click on the "OK"
22
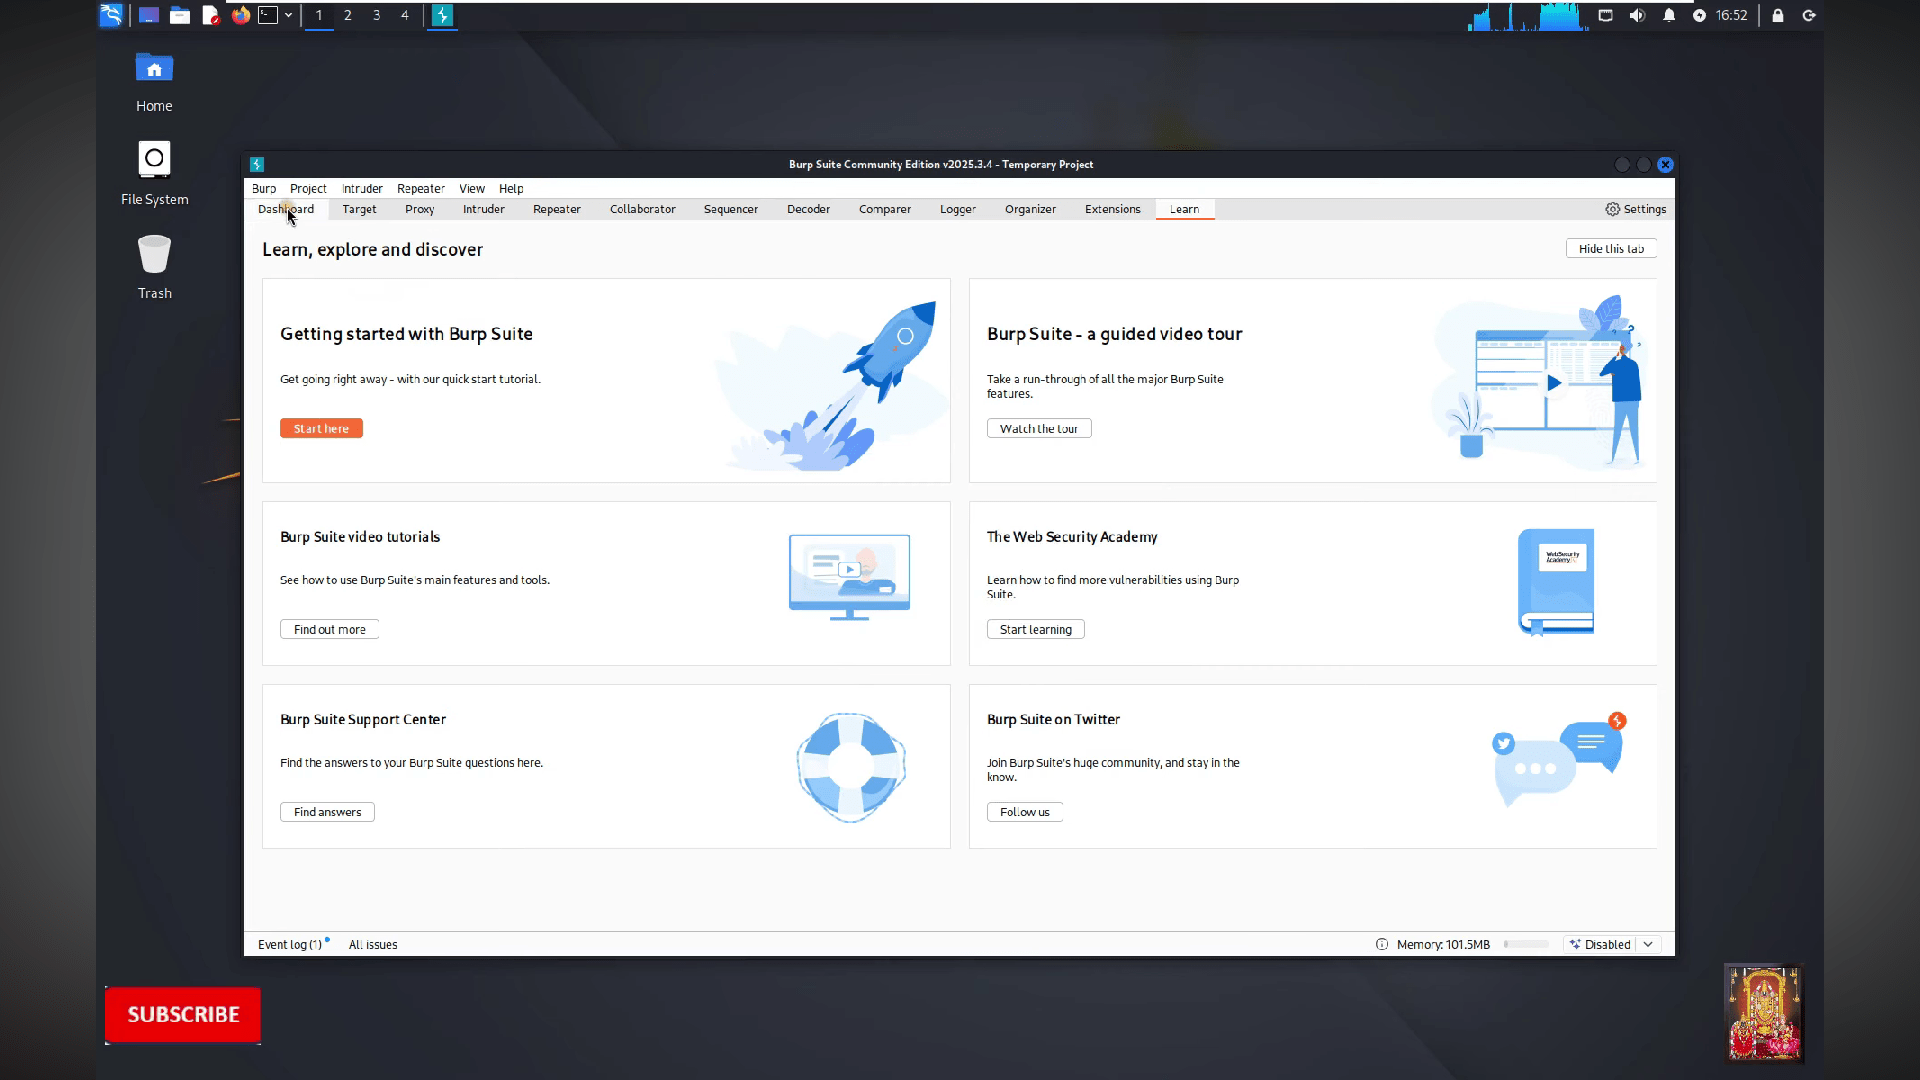
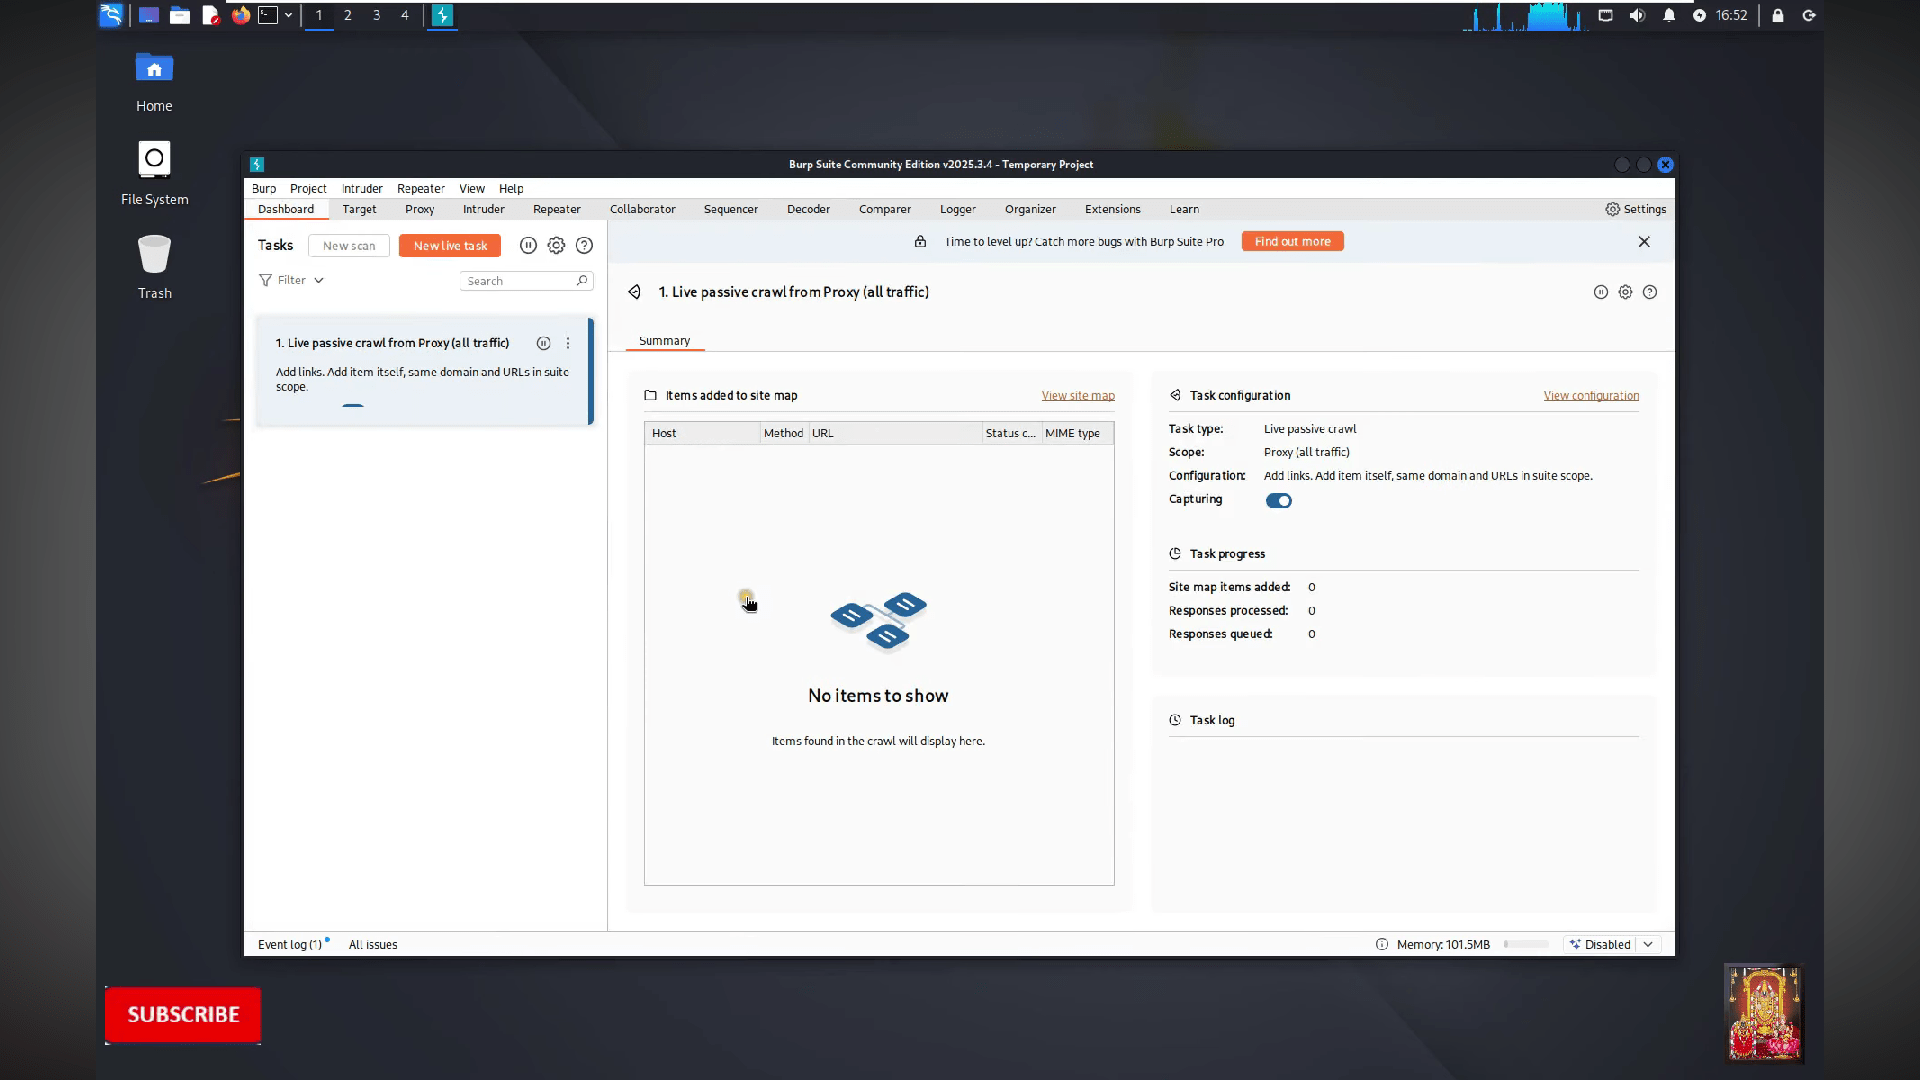
Go to the Dashboard
23
Now you are able to use the burpsuite
After All verification and steps once done you see this screen
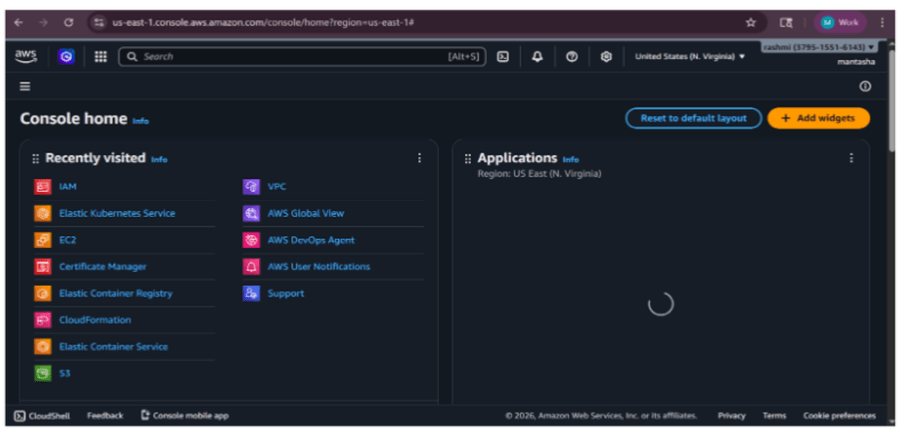
This type of the Aws Dashboard :
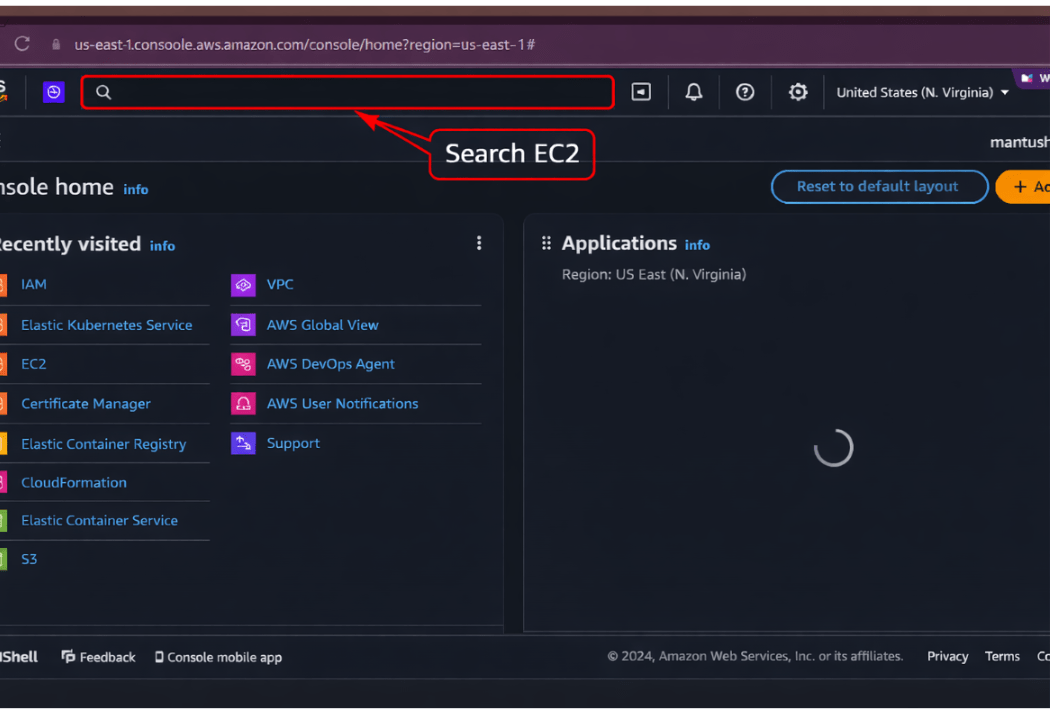
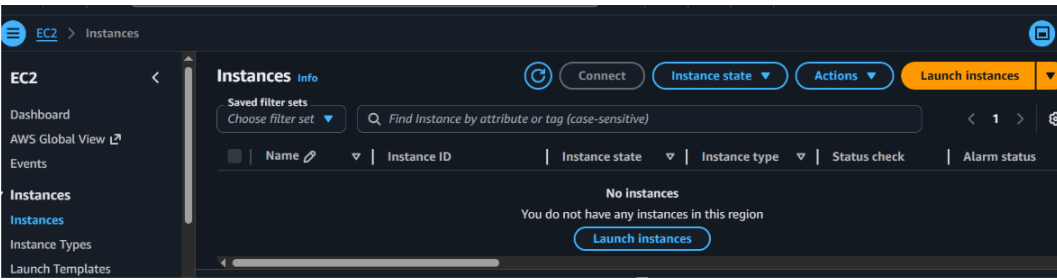
Task 2: Launch Your First Server (AWS EC2)
1
Go to the aws Management console And Search EC2
2
After Search You will see the Ec2 Dashboard
3
Click on the Launch Instance Button for Creating the Instance
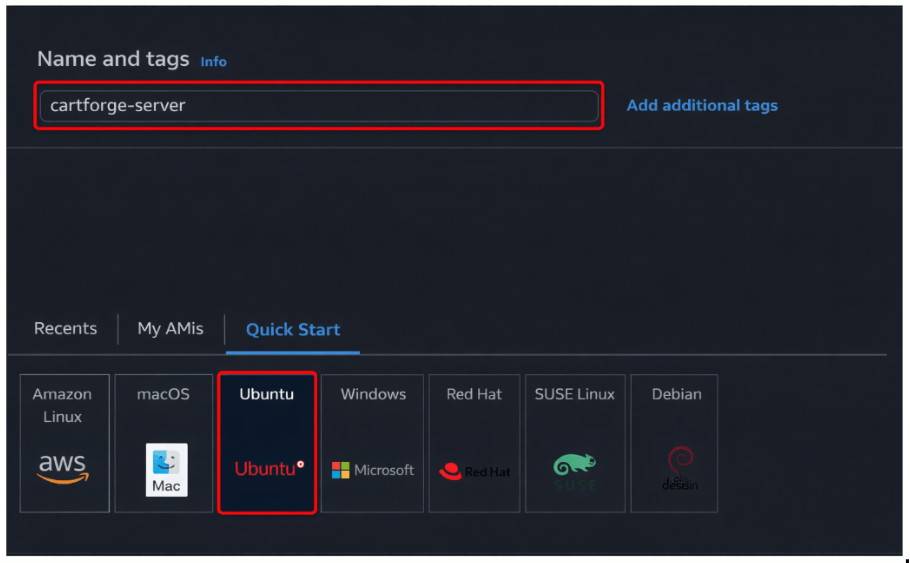
4
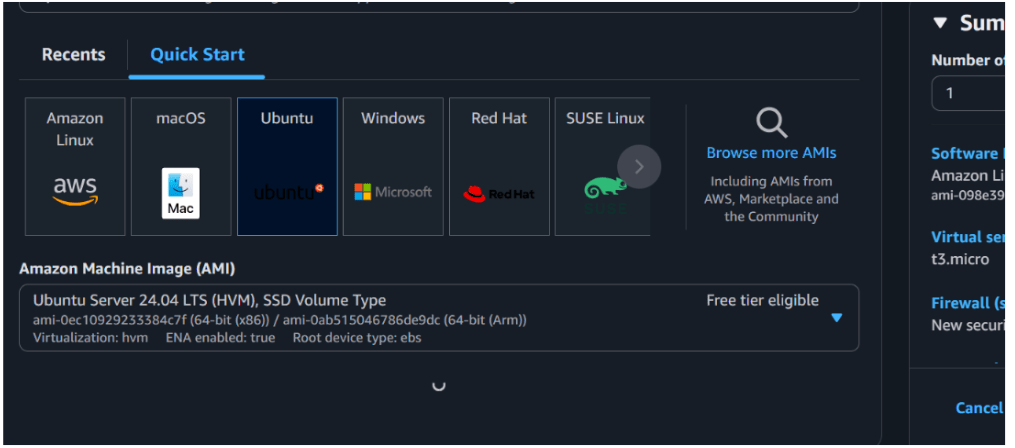
You will see the instance dashboard and info Name and Select Ubuntu OS
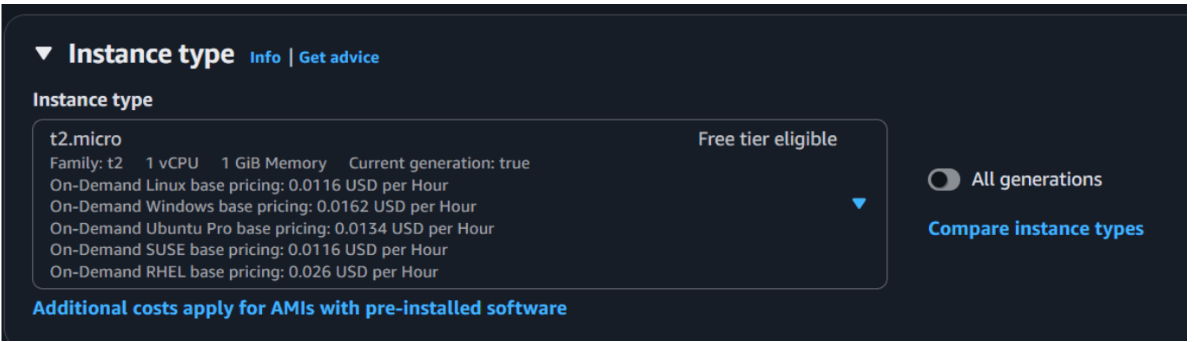
5
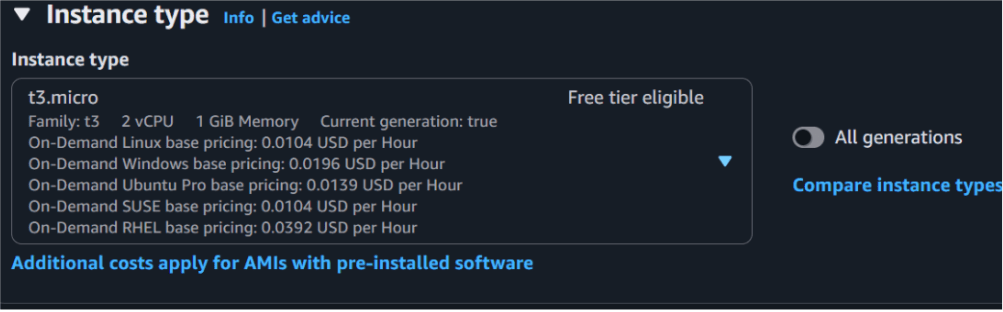
Select the Instance type t2 micro (FREE TIER)
6
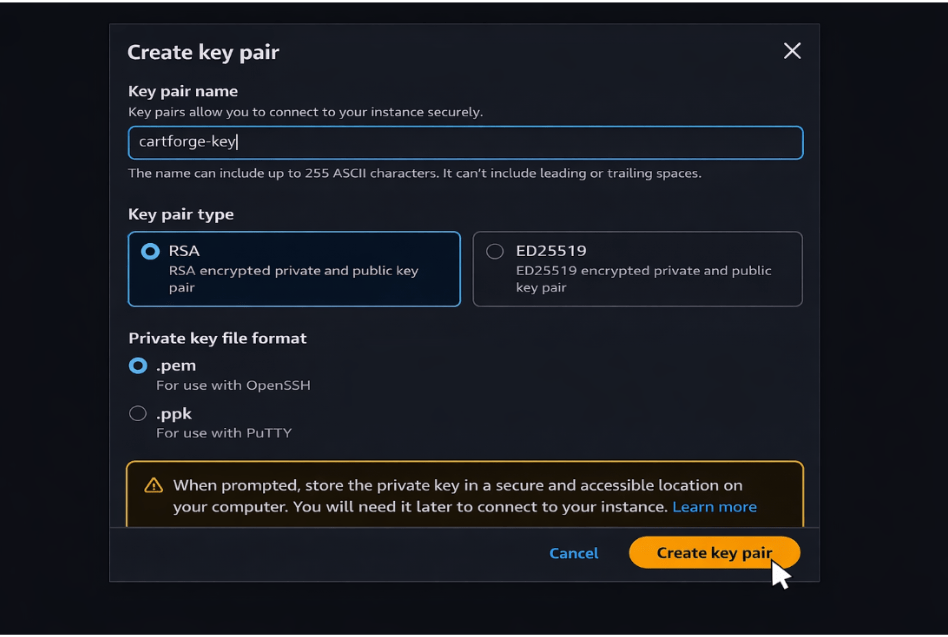
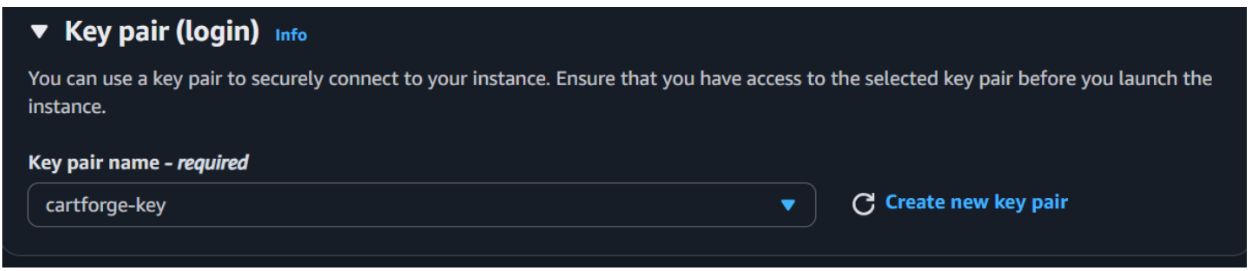
Create Key PairClick Create Key Pair
Name → cartforge-key
Download .pem file
7
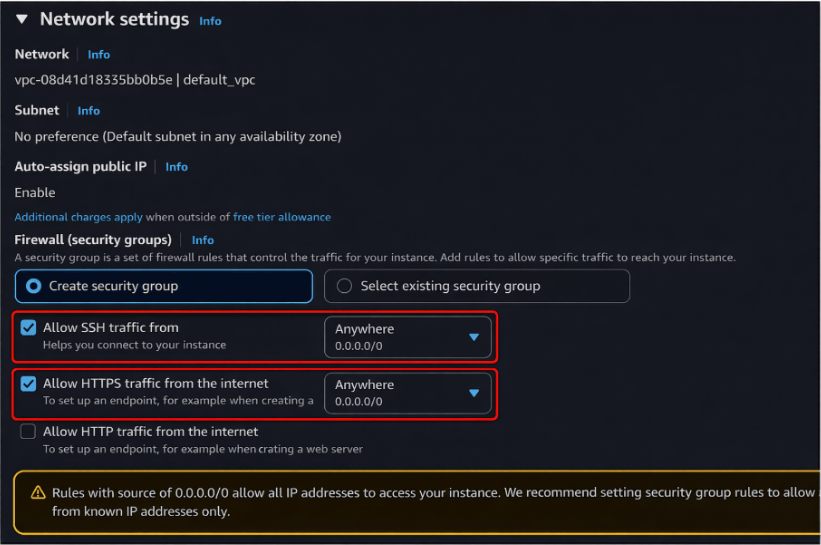
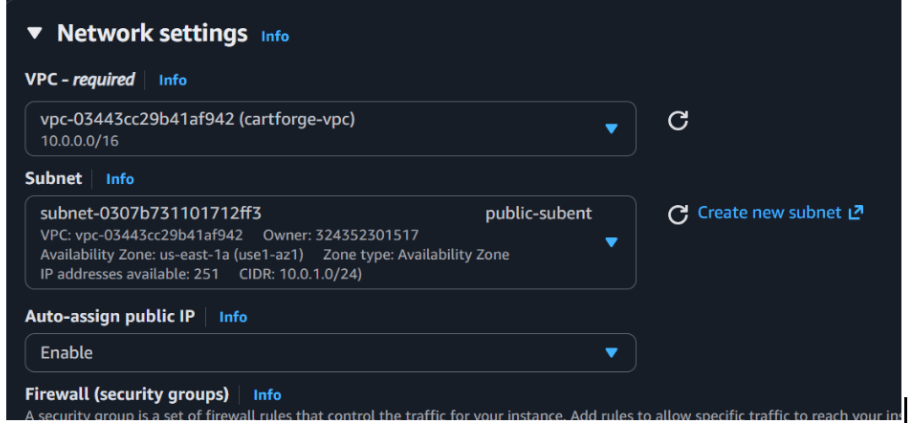
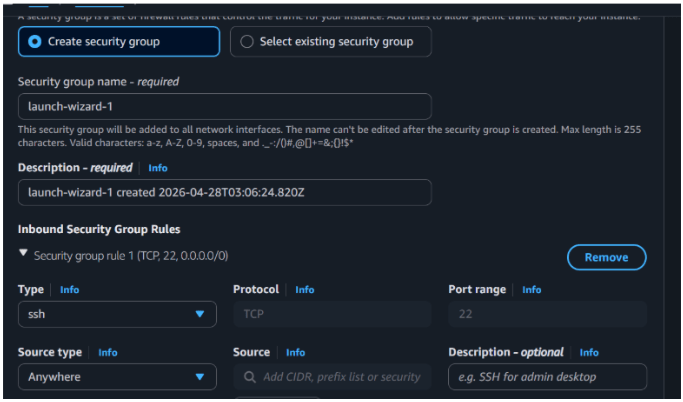
Scroll down In the Network Setting Allow SSH HTTP and HTTPS
8
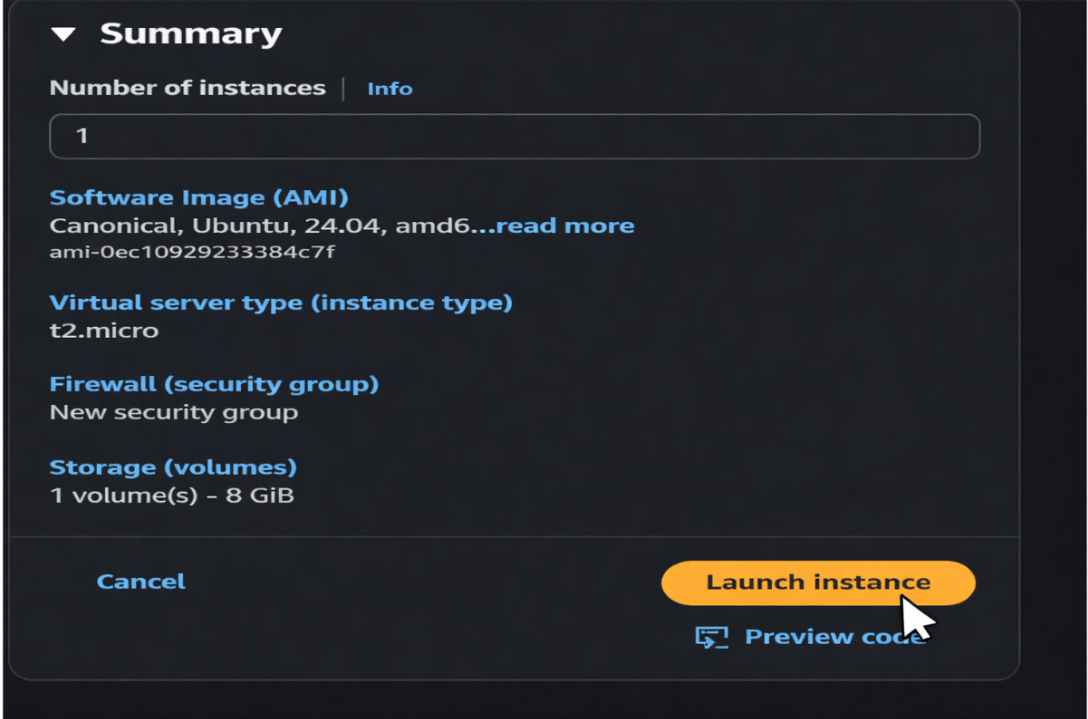
After all done you can launch the instance by click on the launch instance button
9
After click on the Launch instance button you will see the instance is running after 2 by 2 checks your instance is ready
10
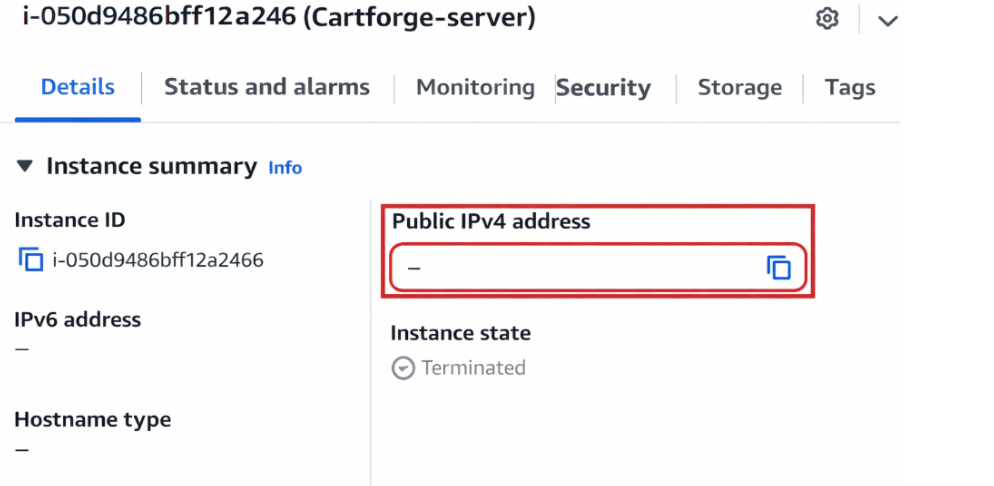
After click on the instance checkbox you can see the public IP so copy that public IP
11
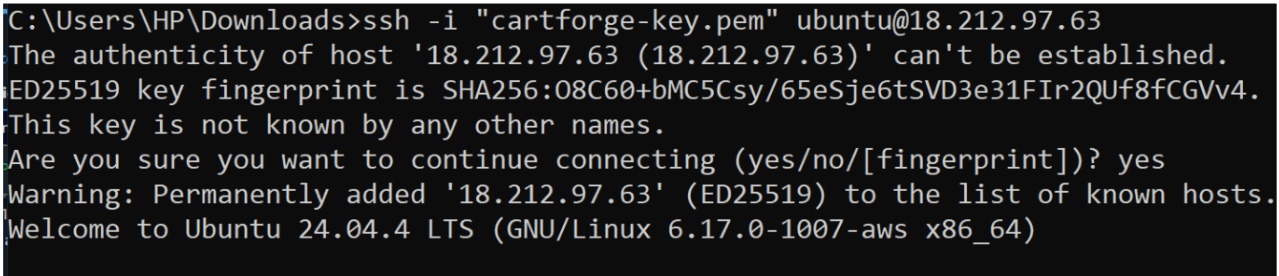
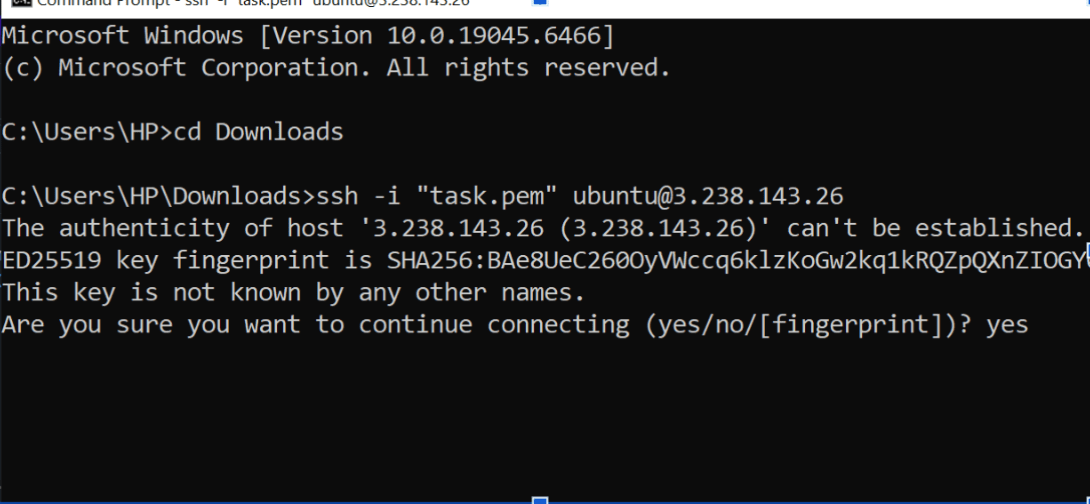
After Click On the copy Open Command Prompt Write Below Command to connect Ec2 Sever
ssh -i cartforge-key.pem ubuntu@your-public-ip12
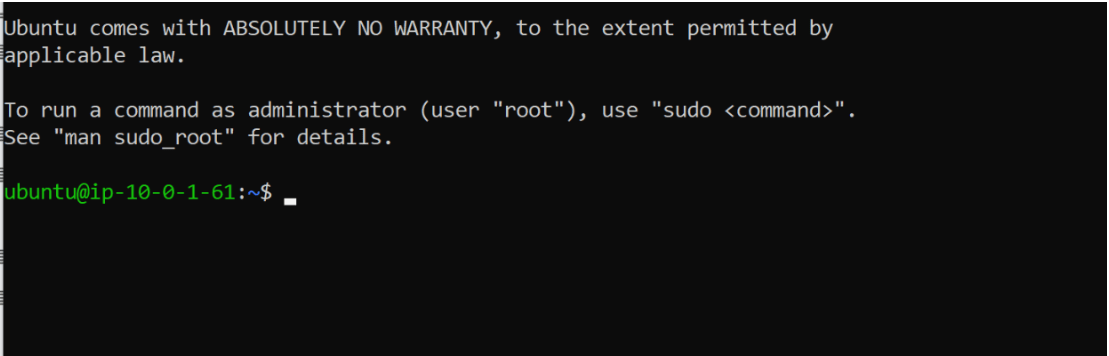
Once Connected , You will see something like
ubuntu@ip-123:~$After successfully launching the Ubuntu EC2 server on AWS, the team is excited to start working on it.
13
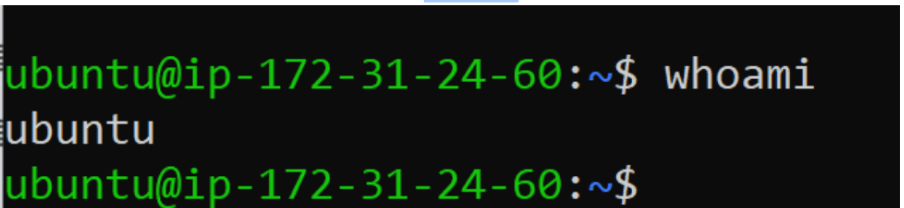
Check Current User
whoami14
Check User ID Info
Id15
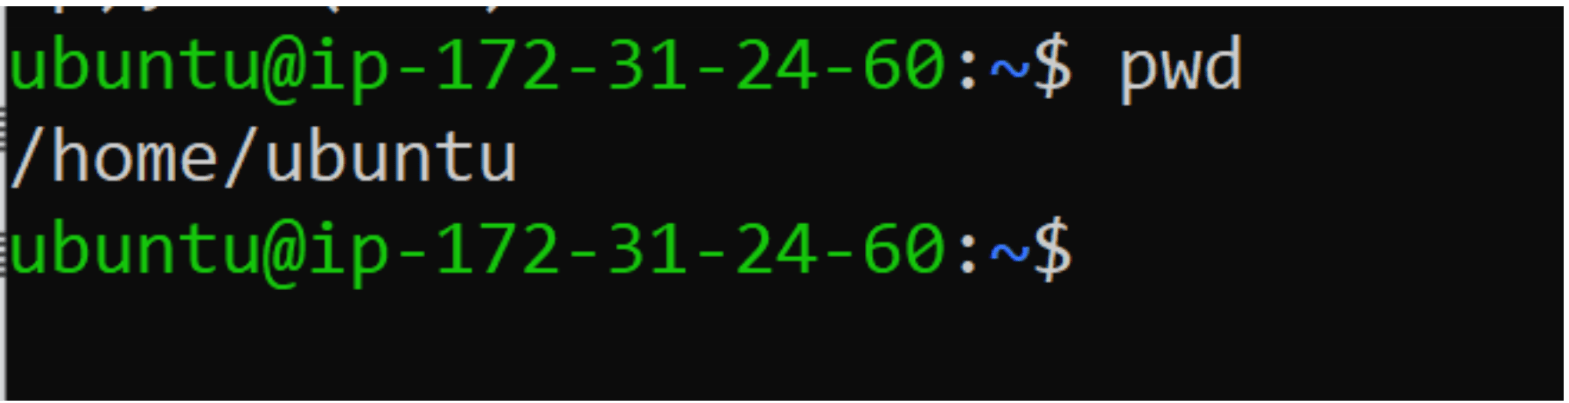
Check Current Location
pwd
16
Check System Info
uname -a
17
List File
ls
Task 3: Build secure custom VPC network.
1
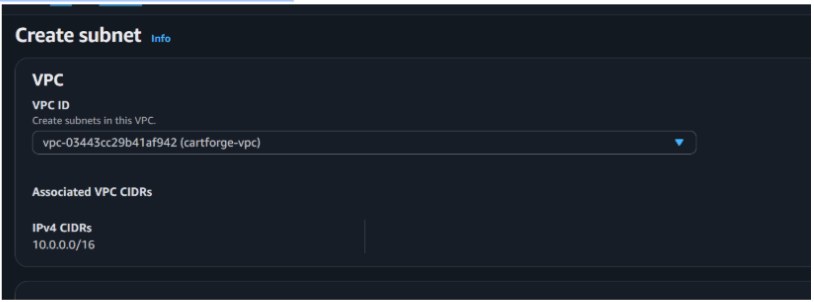
Create VPC
a
Search for VPC
b
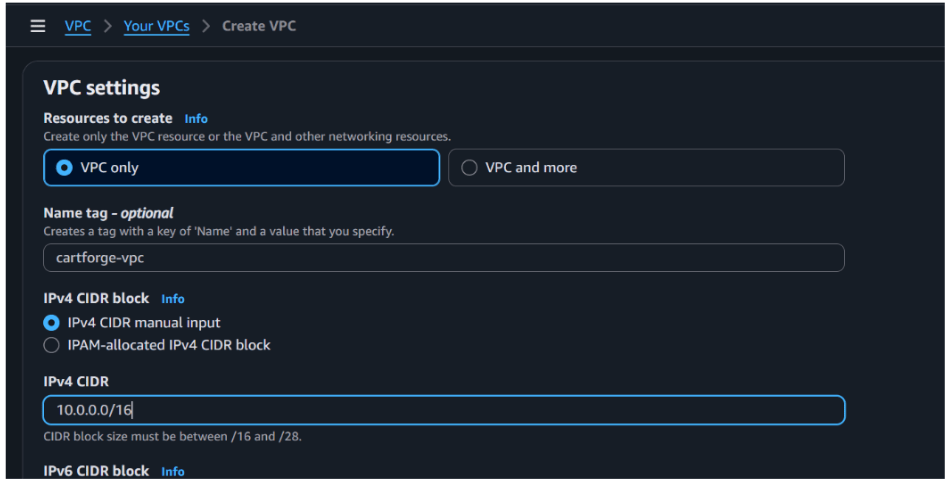
Click Create VPC
c
Configuration
Name: cartforge-vpc
d
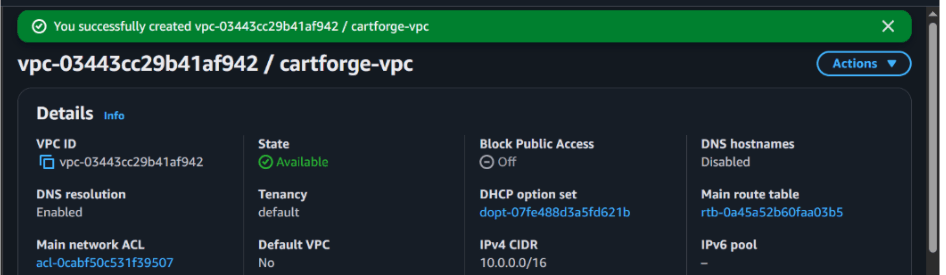
Click Create VPC
2
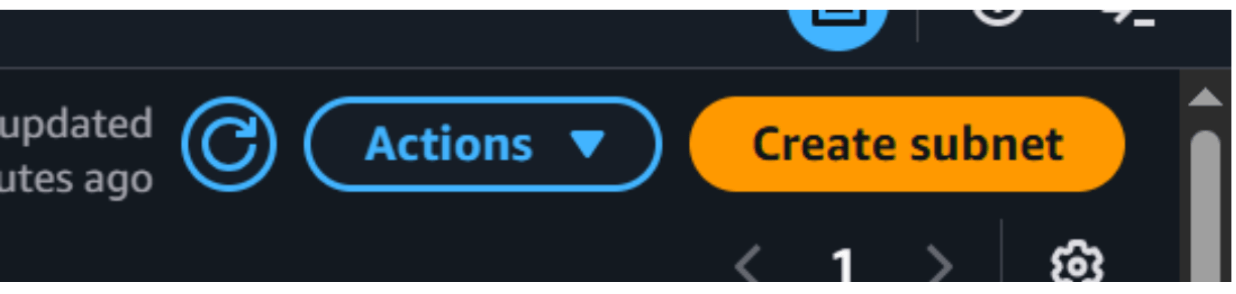
Create Subnets
a
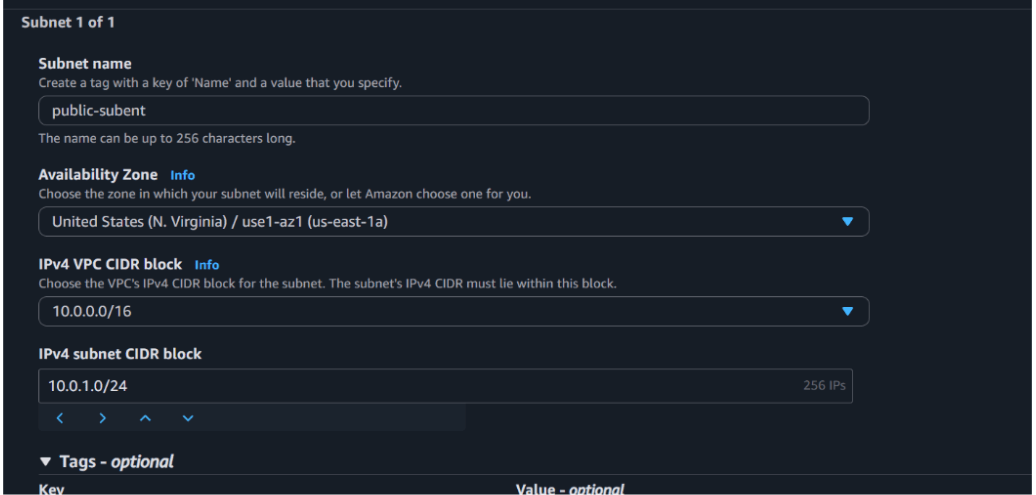
Public Subnet
Go to Subnets → Create subnet
Name: cartforge-public-subnet
VPC: cartforge-vpc
CIDR: 10.0.1.0/24
Availability Zone: select any
Click Create
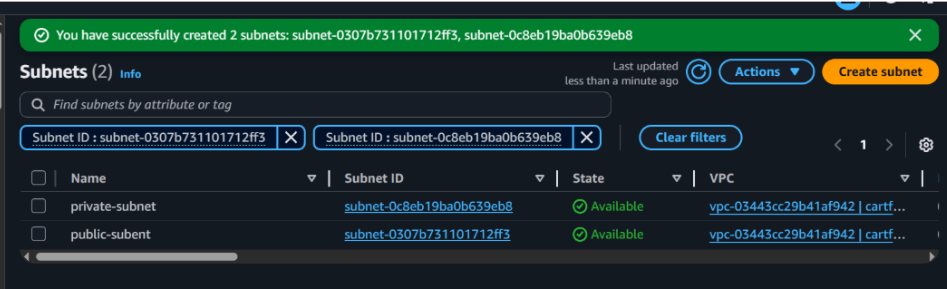
b
Private Subnet
Create another subnet
Name: cartforge-private-subnet
VPC: cartforge-vpc
CIDR: 10.0.2.0/24
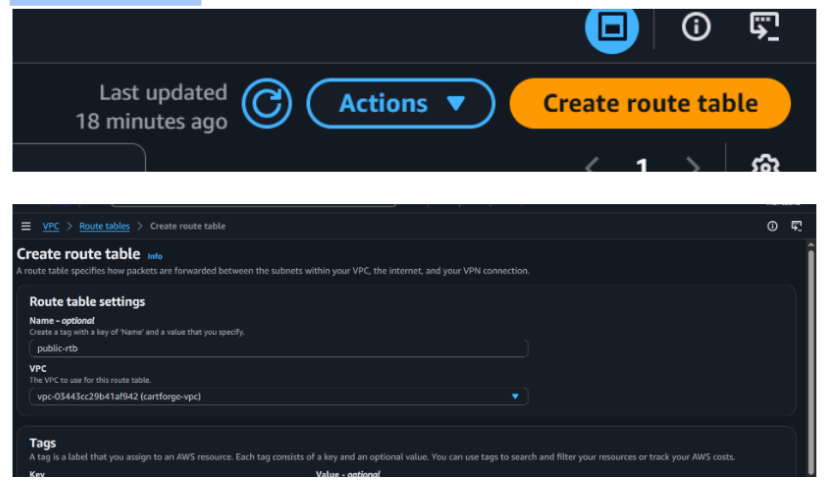
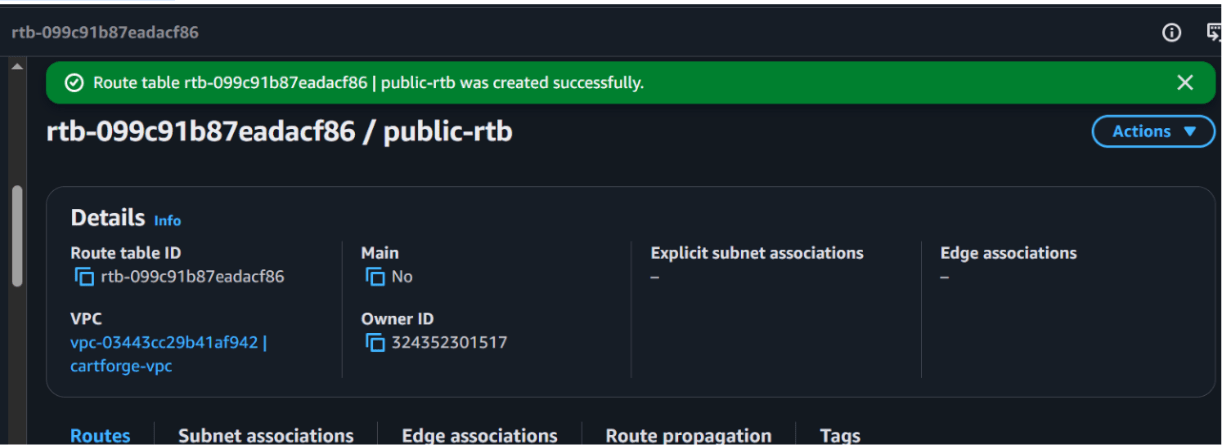
Lets create a route table for public ubnet
c
Go to route table
And it is done
2
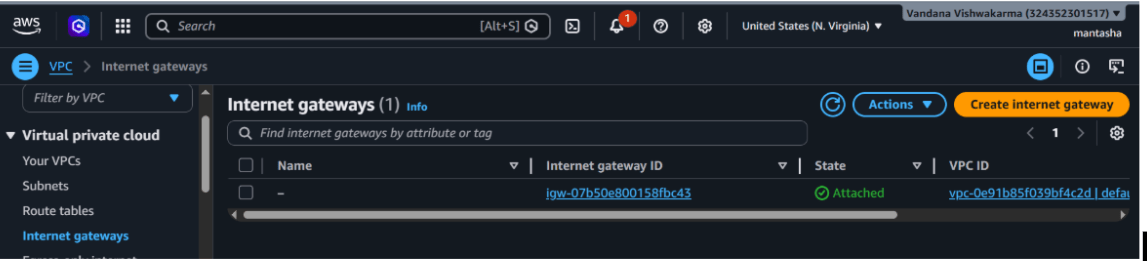
Create Internet Gateway
Go to AWS Console
Search for VPC
Click Internet Gateways
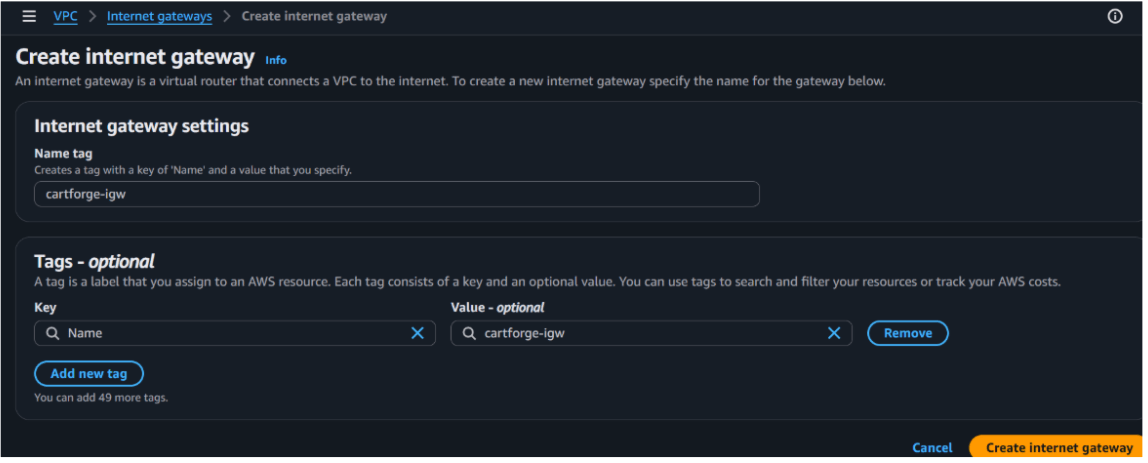
Click Create Internet Gateway
a
Configuration
Name: cartforge-igw
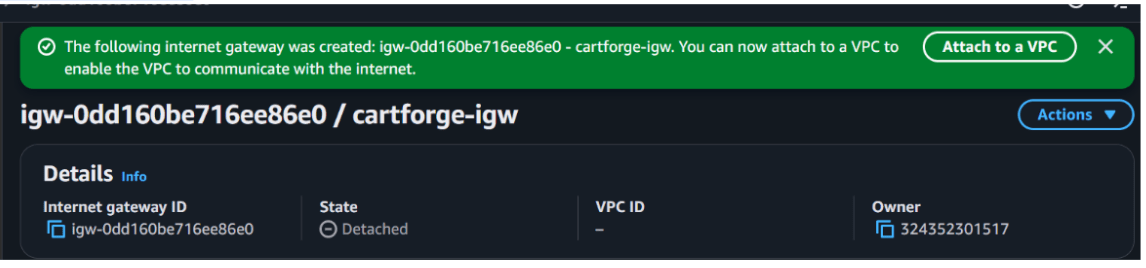
Click Create
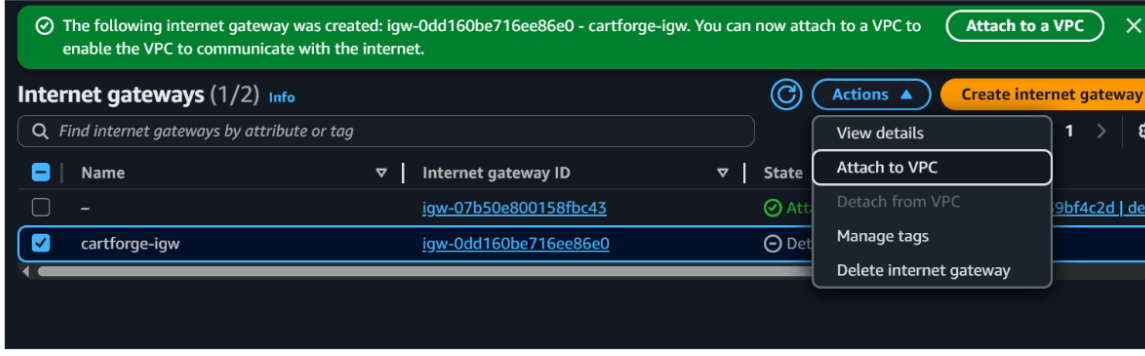
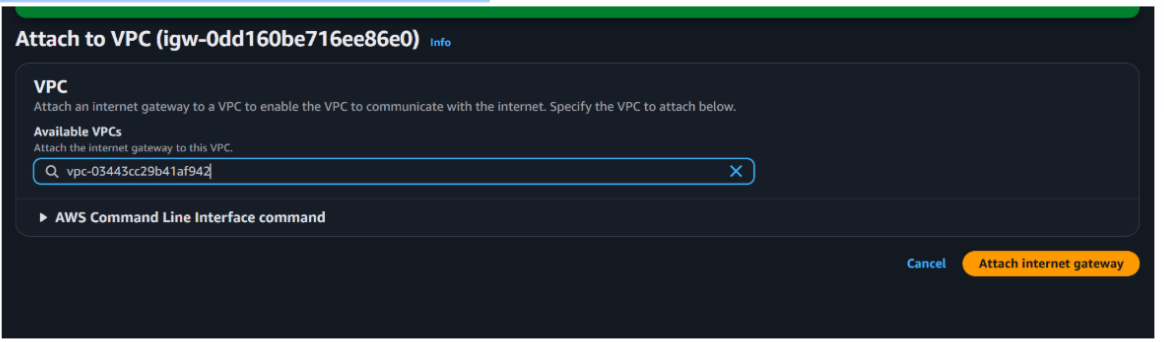
3
Attach Internet Gateway to VPC
Select the created Internet Gateway
Click Actions → Attach to VPC
Select your VPC (cartforge-vpc)
Click Attach
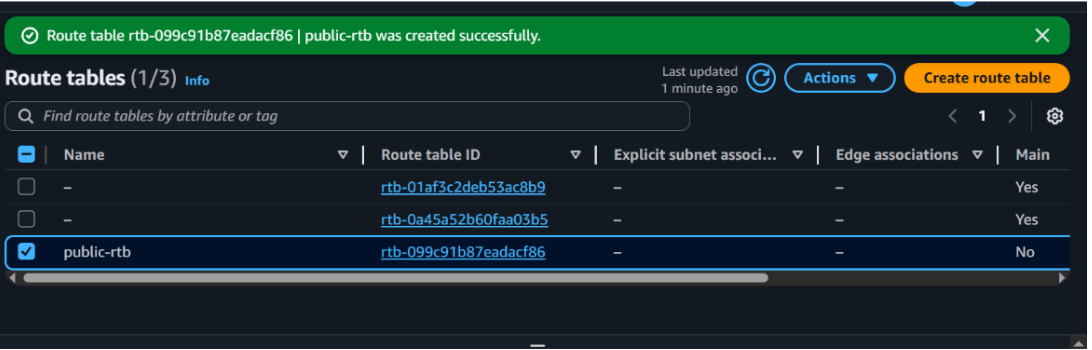
4
Update Route Table for Public Subnet
a
Go to Route Tables
Select your public route table (public-rt)
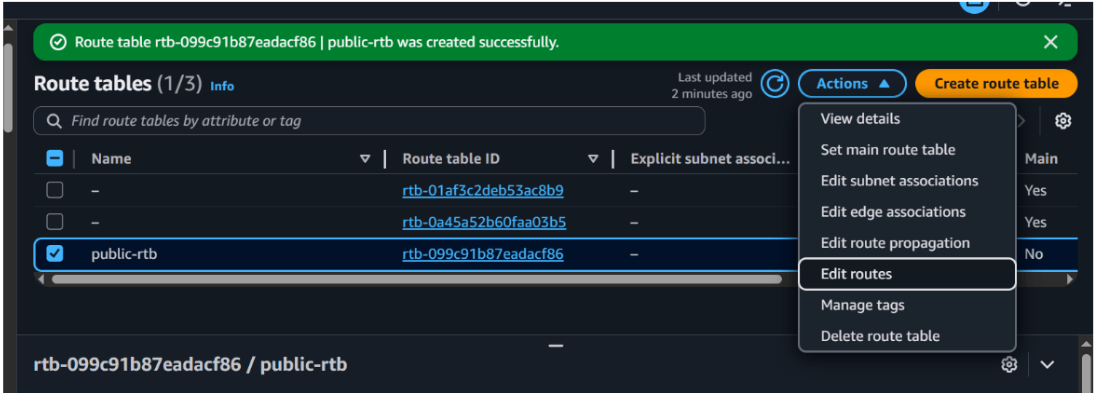
b
Add Internet Route
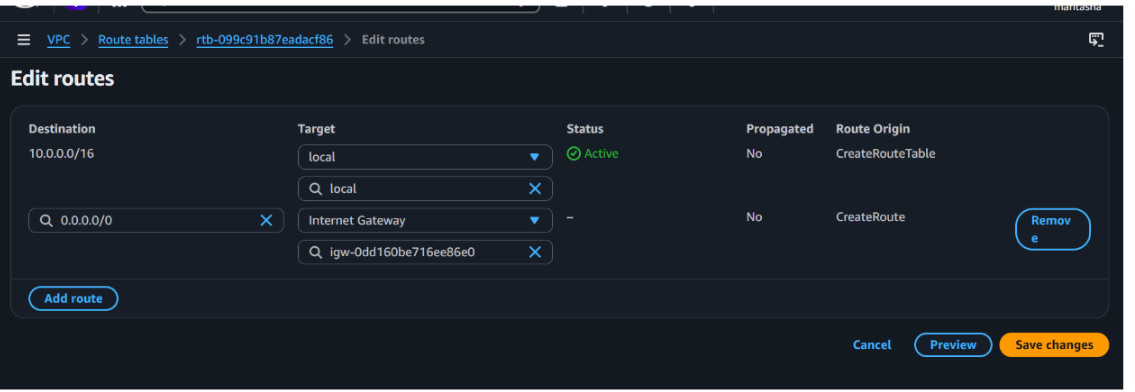
Click Edit routes
Add new route:
Destination: 0.0.0.0/0
Target: Internet Gateway (cartforge-igw)
5
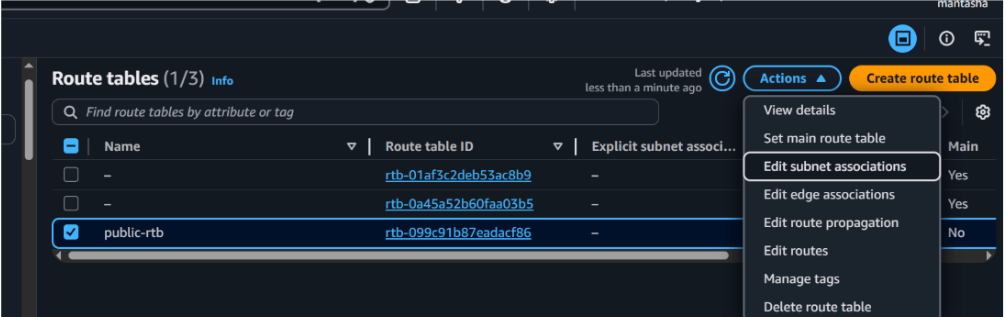
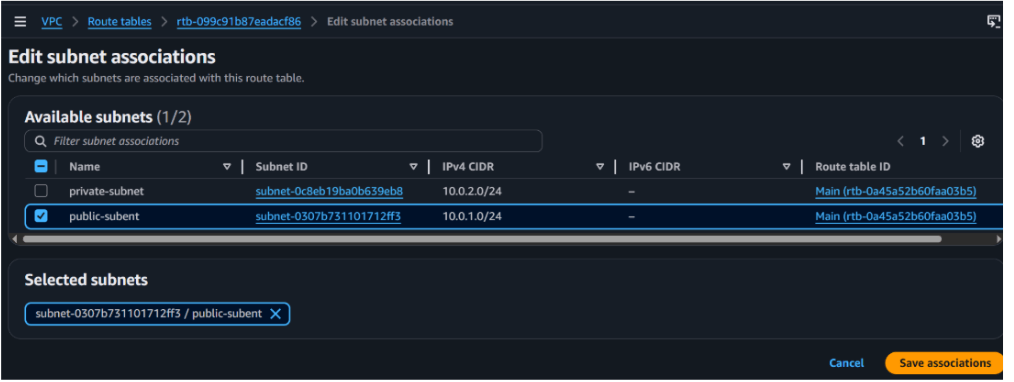
Associate Route Table with Public Subnet
In the same route table, go to Subnet Associations
Click Edit associations
Select cartforge-public-subnet and Click Save
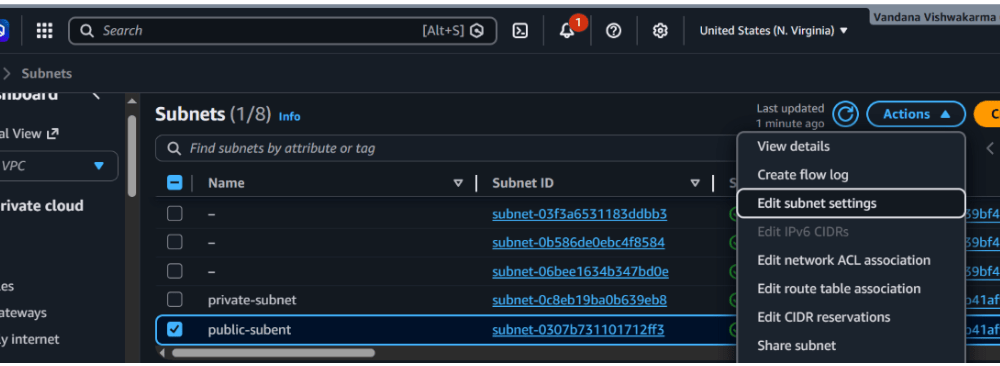
6
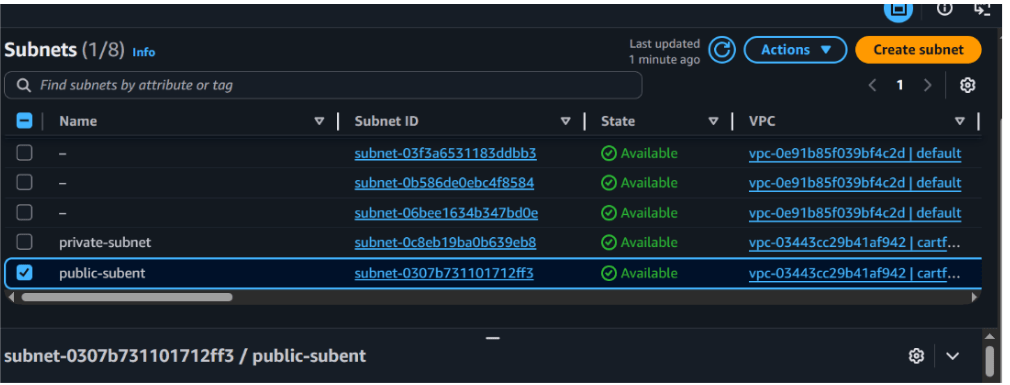
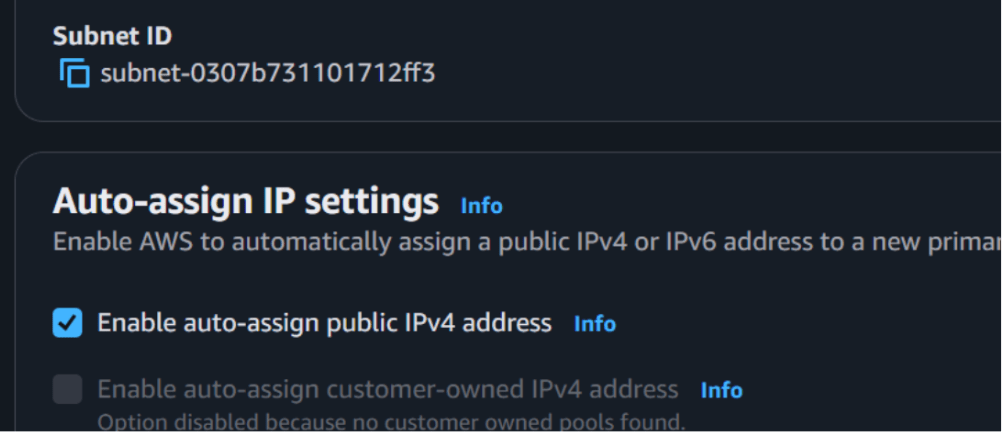
Enable Public IP Assignment
Go to Subnets
Select public-subnet
Click Edit subnet settings
Enable:
Auto-assign public IPv4 address
Click Save
7
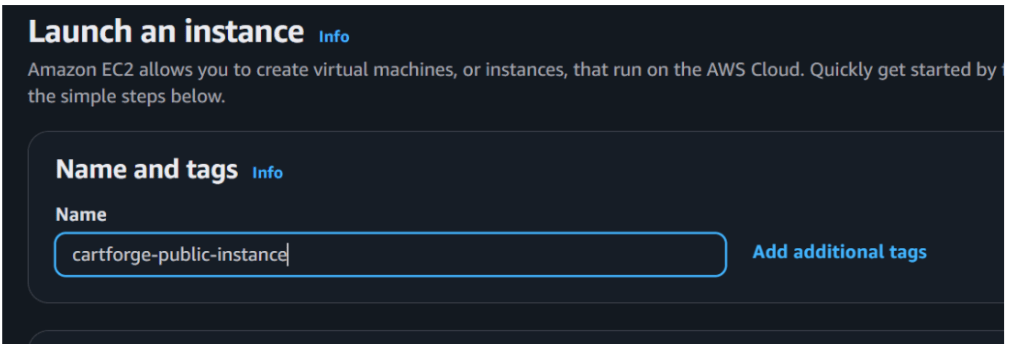
Launch EC2 Instance in Public Subnet
Go to EC2 → Launch Instance
Configuration
Name: cartforge-public-instance
AMI: Ubuntu
Instance type: t2.micro
Network Settings
VPC: cartforge-vpc
Subnet: public-subnet
Auto-assign public IP: Enabled
Security Group
Allow:
SSH (22) from your IP
HTTP (80) from anywhere
8
Connect to EC2 Instance
chmod 400 key.pem
ssh -i key.pem ubuntu@your-public-ip
And it got connected
9
Validate Internet Connectivity
Test 1: Ping External Site
ping google.com
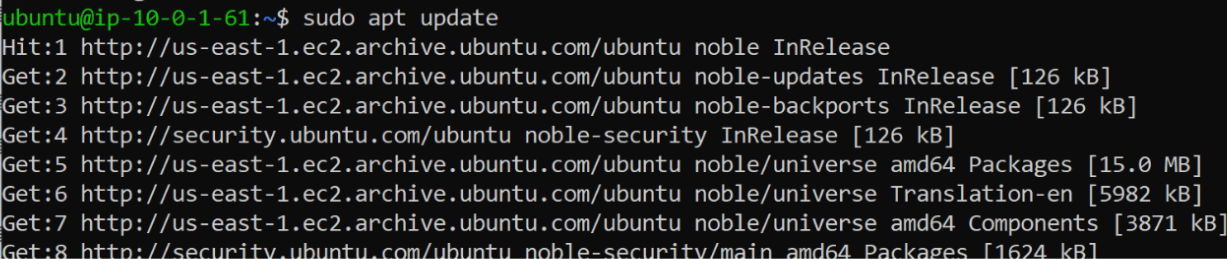
Test 2: Update Packages
sudo apt update
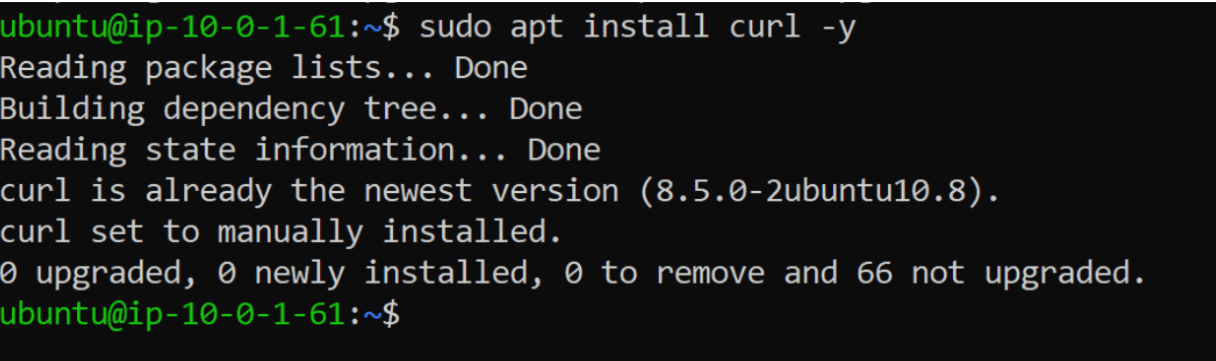
Test 3: Install Package
sudo apt install curl -y
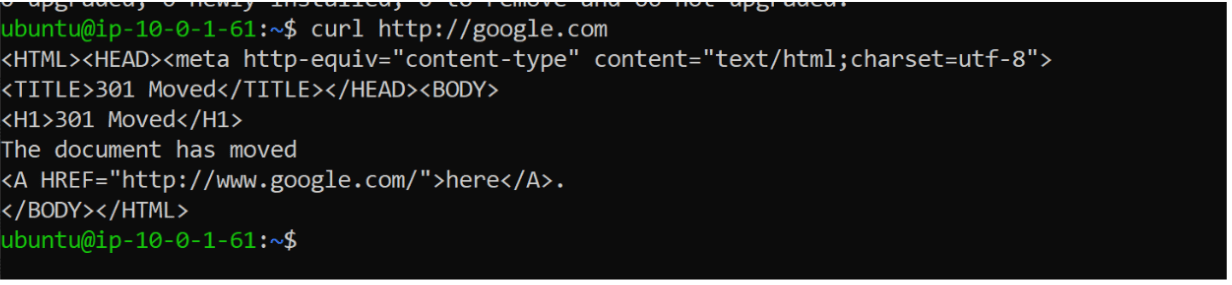
Test 4: Access External URL
curl http://google.com
If all commands work, internet connectivity is successful.
10
Validate Routing
Check Routing Table
ip route
Expected Output Includes
default via <gateway-ip>This confirms traffic is routed to internet gateway.
Great job!
You have successfully completed your lab on Cloud Computing Fundamentals and AWS Infrastructure Deployment.
In this lab, you have: Created and Configured an AWS Account, Launched and Connected to an EC2 Instance, Explored Basic Linux System Information, Built a Secure VPC with Public and Private Subnets, Configured Route Tables and an Internet Gateway, Deployed Resources in a Custom Cloud Network, and Validated Network Connectivity and Routing Configurations.
You are now ready to move to the next stage of Cloud Security and Access Management.
Checkpoint
Next-Lab Preparation
Topic : Cryptography and Cloud Security
1) Cryptography.
2) Cloud Computing Fundamentals.
3) Cloud Security Core Concepts.
4) Major Cloud Platforms Overview.
5) Cloud Vulnerabilities & Risks.
Topic : Cryptography and Cloud Security
1) Cryptography.
2) Cloud Computing Fundamentals.
3) Cloud Security Core Concepts.
4) Major Cloud Platforms Overview.
5) Cloud Vulnerabilities & Risks.
By Content ITV


