Content ITV PRO
This is Itvedant Content department
Business Scenario
Hello talented developers!
In the previous lab, we introduced JavaScript into our BiteBox website by implementing our first customer interactions. We connected an external JavaScript file, collected the customer's name using prompt(), asked for their choice using confirm(), and displayed personalized messages.
In this lab, we will improve the BiteBox restaurant billing system by using JavaScript to calculate item totals, subtotal, discounts, delivery and packaging charges, and the final bill dynamically.
Pre-Lab Preparation
Module:
1) Unlocking JavaScript's Secrets: Mastering Core Concepts
2) Delving into JavaScript Object Dynamics
3) Journey into DOM and Event Dynamics
git pull origin branchNameGit Pull
Task 1: Build Dynamic Restaurant Billing System
Prepare the Order Summary for Dynamic Billing
1
We already have the Order Summary in cart.html.
Instead of keeping static billing values such as ₹826.00 or ₹886.00, we will initialize everything to ₹0.00.
<aside id="order-summary">
    <h2>Order Summary</h2>
    <p> <span>Subtotal (3 Items)</span>
        <span id="subtotal-amount">₹0.00</span>
    </p>

    <p> <span>Delivery Charges</span>
        <span id="delivery-amount">₹0.00</span>
    </p>
<p> <span>Packaging Charges</span>
<span id="packaging-amount">₹0.00</span>
</p>
<p id="discount-row">
<span>Discount</span>
<span id="discount-amount">₹0.00</span>
</p>
<hr>
<h3><span>Total Amount</span>
<span id="total-amount">₹0.00</span>
</h3>
<button type="button"> Proceed to Checkout </button>
<p> <img src="assets/icons/shield.png" width="18" height="18">
Secure Checkout
</p>
</aside>Create the Item Total Calculation Function
2
Before calculating the complete bill, we need to calculate the total for each food item.
So we will create a reusable function that calculates the total price of one food item using its price and quantity.
function calculateItemTotal(price, quantity) {
    return price * quantity;
}
Read Cart Items from the UI
3
Our cart already contains food items - We should not hardcode these prices and quantities
inside JavaScript.
Instead:
JavaScript should read the existing price and quantity directly from the Cart UI.
let cartRows = document.querySelectorAll(
    "#shopping-cart tbody tr"
);
Calculate the Cart Subtotal
4
function calculateSubtotal() {
    let subtotal = 0;
    let cartRows = document.querySelectorAll("#shopping-cart tbody tr" );

    cartRows.forEach(function(row) {
        let priceText =  row.children[1].textContent;
Read the price and quantity of each existing cart item, calculate its item total, and add all item totals to calculate the subtotal.
let price = parseFloat(priceText.replace("₹", "")  );
        let quantityText = row.querySelector( ".quantity-box span" ).textContent;
        let quantity = parseInt(quantityText);
        let itemTotal = calculateItemTotal(price,quantity);
        subtotal += itemTotal;
    });
    return subtotal;
}
Calculate Delivery Charges
5
Create a function that calculates the delivery charge based on whether the cart contains an order.
function calculateDeliveryCharge(subtotal) {
    if (subtotal === 0) {
       return 0;
    }
    return 40;
}
Calculate Packaging Charges
6
Link JavaScript with BiteBox
2
Open your index.html - At the bottom, just before </body> add :
<script src ="js/script.js"> </script>
</body>
</html>
Test the JavaScript Connection
3
Open script.js and add:
console.log("BiteBox JavaScript is working!");Open BiteBox in the browser then: Right Click → Inspect → Console
BiteBox JavaScript is working!
You should see:
If you see that message, our JavaScript connection is working.
Task 2: Add a BiteBox Welcome Message
Add a welcome message for the visitors
1
Replace the previous code with:
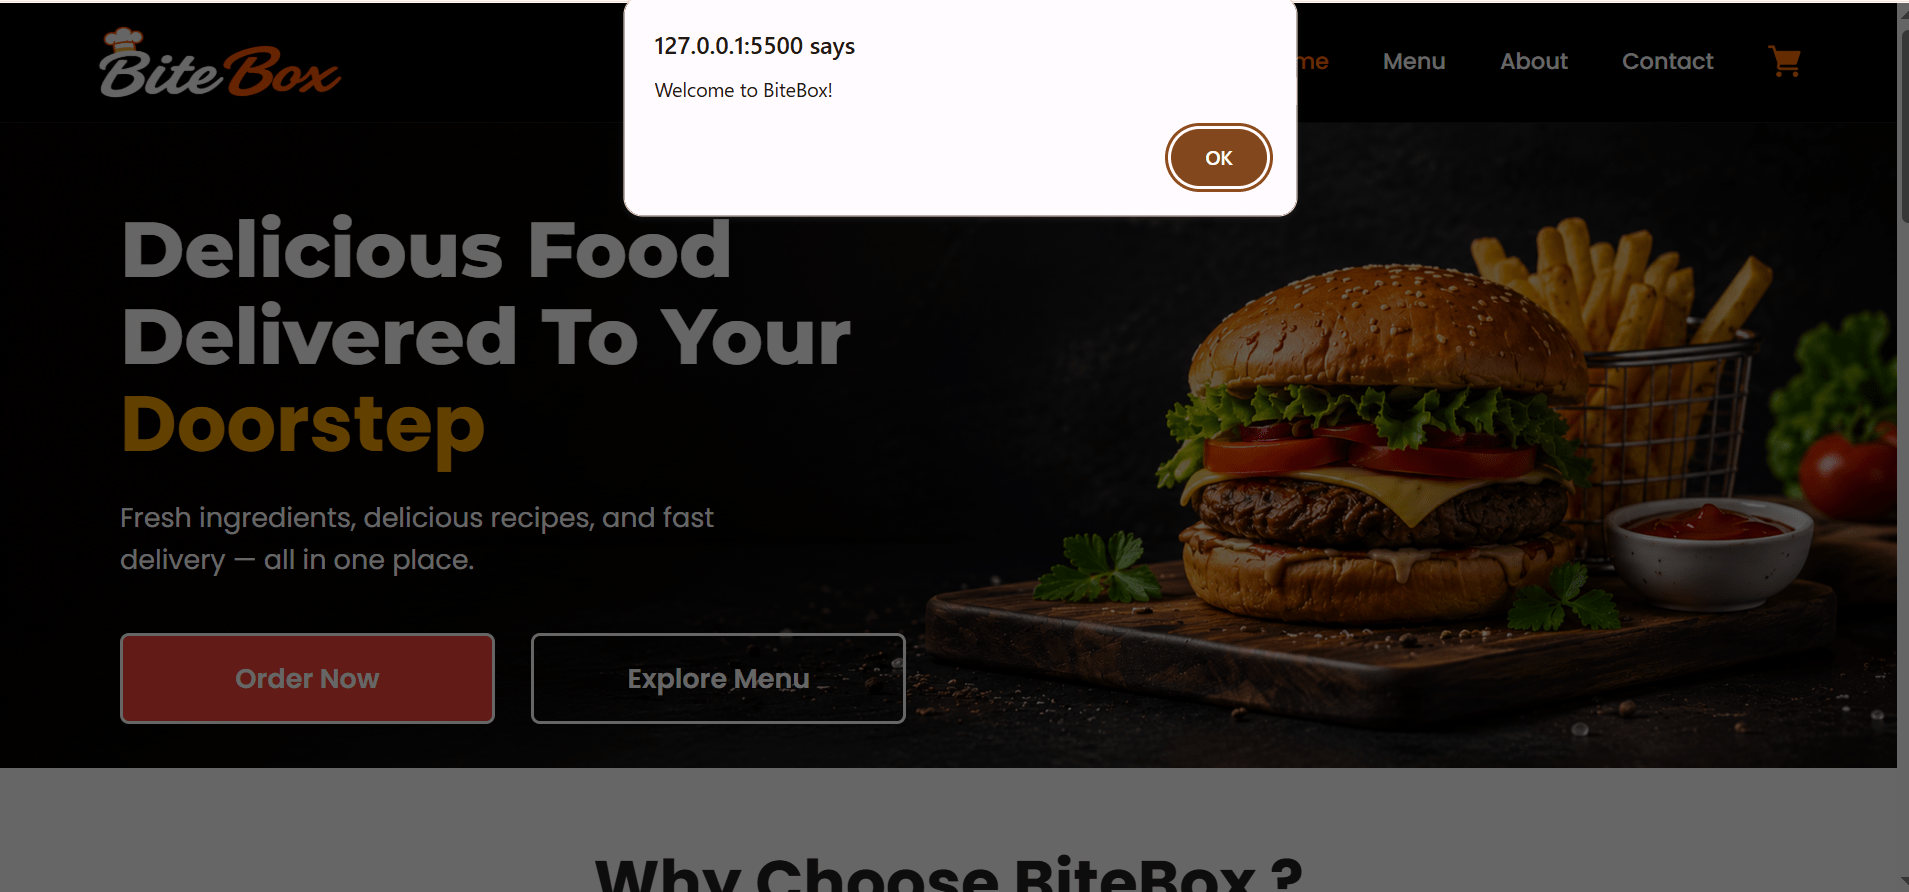
let restaurantName = "BiteBox";

alert("Welcome to " + restaurantName + "!");
Task 3: Take Customer Name as Input
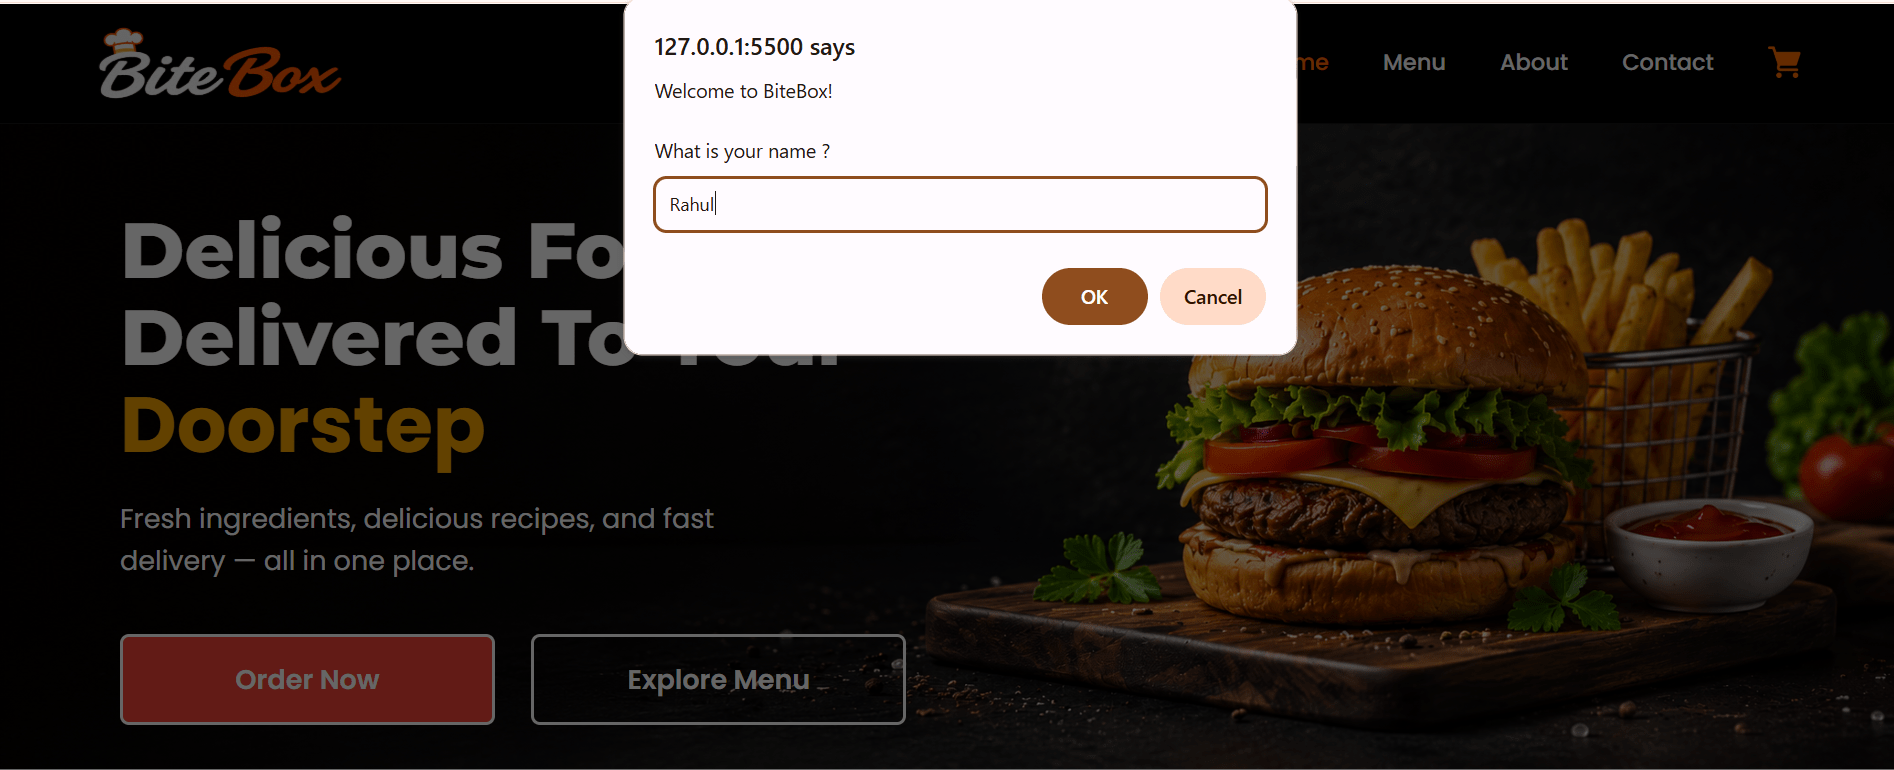
Use prompt() to ask the customer for their name when they visit the BiteBox website.
1
let customerName = prompt(
    "Welcome to " + restaurantName + "!\n\nWhat is your name?"
);
Task 4: Welcome the Customer
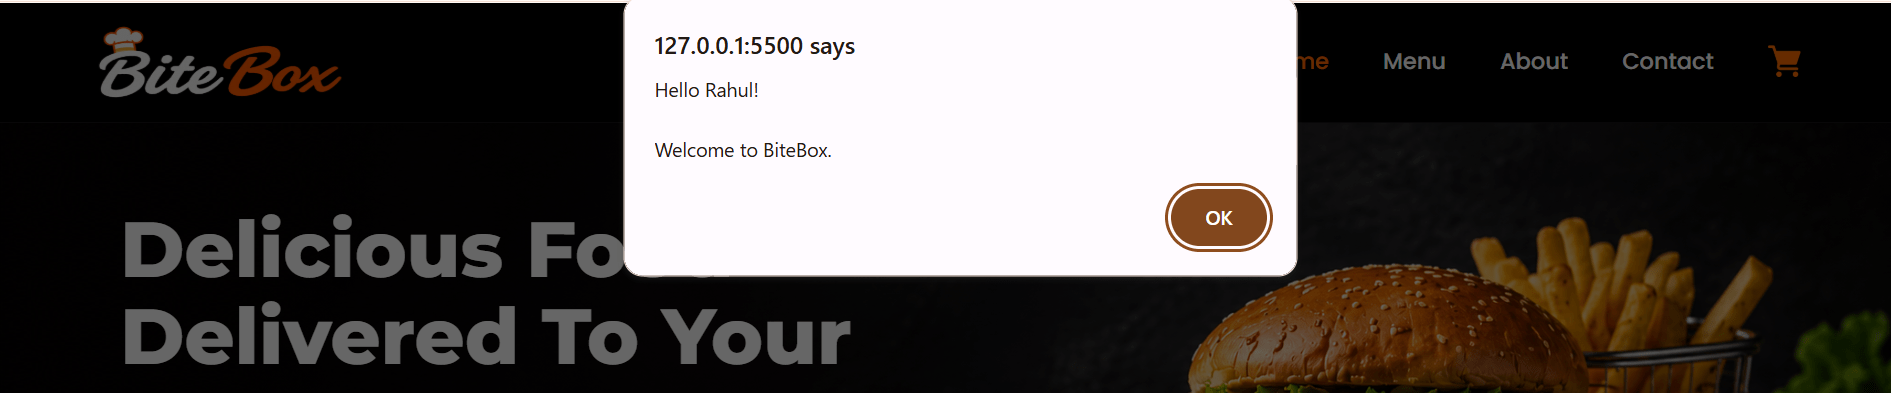
Use the customer's name to display a personalized welcome message using alert().
1
alert(
    "Hello " + customerName + "!\n\nWelcome to BiteBox." );
Task 5: Ask for Customer Choice
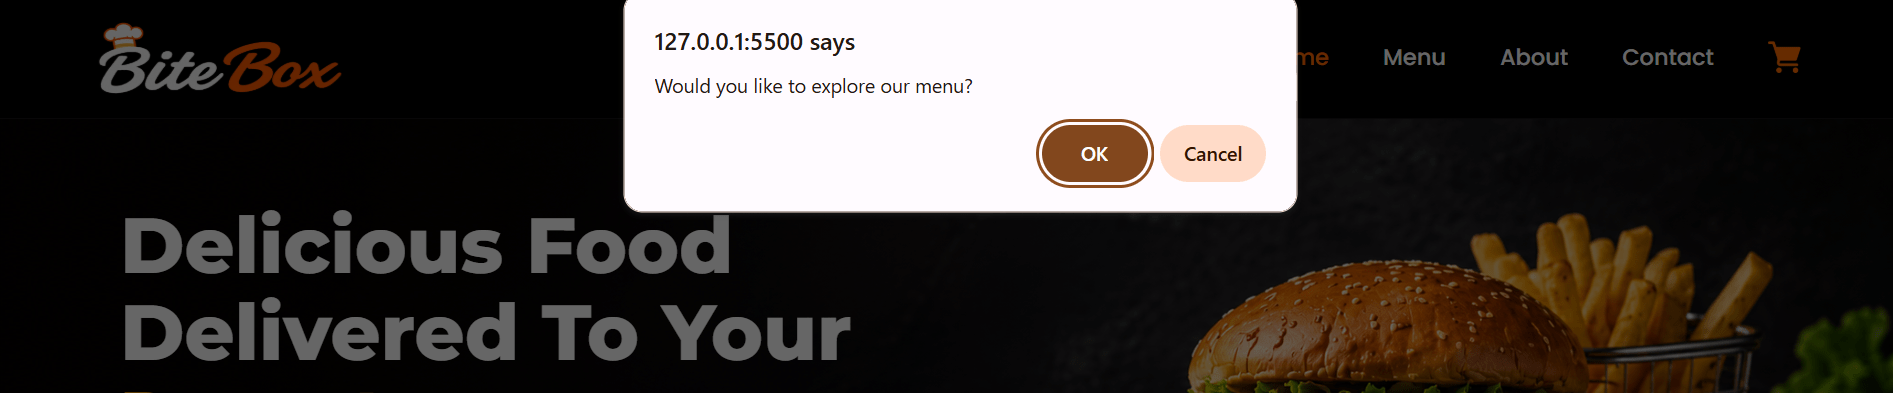
Use confirm() to ask the customer whether they would like to explore the BiteBox menu.
1
let exploreMenu = confirm(
    "Would you like to explore our menu?"
);
We are done with this lab. The latest source code has been uploaded to GitHub. You can access the latest commit using the link below:
Great job!
You connected JavaScript to the existing website, collected customer input, created personalized responses, and added interaction based on customer choices.
Checkpoint
Git Push
git push origin branchNameNext-Lab Preparation
Module:
1) Unlocking JavaScript's Secrets: Mastering Core Concepts
2) Delving into JavaScript Object Dynamics
3) Journey into DOM and Event Dynamics
By Content ITV